Page 3 - A Closer Look - Software

The Patriot Gauntlet 320 uses an extreme simple web based control panel. In fact, one may even say it is sort of Metro/Modern/Microsoft design language (Whatever they call it now) inspired. To start off, simply connect to your device via Wi-Fi. Next, type in 10.10.10.254 in your browser, and the interface will load immediately. The screen is split into two columns, as shown in our screenshot above. The navigation bar has four tabs, while initial screen on the right hand side displays the system information, network settings, and client list. You can connect up to eight devices to the Patriot Gauntlet 320 simultaneously.


The Setup screen is quite straightforward. In fact, everything is quite self-explanatory, haha. In this section, you can set the device name, workgroup name, as well as system time. Do keep in mind that the system name is independent of its SSID, in which we will cover in just a short moment. Hitting the "Network Connections" link at the bottom right corner (Which can be easily missed at first glance; I think Patriot should relocate this menu somewhere else) pulls up the pass-through connection settings. This allows you to connect the Gauntlet 320 to your internet-enabled wireless network, so your computer or portable device will not lose its internet capabilities when the Gauntlet is in use -- clever. Just a hint, if the dialog box showing available wireless network does not show anything when you click it, please be patient while it is scanning. I think a status bar would be very helpful in this situation, since it is easy for the user to think it is not working when nothing shows up initially. Also, it can only store one network profile, so if you move around quite a bit, this can get annoying.

Up next is the Network configuration page. Personally, I think it would be more logical if the Wi-Fi pass-through settings is merged into here. Anyway, once again, everything is pretty self-explanatory. Your SSID can be set here, along with the Samba username and password. The default is GauntletNode for the former, but I think we can all be a little more creative than leaving the default on. Once you have that configured, let's move onto the final area of importance: Security.

Last, but definitely not least, is security. No matter how unimportant my data may be, it is important that my files are not accessed by anyone else but the authorized. This is especially crucial, considering this is a Wi-Fi-enabled device. Personally, I configured mine on WPA2-PSK/AES encryption, which is the industry standard nowadays. However, if WPA2-PSK is too hardcore for your legacy devices, you are free to use WEP or WPA instead. Of course, no encryption works too, but I personally would not recommend it.
Overall, the user interface of the Patriot Gauntlet 320 is extremely intuitive and user friendly. It is clean and simple; in fact, it is quite appealing to novice users, too. There are small quirks here and there, but all in all, I think the company has done a commendable job in ensuring this device will not require a computer science degree to operate. One thing I would add is the battery charge status to indicate its exact remaining percentage in software.
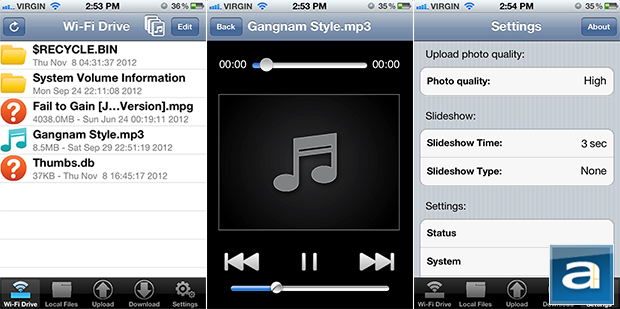
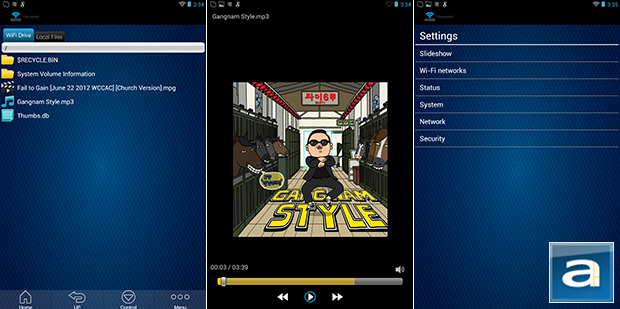
To start using the Patriot Gauntlet 320, you can map it as a network drive on your computer. It is also compatible with your iPhone, iPod, or iPad running iOS 4.2 or higher. Android phone with v2.3 or higher, Android tablet with v3.0 or higher, and Kindle Fire. The app for Android and iOS is quite simple and straightforward, as you can see in my screenshots above. (Tested with an Apple iPhone 4S and Google Nexus 7.) You can easily stream media and sync files with the Gauntlet 320, making it a convenient complement to your mobile devices with fixed storage.
Page Index
1. Introduction, Packaging, Specifications
2. A Closer Look - Hardware
3. A Closer Look - Software
4. Performance and Conclusion


