Page 3 - Physical Look - Inside
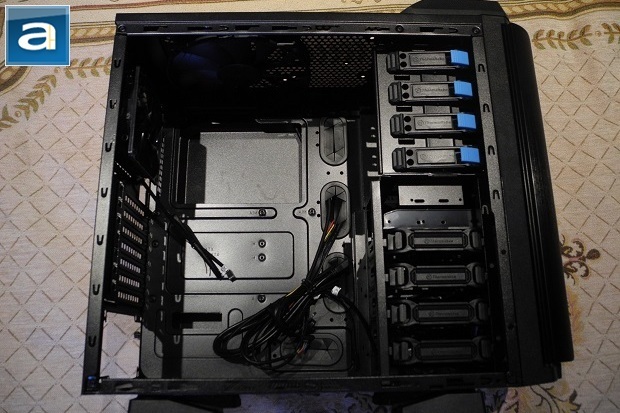
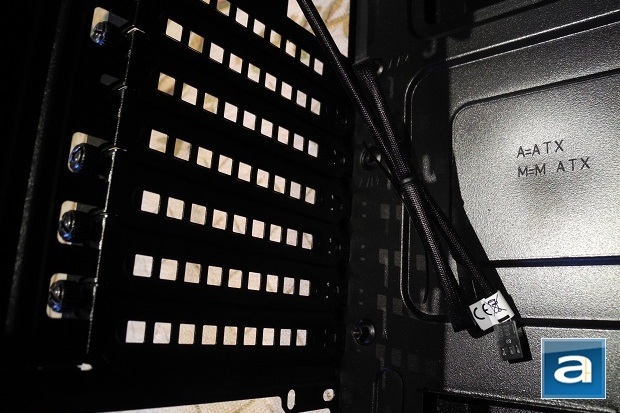
Taking out the two thumbscrews that lock the side panel to the Thermaltake Armor Revo Gene's frame, I proceed to pull on the handle, and I must say that this is definitely the most convenient removal ever. No need to use another hand pushing against the back, or patiently sliding it out little by little. Peeking in, the first thing I noticed is the amount of cable management holes there are. I confess, I have only used cable management holes once, and I’m not exactly fond of it for a variety of reasons my present case in use caused. Putting aside my previous experiences, the cable management system in the Armor Revo Gene looks much more promising, as you can find them from the top to bottom; not to mention how the back end of the motherboard tray extends out an extra inch or so to accommodate for all the cables you will be funneling through to the back. The case comes with standard ATX standoffs, but also supports mATX. To help users with where the standoffs go, they have labeled M for mATX and A for ATX.
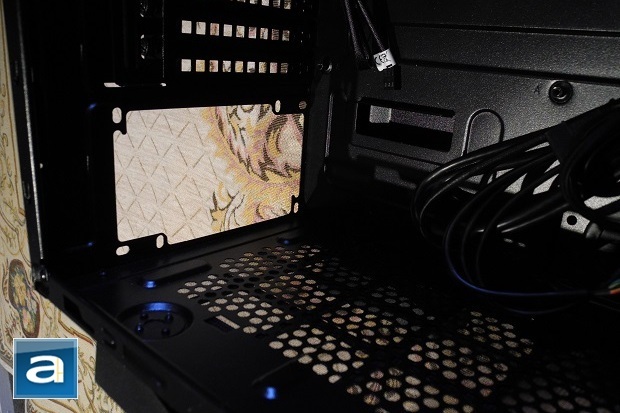
Thermaltake didn’t just stop with the footstands when thinking about cooling efficiency. Since the PSU is located at the bottom of the case, closest to the ground, the platform for it is raised about half an inch off the bottom of the chassis, just in case your unit has fans facing the bottom. For additional support, a clip is located on the motherboard tray to secure your power supply down. Personally, I don’t think this is necessary, as your PSU won’t be going anywhere once you have got the screws in, and would more likely serve as a hindrance of ease during installation. Next to the PSU, we have pre-drilled holes to install an optional 120mm fan, which will increase the noise and dust levels – and by dust I mean cleaning the air filter, haha. Below the rear 120mm exhaust fan, we have seven expansion slot bays. The expansion covers usually assist with exhausting warm air out, but the ones you find on the Armor Revo Gene are impractically large. They are large enough for a common housefly to fly through. This makes it the welcoming back door for dust, and rather than being beneficial, it can potentially be impeding maximum cooling efficiency, as it is often reached with a smooth airflow pattern from the intake to the exhausts fans. This will make the vents on the expansion slot an area for air leakage instead.
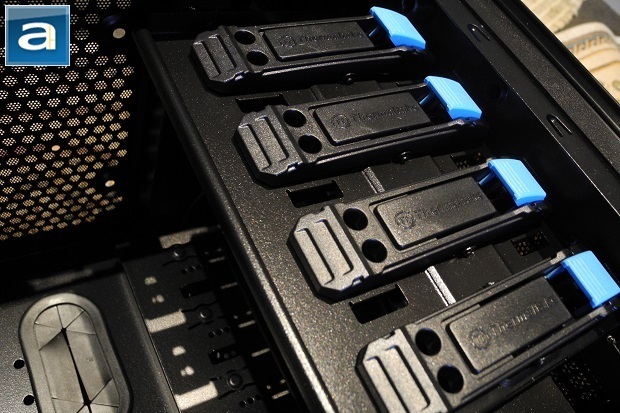
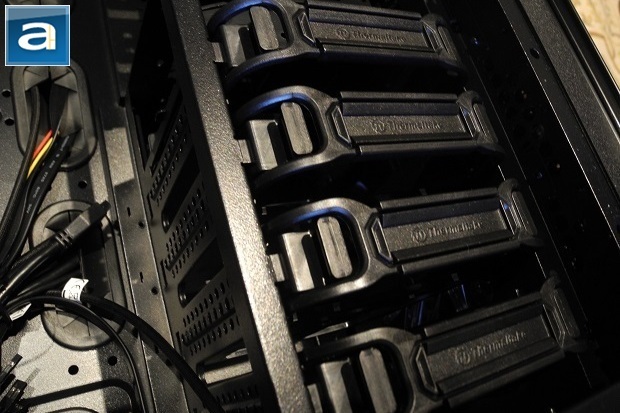
The five externally accessible drive bays (Four 5.25” and one 3.5”) located at the top of the chassis promotes Thermaltake’s ‘innovative 5.25” and 3.5” tool-free design’; and under it we’ll find five hidden 3.5” or 2.5” drive bays. The tool-free design is convenient and practical, as it is extremely easy to use. Simply slide the unit in until it’s snug, and removal is just a push of the sky blue button away -- although I find the color a little tacky. The color of choice for the release is a little too vibrant for the chassis in my opinion. I personally think something darker, such as navy blue, would have been a better choice to match the black interior. For the hidden drive bays, we have four trays that accept your hard drives and even SSDs. Snce they are built perpendicular to the case, we will never have to remove our expansion slot units to swap hard drives. A 200mm intake fan that comes installed immediately in front of the hard drives keep them cool, but not only does it keep the hard drives cool, the 200mm fan extends itself to the edges allowing it to cool behind the motherboard tray.
When I said this case is huge for a mid-tower, I mean it’s huge. With dimensions of 20” high, 9.9” wide, and 21.6” deep, the Thermaltake Armor Revo Gene can hold video cards up to 12.4”, but this will leave you with no room when you want to work at the hidden drive bay under the single 3.5” accessible bay. Depending on the height of the video card, it might just affect the hidden 3.5” drive too. Since this may happen, Thermaltake devised a way for us to save some time, and avoid removing the video card and other units that may be in the way by being able to remove the drive tray from the front of the chassis. Although this requires us to remove the front facade, it is a fairly simple process, which involves only simply a tug at the bottom opening under the 200mm intake fan, followed by removal of the 3-pin front fan, which is held on by four Phillips head screws. I personally prefer the latter procedure, simply because it is easier to handle and work with at the end of the day. Different people may have different opinion.
On the side note, there is a cable management system for your accessories that can be accessed from a thumbscrew located on top of the I/O panel that corresponds with a metal clip on the exterior backing. With the 200mm top exhaust fan in the way, you are left with just enough room to access the screw, but if you do a lot of gaming, you might end up wanting to upgrade your CPU cooler. Depending on your choice, it may very well decide the fate of whether you will be using this feature or not.
Page Index
1. Introduction, Packaging, Specifications
2. Physical Look - Outside
3. Physical Look - Inside
4. Installation and Conclusion


