Page 3 - Physical Look - Inside
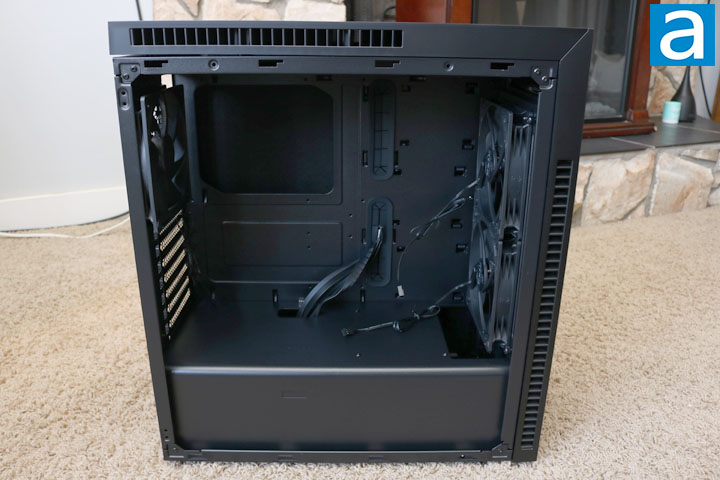
Both side panels can be removed by loosening two thumbscrews. These are not captive to the side panels, so make sure to keep an eye on them. These panels have a few hooks on the top and bottom, which you have to align to reinstall them. These keep the panels in place, and prevents them from simply falling off once the thumbscrews are taken off. Inside the SilverStone KL07E, we find a large open interior. The black color is continued inside the case, allowing for some single-color builds. The open interior allows for unobstructed airflow into the case with the power supply area separated by a cover, which creates two distinct zones. One major feature of the SilverStone KL07E is the sound dampening material. This material is also the main difference between the Kublai KL07 and the current version. The new KL07E features asphalt sound dampening material on both side panels and the front panel, while the KL07 had wavy foam padding to reduce noise. Sound dampening material aims to reduce the noise generated from vibrations. When sound hits the side panels, the metal vibrates creating more noise. The material aims to reduce the noise by absorbing the sound and reducing the impact it has on the metal side panels. The sound dampening material is part of the weight increase, as each of the side panels is quite heavy.
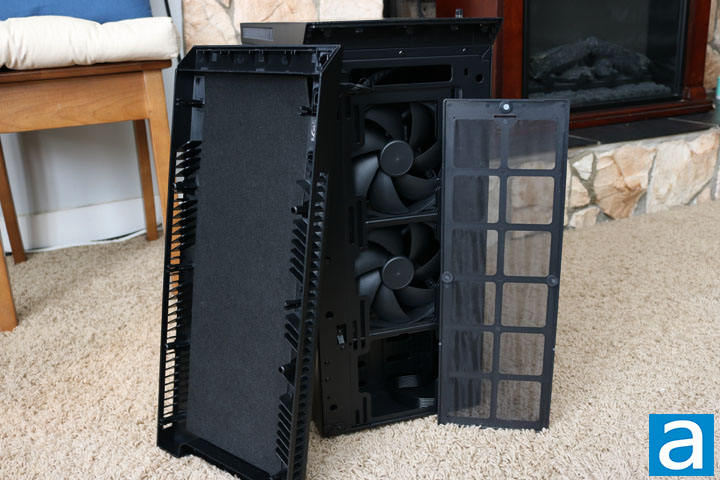
Removing the front panel is an easy process. It can be pulled away from the bottom revealing the interior. Removing this panel is crucial for easily mounting radiators or other fans on the front. It provides access to the dust filter too. This dust filter is well-built with a plastic frame and kept in place with magnets. The mesh is very fine as well, ensuring most dust is caught in the operation of the computer. Each of the dust filters is similarly built. Two 140mm fans are installed at the front of the case from factory, providing good intake for whichever components you decide to install. They have a model number of CC14025L12S, which looks like a rebranded CoolCox fan. These are sleeve bearing fans operating at 12V 0.14A. The given specifications from the OEM includes an airflow rating of 1000RPM, 49CFM, 0.60mmH2O and 24.0dBA.
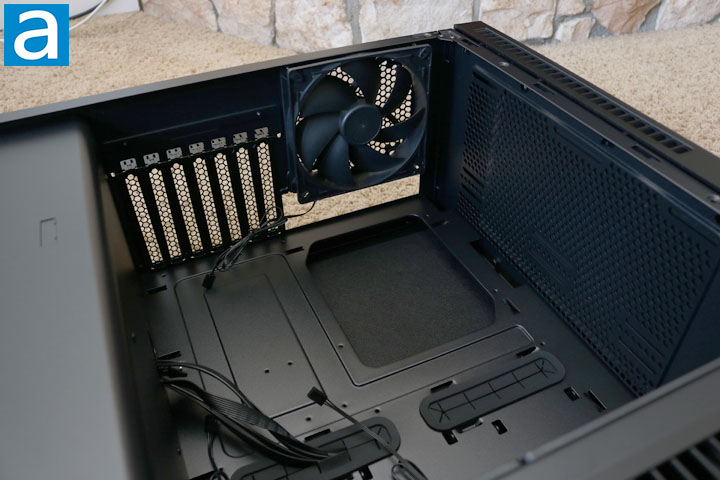
As mentioned before, the rear exhaust fan for the KL07E is a 140mm fan, which will definitely help in pulling as much air as possible through this system. This is the same fan as the ones installed at the front. More exhaust fans could be installed along the top of the case, or they could be intake fans as well. Two 120mm fans can be installed along the top or a 240mm radiator. I would encourage one to consider slim fans in this area. The top is already a tight spot, and a radiator with fans would make managing and building here more challenging. A dust filter sits over the top air intake holes, making it a safe bet for ventilation.
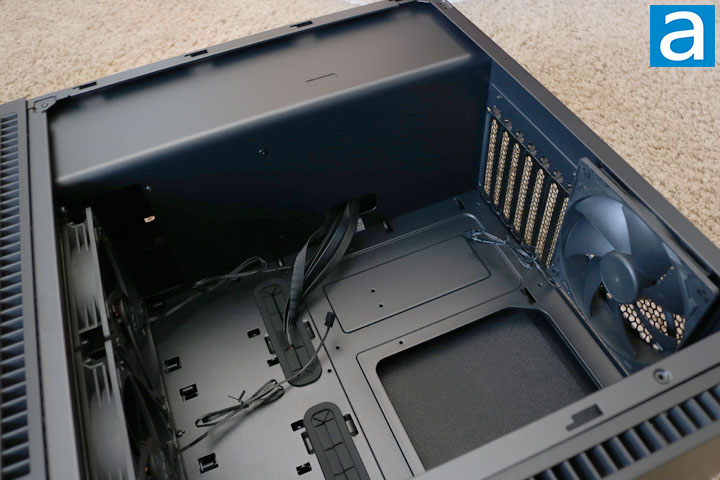
The power supply cover provides a divider between the motherboard area and the basement of the computer. There is only one hole in the basement cover to provide easy cable management for the front I/O connectors. The motherboard tray in the SilverStone KL07E can house an ATX or Micro ATX board. None of the standoffs for either of these sizes are installed, so you will have to ensure you install them in the correct places. The motherboard tray also features a large cutout, ensuring that installing CPU cooler backplates can be done easily. As for these coolers, they can be up to 170mm tall. Large graphics cards can also be installed in this case, allowing for up to 388mm.
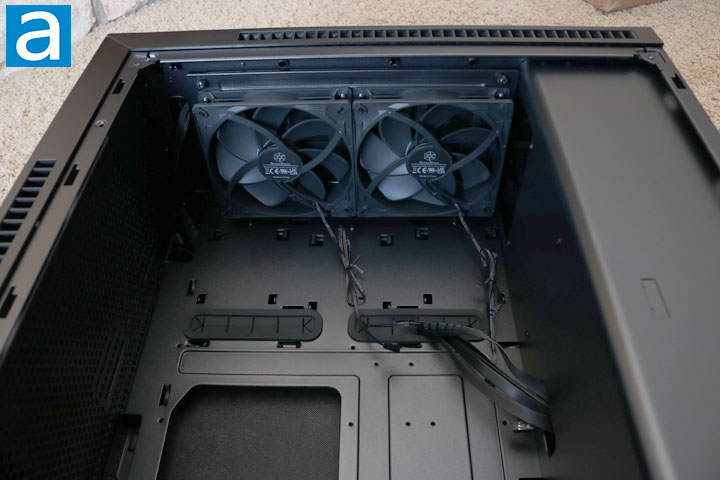
The front of the SilverStone KL07E features two 140mm fans pre-installed. A 280mm radiator can be installed at the front, or even a 360mm one, since three 120mm fans can be mounted to the front as well. The front panel pops off easily, revealing a well-built dust filter and the same sound dampening material as the side panels. The intense intake potential at the front of the case ensures you will have positive air pressure, when more air is brought in than is being exhausted.
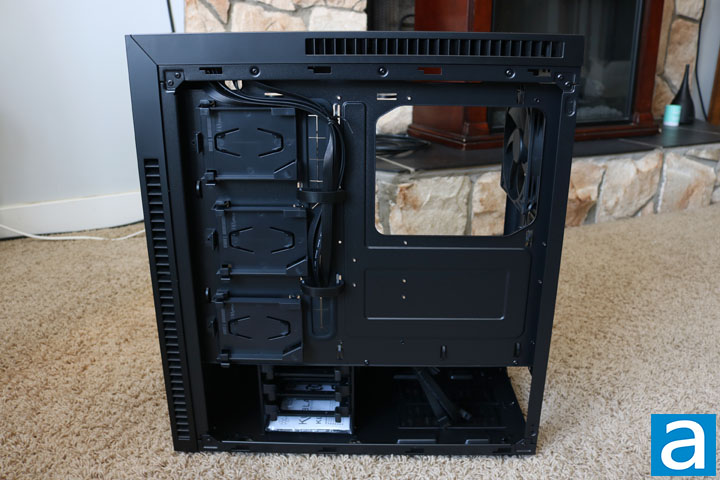
The back of the case is fairly typical. There is a main cable management channel along the middle with some Velcro straps to aid in keeping the cables tidy. There is about 25mm of space between the motherboard tray and panel to run cables through, which is good, but note the sound dampening material, although thin, does impinge on the space in the back. Three 2.5" SSD mounts are found on the left side of the KL07E, while three more 2.5" or 3.5" drives can be installed in the cage in the power supply basement. This is quite a set of options for storage. To the right of the drive cage, we find the power supply area, allowing for a PSU up to 190mm. A drive cage always limits the size of your power supply, and makes cable management slightly harder. Otherwise, there are many other cable tie loops along the back of the case to provide tie down spots for cables.
Page Index
1. Introduction, Packaging, Specifications
2. Physical Look - Outside
3. Physical Look - Inside
4. Installation and Conclusion


