Page 2 - Physical Look - Hardware; Installation

The be quiet! Pure Loop 2 FX lineup is an updated version of the original Pure Loop, which means we have a very similar appearance and design of the all-in-one cooler. This keeps the matte black finish for most of the components and the tubing. The be quiet! branding is limited to the CPU block head, while the Pure Loop 2 FX product name is printed on the sides of the radiator. The OEM for this cooler is KD Industrial rather than the typical Asetek design you might be used to. Otherwise, the logo on the block is printed over a brushed silver finish and surrounded by a translucent ring, now backlit with addressable RGB lighting. This block head has a single cable coming out to control the lighting, terminating in a standard 5V addressable RGB connection. As an aside, while we have the 240mm version today, the Pure Loop 2 FX can be purchased in 280mm and 360mm radiator size as well.

The radiator on the be quiet! Pure Loop 2 FX 240mm features a standard fin layout. The fins are placed in this manner so they come into contact with the liquid running through the top and bottom. The result is a wavy set of fins. Heat from the liquid runs through the radiator and transferred to the fins through the contact points. Fans are attached on the radiator to dissipate the heat. The liquid is transported around the loop via tubing. The tubing is made from rubber and sleeved for a nicer finish. This measures 400mm in length and should fit in most standard mid-tower cases on the market. It is possible this may be a bit short in some larger full-size towers, although it depends on where you place the radiator in relation to the processor on the motherboard. The tubing is both strong and flexible and should not form any kinks, even in more extreme bends. They also pivot on the water block to allow for easier maneuverability should it be required.
The radiator itself has the same measurements as the predecessor at approximately 277mm in length, 120mm in width, and 27mm in thickness. These are standard dimensions for a 240mm all-in-one liquid cooler. The size of a radiator plays a pretty big role in cooling, as larger surface areas result in better heat dissipation. It is made out of aluminum, which performs satisfactorily in terms of heat transfer. However, the main advantage of this material is its lower mass, which should reduce the strain placed on the case. Near the end of one side is a small screw hole with an opening to access the liquid inside the Pure Loop 2 FX 240mm. I appreciate the fact be quiet! has kept this fill port to allow users to top up the liquid inside, which can evaporate over time. The fact they also include a bottle of coolant is the cherry on top. Overall, the build quality of the be quiet! Pure Loop 2 FX 240mm is great with no bends or defects to be concerned about. The only thing I would like to see some protection under each mounting hole to ensure if users accidentally screw in the mounting screws too far, it does not penetrate the fins underneath. That being said, if you use the hardware provided here, it does not reach the fins, even when fully tightened.
Located on the tubing between the block and the radiator is the water pump, which makes for a neat design. Ideally, separating the pump from the CPU block should reduce noise, because the decoupled pump is suspended in air instead of mounted somewhere and thus does not vibrate. Otherwise, the pump spins up to 5500 RPM, and is now controlled with PWM signals for finer tuning of its operating speed and potentially quieter operation under lighter loads.

Going down the tubing, we get to the contact plate and water block of the be quiet! Pure Loop 2 FX 240mm. It too has the same dimensions as the older Pure Loop at approximately 95mm in length, 85mm in width, and 40mm in height. I do like they have kept the same look with the brushed finish, as it should stand out in builds while not clashing with other components. The base making contact with the processor is made up of copper and is plated with nickel for its durability and resistance to corrosion. The base is flat with a slight circular finish that show some milling marks. Two holes with captive screws can be found on the top and bottom of the block for mounting this on the processor. A plastic label was placed on this area for protection with warning notices to remove the label before installing this AIO cooler.

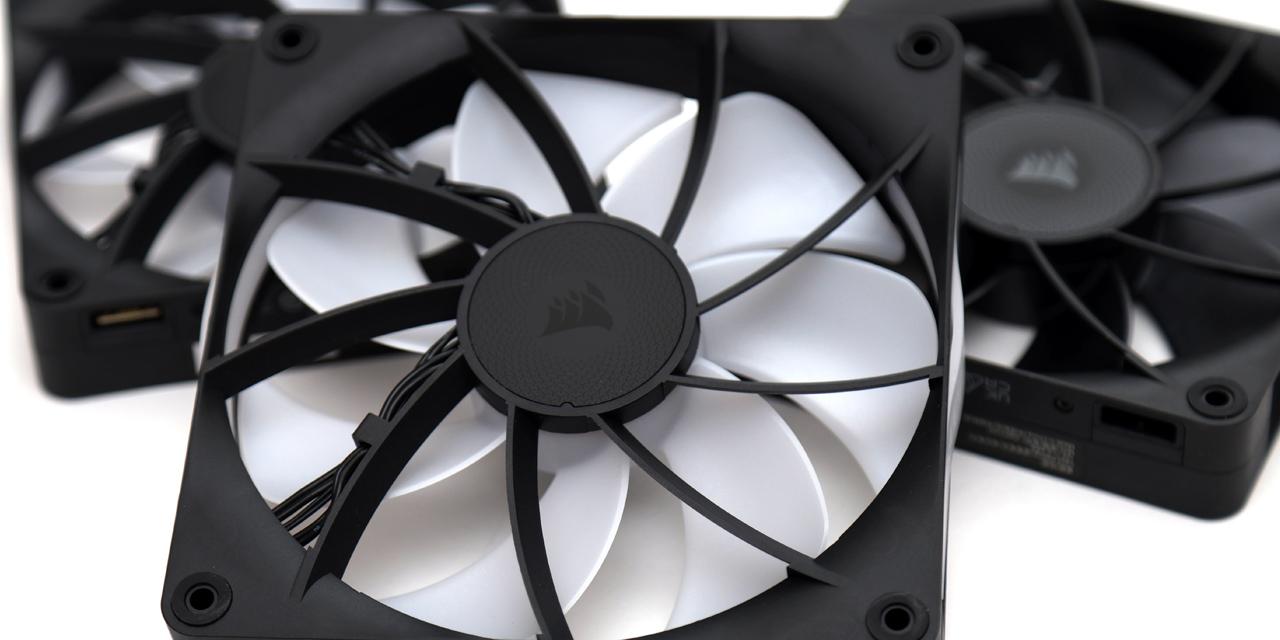
The two fans included with the be quiet! Pure Loop 2 FX 240mm are the be quiet! Light Wings 120mm PWM high-speed. These appear to have the same specifications at the retail-grade fans. This means internally we have rifle bearings with a lifespan of 60,000 hours. The rated noise level is maximum 31dbA, but we will see what this means when we test for noise levels. In terms of other numbers, each fan produces a maximum air pressure of 2.6mm H2O with an airflow rating of 52.3CFM. Rubber dampeners can be found on each corner to reduce vibration. Finally, these are PWM controlled and are terminated with 4-pin headers. As these have ARGB LEDs on each fan, a second three-pin ARGB header extends out. With all of the headers to plug into the motherboard, be quiet! provides a combination PWM and ARGB controller out of the box, which is an unexpected but happy surprise.

Installing the be quiet! Pure Loop 2 FX 240mm is a straightforward process. The first step is to use the correct backplate for your system. A single backplate is provided for consumer Intel mounts. Users building on an AMD platform can use the backplate included with their motherboard. With my ASUS ProArt Z690-Creator WiFi motherboard, I used the backplate with the mounting bolts placed in the LGA1700 position. These bolts are held in place with rubber rings and I found the bolts would slide around as the rings would not keep them secure in place. This is the same backplate as the one included with thePure Rock 2 FX, and I wish they would find a better way to secure these bolts down. Afterwards, I screwed in a set of thumbscrews; one for each protruding bolt.

Next, I installed two mounting arms on top of the thumbscrews. For Intel systems, there are two sets of mounting arms; one for LGA115x and 1200 sockets and another for the newer LGA1700 socket. As such, I made sure I picked the longer LGA1700 arm. With these in place, I mounted the radiator inside my case, then added some of the included thermal paste on top of the processor. You could technically mount the radiator as the last step, but I find it easier to secure the heavier part of the AIO loop first. With it in place, I mounted the CPU block on top. As the screws are integrated into the block's head, the whole unit was easy to secure down without needing an extra set of hands. Finally, I connected all of the headers to the included combination controller and plugged everything to the motherboard. Overall, this installation process was straightforward and pain-free.
Page Index
1. Introduction, Packaging, Specifications
2. Physical Look - Hardware; Installation
3. Test Results
4. Conclusion