Page 2 - Physical Look - Hardware; Installation

If you first look at the Cooler Master MasterLiquid 240 Atmos, you may not really notice a whole lot of differences compared to other all-in-one liquid coolers. This includes a standard 240mm radiator attached with black braided tubing. All these elements are black in color, with the exception of the translucent fan blades on each 120mm fan and the water block area. Branding on this unit is present with the hexagon logo outline in the middle of the fans and on the water block. In fact, the water block itself is hexagon in shape. The sides of the radiators have a "Designed by Cooler Master" print, although it is very subtle. Otherwise, the materials used here are as expected with a large aluminum radiator, rubber tubing lined with a mesh material, and a mix of the clear and opaque plastic exterior on the pump head. I think this new design is pretty neat. Better yet, the clear top is interchangeable as Cooler Master is making the 3D-print designs available for users to make it their own.

The radiator of the Cooler Master MasterLiquid 240 Atmos is as expected with fins placed in this manner to come into contact with liquid running through. As the liquid runs through, the heat is transferred from the liquid to the wavy set of fins through the contact points. Fans are attached to the radiator to dissipate heat. This liquid is transported around from the water block to the radiator via tubing. This is made from rubber and sleeved for a good-looking finish. The tubes measure 360mm in length and should fit in most standard mid-tower cases. In my situation, as you will see below, I found the tubes to be a bit tauter than I would like, but mounting the radiator at the front or top of your case should be fine. Even so, I think Cooler Master could have increased this length to 400mm here to prevent any concerns. Thankfully, the tubes are strong and flexible and do not form any kinks. These pivot on the water block to allow for maneuverability when required.
The radiator measures 277mm long, 119.6mm wide, and 27.2mm thick. These are standard dimensions for a 240mm all-in-one liquid cooler. This size plays a significant role in cooling, as a larger surface area will result in better heat dissipation. The radiator is made out of aluminum, which offers decent heat transfer qualities. However, the primary advantage of using aluminum is for its low mass, which should reduce the strain placed on the case where this is mounted. Overall, the build quality is good on the Cooler Master MasterLiquid 240 Atmos, as there were no defects or nicks to be concerned about. Cooler Master has ensured that if you use the hardware provided here, the screws will not contact the fins below, so I would not be as concerned with users accidentally over-tightening the screws and causing damage to the fins.

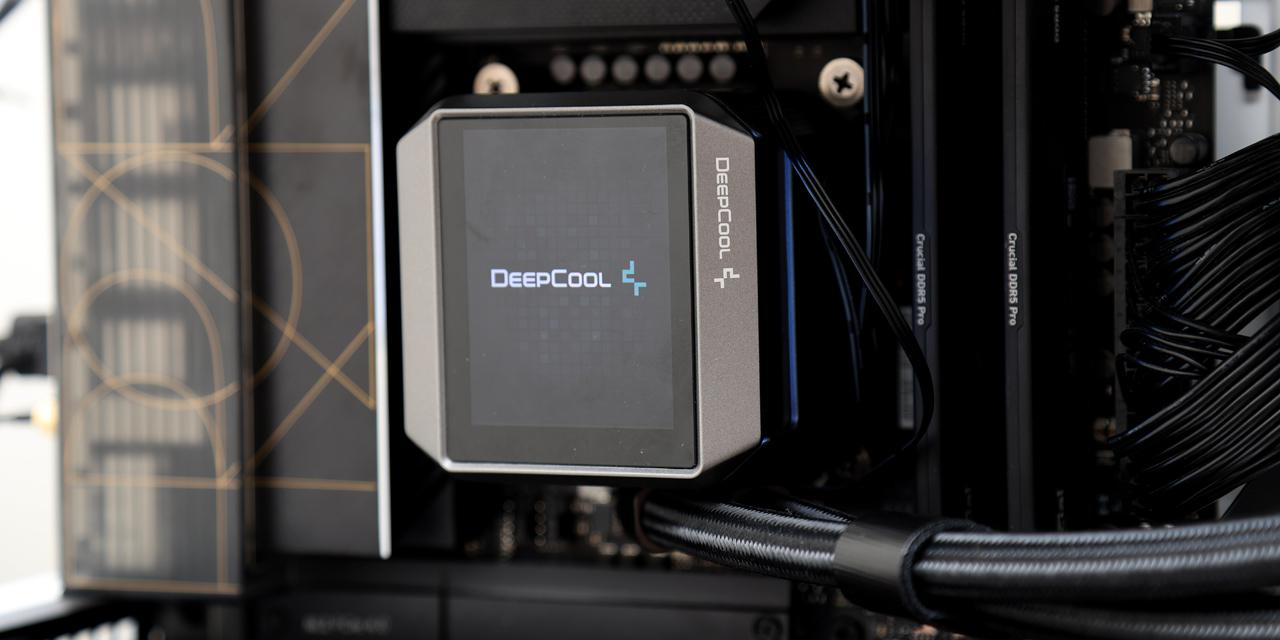
Down the tubing, we have the water block and pump combination of the Cooler Master MasterLiquid 240 Atmos. This block measures 84.9mm in length, 81mm in width, and 53.15mm in height. It is a bit bigger than some other water blocks, but it is not too large either. The top half of the unit is clear with a see-through look to a neat shiny gray construction underneath. The base underneath that contacts the processor is composed of copper, as you can see by its color. The base is flat with only a light bit of milling marks at the bottom. You might have noticed a few hexagonal marks, which was left by holes on the plastic label covering this area. As such, be sure to remove the label prior to installation. The plastic rim around this area includes mounting holes for the arms that keep the pump block on top of the processor. Internally, the water pump exists here to move water between the radiator and the CPU block. It is powered by a 4-pin header, operating at 12V and just under 4W of power consumption. It has a specified lifespan of approximately 210,000 hours, which is just under 24 years of 24/7 operation. This is likely much longer than you would normally need, but I do appreciate this extended life to ensure it stays functional for longer. It also aligns with the eco-friendly focus of this product.

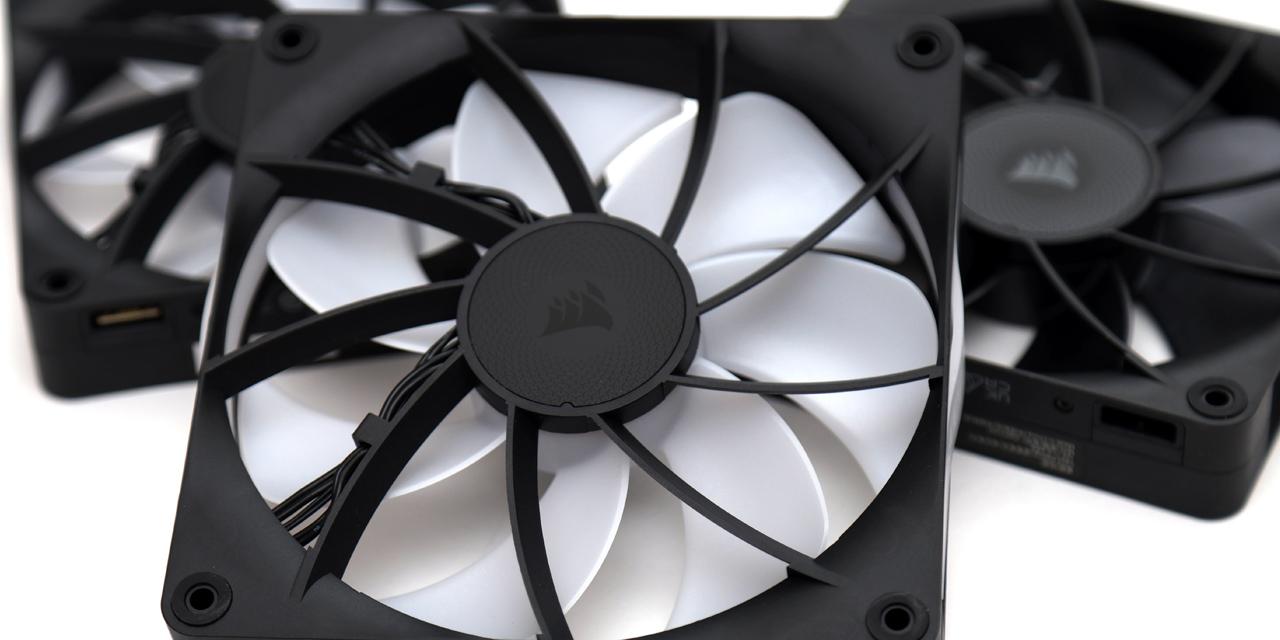
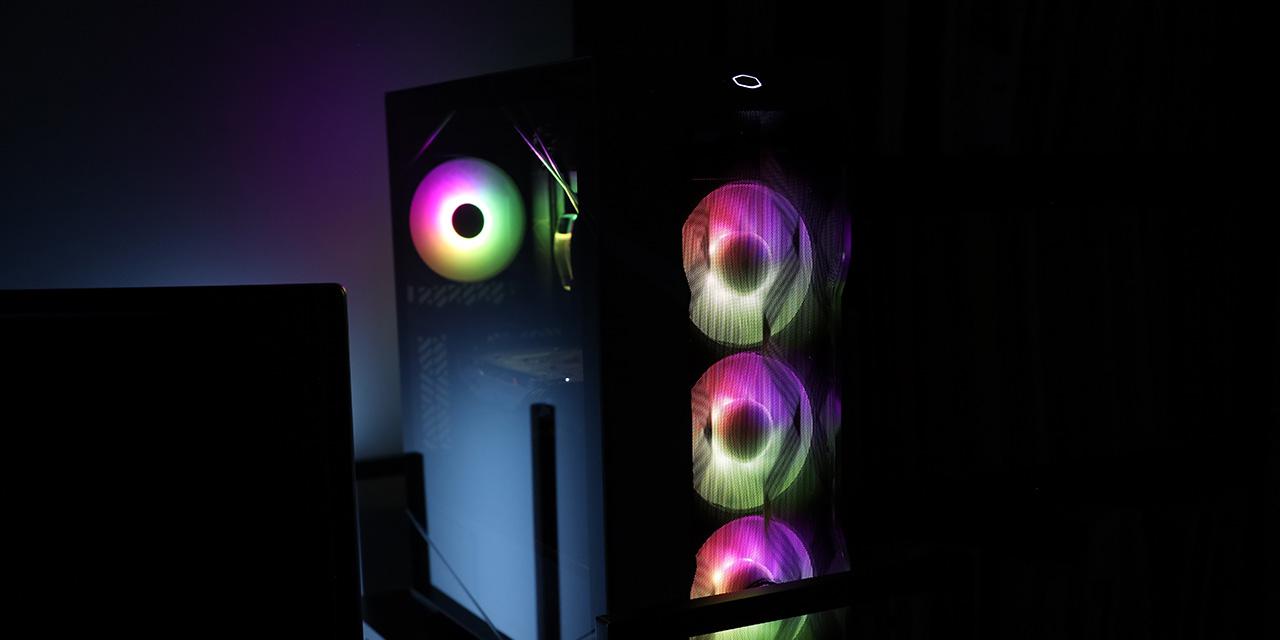
The Cooler Master MasterLiquid 240 Atmos comes with two 120mm Cooler Master SickleFlow Edge fans, which are an upgrade from past SickleFlow fans. Rather, these have loop dynamic bearings. Similar to fluid dynamic bearings, an internal oil circulates around the bearing through grooves, which oil the shaft in a well-greased manner -- pardon the pun. This is similar to what we have seen most recently on their Mobius 120 fans. Otherwise, we have a relatively long lifespan of 160,000 hours and a maximum noise output of 27.2dbA. In terms of performance metrics, each fan produces a maximum air pressure of 3.61mm H2O and an airflow rating of 70.7CFM. Compared to the fans we had from the MasterLiquid 240L Core ARGB White, we have a slight decrease in airflow, but a notable increase in air pressure. We will see how this affects the cooling capabilities in our tests later on.
Finally, these fans have two cables extending out. One is a 4-pin PWM header and the other is a 3-pin standard addressable RGB header. The ARGB header also has a daisy chain cable, so you can link multiple headers together. Cooler Master has included a 2-in-1 fan header cable and a 3-in-1 ARGB header cable, so users can power and control the fans and the lighting elements with a total of two headers on the motherboard. They have also included a lighting controller in case you do not have a header to use.


Installing the Cooler Master MasterLiquid 240 Atmos is a remarkably straightforward process. With the Intel LGA1700 socket, you can start by adjusting the holes on the backplate to the correct position and mounting the double-ended screws on the other side to secure the back. Afterwards, you can install the correct mounting arms on the block of the cooler. For AMD users, you can install the correct brackets with retention holes by using the integrated backplate from your motherboard. I did appreciate the split boxes provided for each manufacturer, which helped me avoid mixing up the hardware required for my builds.

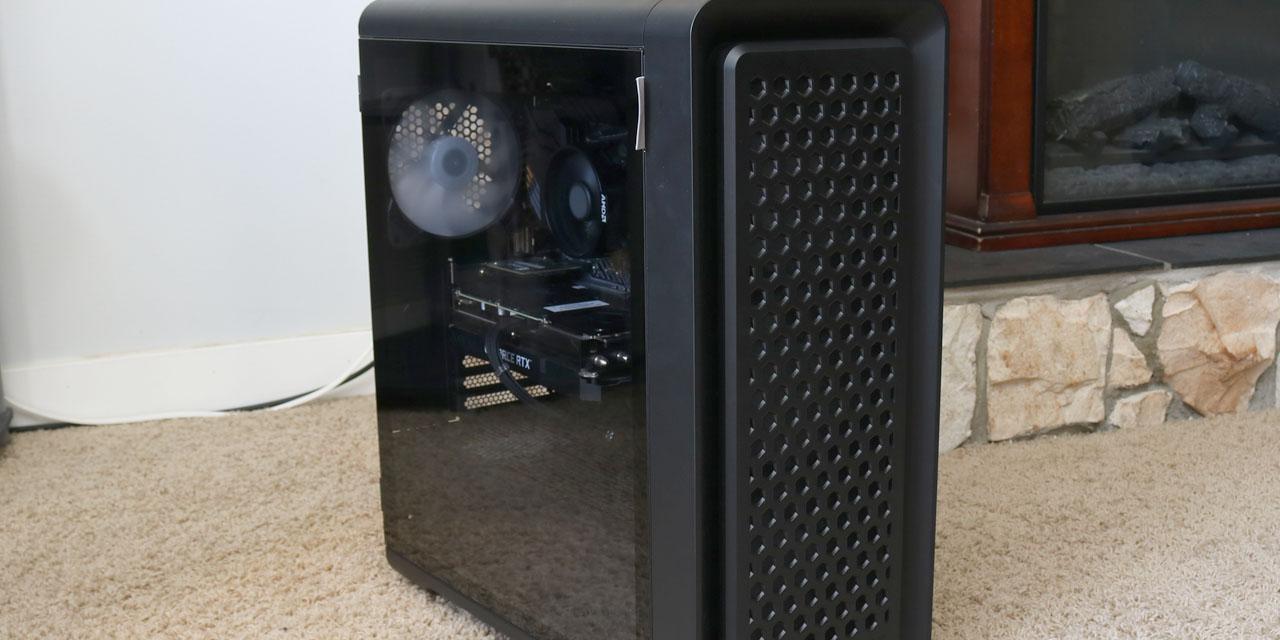
The next step would be to either install the fans and radiator in the case or mount the water block onto the motherboard. I chose to go with the former and mounted my radiator with fans attached to the side of the case first. After mounting the radiator at the side of my case, I applied enough thermal paste, which is included from Cooler Master, and mounted the water block and pump combination on top of my Intel processor. Before I did this, I removed the protective label on the bottom of the block. Based on the instructions, Cooler Master recommends screwing this in using a cross pattern to ensure even tightening and pressure applied to the processor. As expected, I was able to complete the installation without any issues. I then plugged everything in to the necessary headers.
My plan was to use the addressable RGB LED lighting controller, but I found the headers on the fans did not fit into the slots of the controller because the opening was not large enough. This is a very strange oversight, but I ended up just plugging my unit into my computer. As such, I did not use the integration software of MasterPlus, as the controller provides information via an internal USB header. Cooler Master does have a new utility called MasterCTRL, but it is currently in beta testing.
Page Index
1. Introduction, Packaging, Specifications
2. Physical Look - Hardware; Installation
3. Test Results
4. Conclusion