Page 2 - Physical Look - Hardware; Installation

Although we at APH Networks have reviewed pretty much every Cooler Master all-in-one liquid cooler -- including the MasterLiquid ML280 Mirror, MasterLiquid ML240L V2 RGB, MasterLiquid ML240P Mirage, MasterLiquid ML120R RGB, MasterLiquid ML240R RGB, MasterLiquid Pro 140, Nepton 240M, and Nepton 280L -- this is the first time I have personally looked at one from the company. In fact, the first and last time I reviewed an all-in-one liquid cooler was in 2012 with the Thermaltake WATER2.0 Pro, despite the fact my colleagues have reviewed countless models from practically every other brands that can be found in our Cooling section. It is crazy how things worked out and how time flies.
Compared to pretty much every all-in-one liquid cooler we have ever covered here at APH Networks, the Cooler Master MasterLiquid ML240 Illusion features your quintessential 240mm radiator. I would not say this is a bad thing, since the distinguishing design elements nowadays are in the water block and included fans, which is exactly what the company did. The radiator is black in color and rectangular in shape with hard corners, measuring in at 277mm long, 119.6mm wide, and 27.2mm thick. It is completely symmetrical and you will find Cooler Master's logo printed on both sides. The radiator is made out of aluminum. Aluminum has a thermal conductivity of 237 W/mK, which is not as optimal for heat transfer compared to copper at 401 W/mK as it retains more thermal energy. However, it is much lighter; for applications such as a radiator, this is a fair tradeoff in my opinion.
The radiator fins themselves are organized in the classic wave pattern for maximum heat dissipation. At the top, two sleeved tubes connect to the CPU water block for coolant exchange. The tubes are quite flexible and easy to work with, and the hinged connection at the CPU water block gives a bit of pivoting flexibility for motherboards and cases with different installation positions. The length of the tubes is 350mm long, which should be long enough for most users. 350mm may be too short if you plan to front-mount the radiator in a full-tower case though.
Our above photo shows the Cooler Master MasterLiquid ML240 Illusion's water block with the Intel mounting brackets installed. The water block features a sleek brushed aluminum finish at the top with Cooler Master's logo in the middle. The Cooler Master logo, along with the translucent tinted area around the water block, is backlit by 12 addressable RGB LEDs, which we will demonstrate on the next page.

Here is a closer look at the Cooler Master MasterLiquid ML240 Illusion's CPU water block. As aforementioned, I already installed the Intel mounting brackets. The water block measures 81.4mm by 76mm and is 57.8 mm thick and features a relatively flat contact base and should exert reasonably good contact with your processor, although I think the finish can be a little smoother for better performance. The included high-performance MasterGel Pro thermal paste is to be separately applied.
The pump is rated at 2.36W with power supplied from your motherboard's 12V 3-pin header. This is the company's 3rd generation Dual Chamber Pump and has a rated MTTF of 70,000 hours and <10dBA of noise, which we will see how it sounds on the next page. Copper is a good choice as the material for the contact base as good heat transfer capabilities is extremely crucial. Copper has a thermal conductivity of 401 W/mK. Since we do not need to worry too much about weight here due to limited size of the pump, it is definitely the right material choice in my opinion. The only thing I would like to see is a nickel plated contact base on the block. Nickel and nickel-base alloys generally have desirable properties that can withstand corrosive environments and high temperatures, which are especially beneficial for a heat dissipation device. With all these in mind, I found the Cooler Master MasterLiquid ML240 Illusion's overall build quality to be excellent as always.

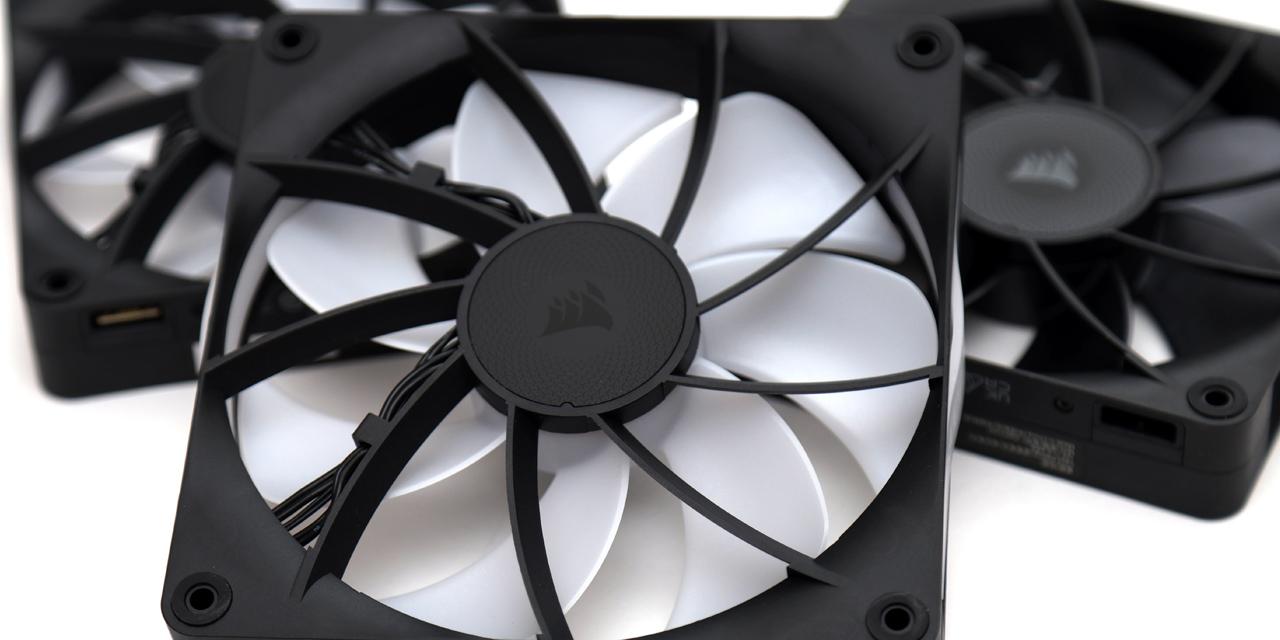
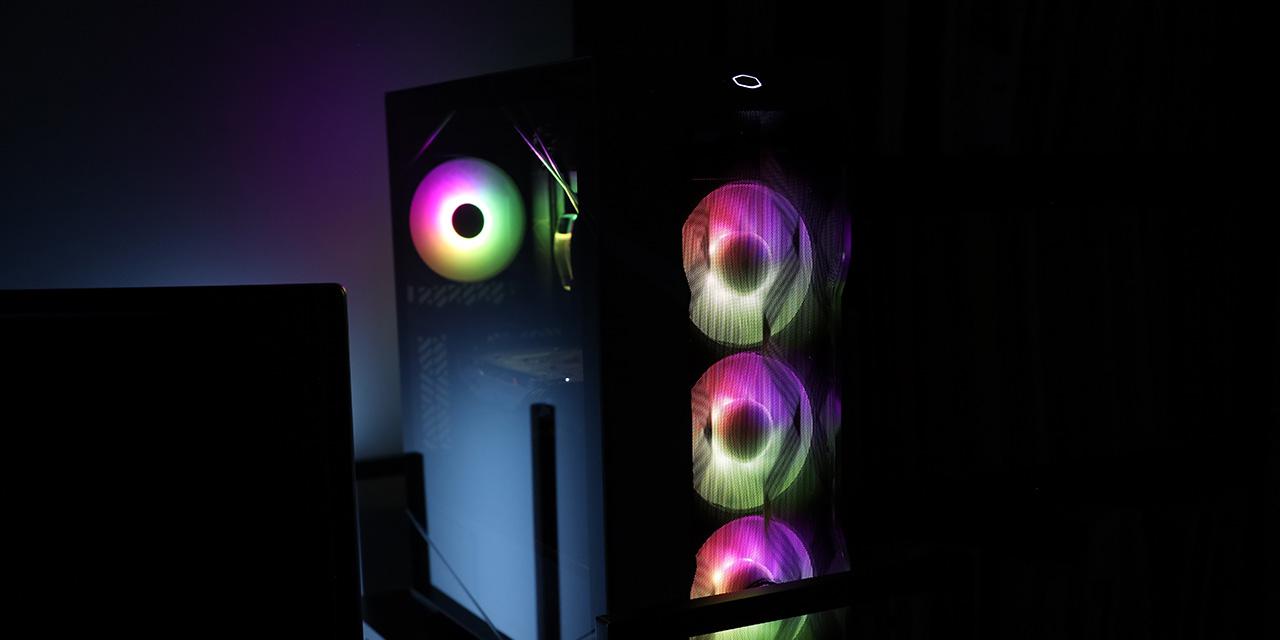
Two Cooler Master MasterFan MF120 Halo 4-pin PWM fans come with the MasterLiquid ML240 Illusion, which my colleague Jadon Lee has taken a close look at in March of last year. These are rifle bearing fans with a rated MTTF of 160,000 hours, featuring nine blades on each impeller held on to the frame by five arms. The blades are angled at approximately 55 degrees and got its "Halo" part of the name from the translucent ring on the plastic frame. Each fan features 24 individual LEDs. The fans' plastic frames have integrated rubber dampeners on them to reduce vibration noise. These fans are rated at 650 to 1800 RPM ± 10% rotational speed, 47.2 CFM airflow, 1.6 mmH2O pressure, and 6 to 30 dBA of noise.
A second generation addressable RGB LED controller is included for those who do not own a motherboard that supports ARGB. This controller is a newer version of the one that came with the MasterLiquid ML280 Mirror. It connects to your motherboard via an internal USB 2.0 header for software control and is powered by a SATA power connector. Meanwhile, it has three ARGB channels using the ASUS RGB connector.

The installation process for the Cooler Master MasterLiquid ML240 Illusion was very simple. The company packaged each set of installation accessories individually for excellent organization. Along with the clear and concise setup poster, setup was a breeze. To start, simply align the openings on the supplied backplate with the holes in your motherboard and flip it around. Next, attach four double-threaded screws through the holes in your motherboard.
The radiator configuration and set up process will probably not require a manual for most builders. The MasterFan MF120 Halo cooling fans are attached by four thumbscrews each, and mounting it to your chassis requires more screws just like any other all-in-one water cooler. Once that is done, route and connect your cables for ARGB control and power, and move on to the next step.

Fastening the water block over the CPU socket proves to be a simple job after I applied some Cooler Master MasterGel Pro thermal paste over my CPU. As aforementioned, I installed the Intel mounting brackets on my water block first. Align the water block with the brackets over the four double-threaded screws. Four screw caps are included to secure the water block on. Once that is done, connect the rest of the cables and your system will be ready to go. The angle of Cooler Master's logo on the water block can be rotated to ensure the orientation is correct.
Overall, installation was very straightforward. The only challenge you may run into is there are a lot of cables, which will require some forethought into how to manage all the connections in your chassis.

The above screenshot shows the second generation addressable RGB LED controller's configuration in the company's MasterPlus software. Those who are familiar with Cooler Master's products will feel right at home. The interface is intuitive, simple, and easy to use; providing you with all the ARGB lighting effects you come to expect.
One strange issue I found with the Cooler Master MasterLiquid ML240 Illusion is the ARGB controller continues to run after my computer turns off. This causes all the RGB LEDs on the MasterLiquid ML240 Illusion to remain on even if my PC is shut down. Furthermore, at least on my Gigabyte GA-Z170X-UD5, it will also force all other USB devices to remain on that does not normally behave that way. I have the ML240 Illusion installed in my NZXT H700i, which comes with NZXT's Smart Device controller. For as long as the Cooler Master ARGB controller is plugged in to my motherboard's internal USB port, the NZXT controller will also run, causing all the LED lights and fans in my case to continue to operate even with the PC shut down. Once the Cooler Master ARGB controller is disconnected, the NZXT controller will turn off normally as my PC turns off.
I emailed Cooler Master about this problem, and the only suggestion they have for me is to enable ErP on my motherboard, but this is not a real solution to the problem. Enabling ErP simply stops all USB devices that uses less than 1W of power from running in the shutdown state. The Cooler Master ARGB controller simply should not continue to run, nor should it force other devices to operate, when the computer is in the shutdown state. This is an unacceptable bug in my opinion.
Page Index
1. Introduction, Packaging, Specifications
2. Physical Look - Hardware; Installation
3. Test Results
4. Conclusion