Page 4 - Installation

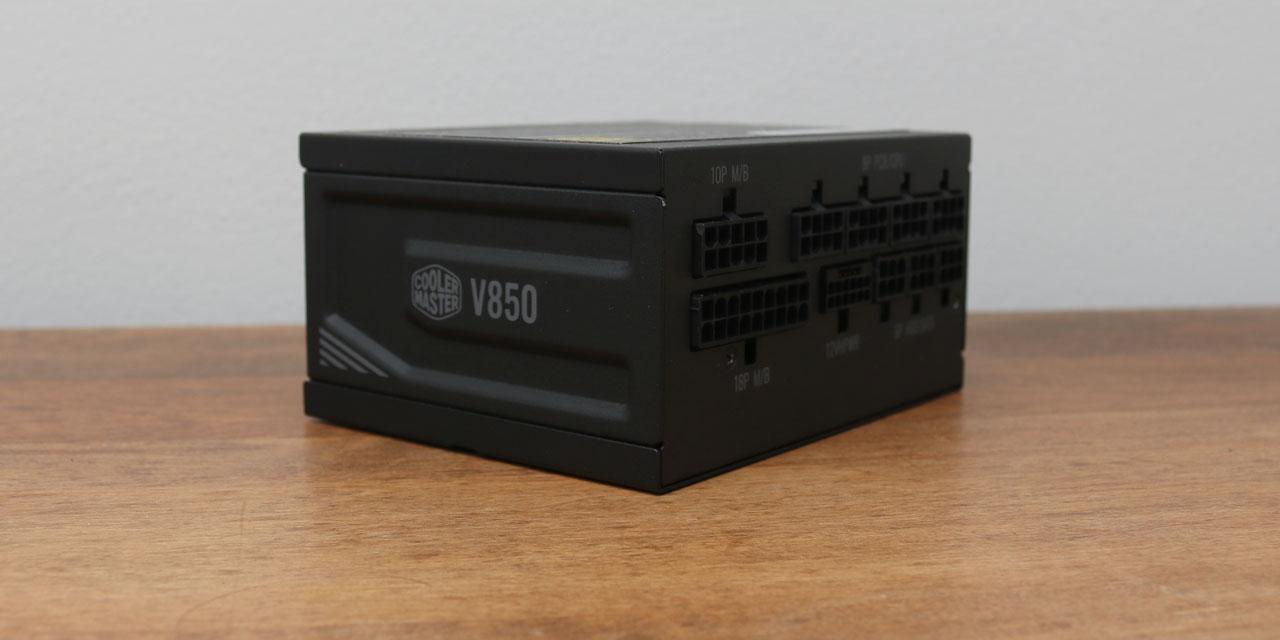
Executing a good cabling job was as straightforward as it could be in the Cooler Master TD500 MAX. The GX II Gold 850W power supply and MasterLiquid 360 Atmos AIO water cooler system was already installed for you from the factory, so a good chunk of the work was already done. Furthermore, the power supply has a 2-stage cable connectors design, which means the first part of the main cables that go to the front -- ATX 24-pin, ATX/EPS 4+4 pin, and PCIe 6+2 pin -- are already pre-routed for you. You just need to connect the second stage of the cables to the socket on the motherboard tray, which is a very convenient feature. The second stage cables are of perfect length for my installation.
It is important to note only one PCIe 6+2 pin connector is included. Per the company's website, one extra PCI-e 6+2 pin cable can be requested for free from customer service. It is not entirely clear to me how this process works. I think this should have been included from the factory, since there is a good chance you will need it. Finding out you need one, taking the time to request, and waiting for one to arrive later on is a real hassle. In my case, I needed the second connector for my ASUS ProArt B660-Creator D4 motherboard's auxiliary power.
The included Cooler Master GX II Gold 850W is an 80 Plus Gold ATX 3.0 and PCIe 5.0-certified PSU with fan stop mode that works up to 40% load. Its specifications are quite similar to the GX III Gold 850W my colleague Ben recently looked at, but the GX III has a larger 135mm fan compared to the GX II's 120mm fan. We have not disassembled the GX II Gold 850W for further investigation, as that is beyond the scope of this review.

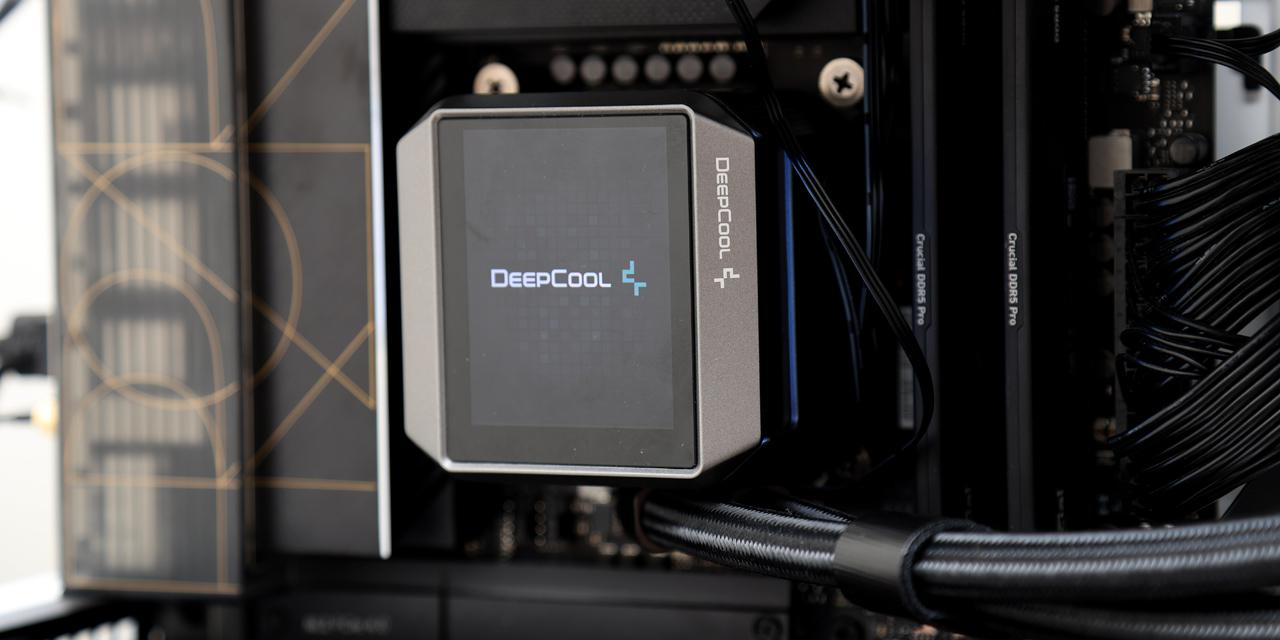
The process for attaching the Cooler Master MasterLiquid 360 Atmos' water block was very simple. The company packaged each set of installation accessories individually for excellent organization. Along with the clear and concise setup poster, setup was a breeze. I used it on an Intel CPU. To start, simply attach the brackets to the water block. Next, align the openings on the supplied backplate with the holes in your motherboard and flip it around. Attach four double-threaded screws through the holes in your motherboard.
Fastening the water block over the CPU socket proves to be a simple job after I applied some Cooler Master Cryofuze thermal paste over my CPU. As aforementioned, I installed the Intel mounting brackets on my water block first. Align the water block with the brackets over the four double-threaded screws. Four screw caps are included to secure the water block on. Once that is done, connect the rest of the cables and your system will be ready to go.

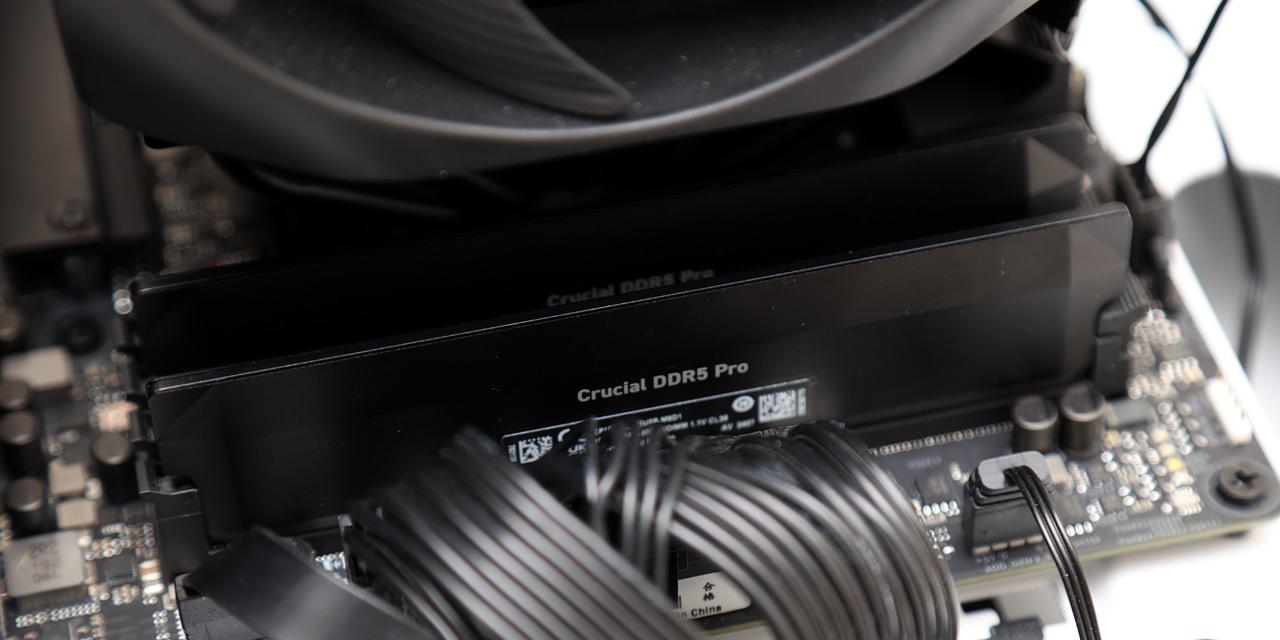
Behind the motherboard tray, I had an adequate amount of space. My cable management does not really matter from a visual perspective as the right panel is not glass, but it is still important to try your best. The Cooler Master TD500 MAX provides an adequate number of tie-down points. Routing cables was easy enough using my personal Velcro straps to bunch up the cables. As previously stated, there is about 19mm of space across the majority of the case. Most builders can get by with this amount of space, but having more would be beneficial. The grommets alongside the motherboard tray made passing through cables from the back of the case to the front of the case very easy, minimizing the number of visible cables.
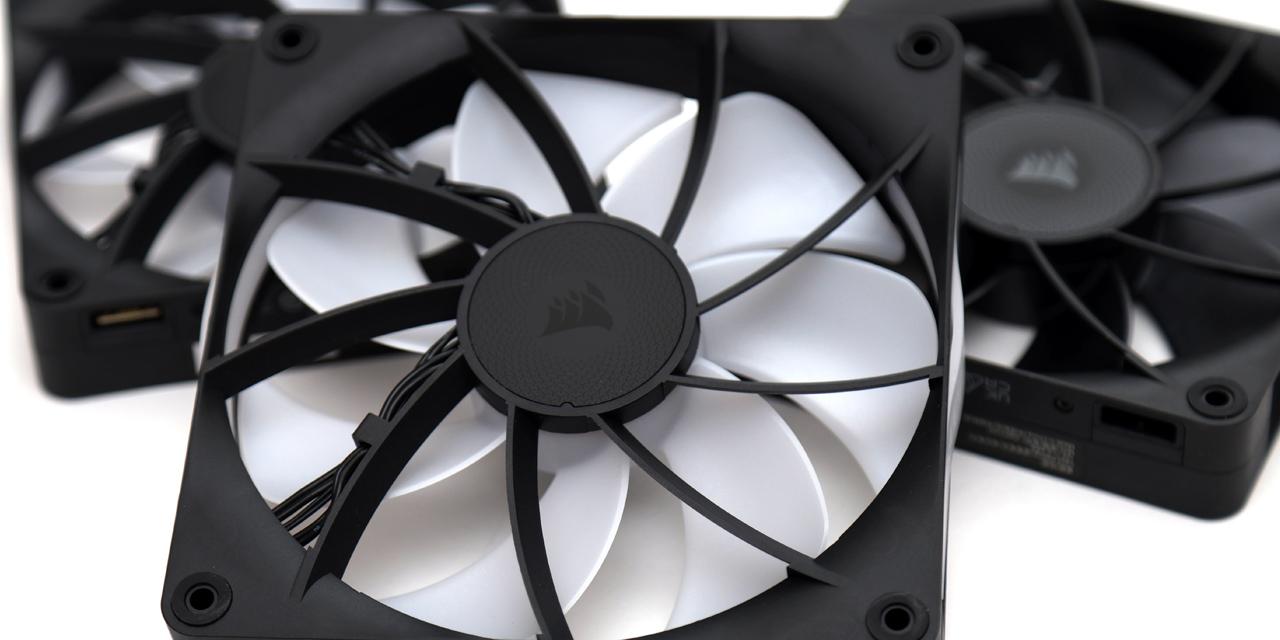
The rest of the installation process was really smooth. Since the PSU and AIO water cooler were already pre-installed, everything is only a matter of plugging the connector in to get it to work. Furthermore, the fans and LEDs are all connected to the ARGB lighting and PWM fan controller from the factory. In general, everything was appropriately placed for routing cables through, whether they are from your power supply, case, or storage devices. The large motherboard tray cutout also made the installation of the water block totally painless.
One thing to note is thumbscrews are not included with the expansion card slots. You will either have to provide your own or use a screwdriver to install your graphics card.

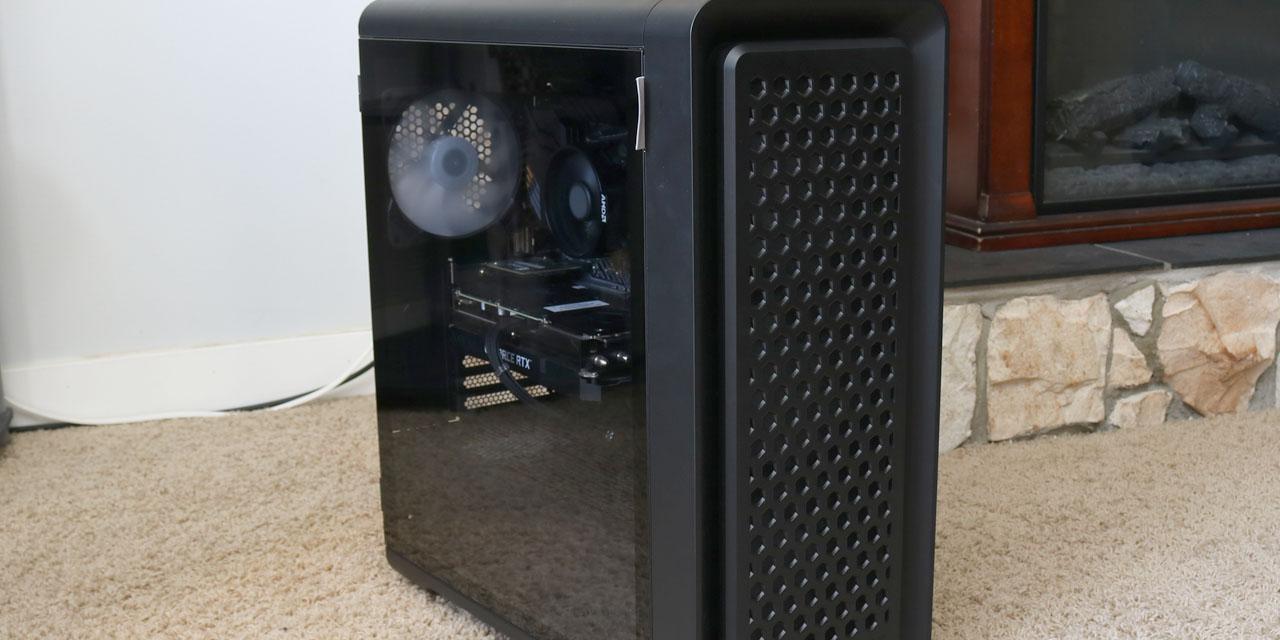
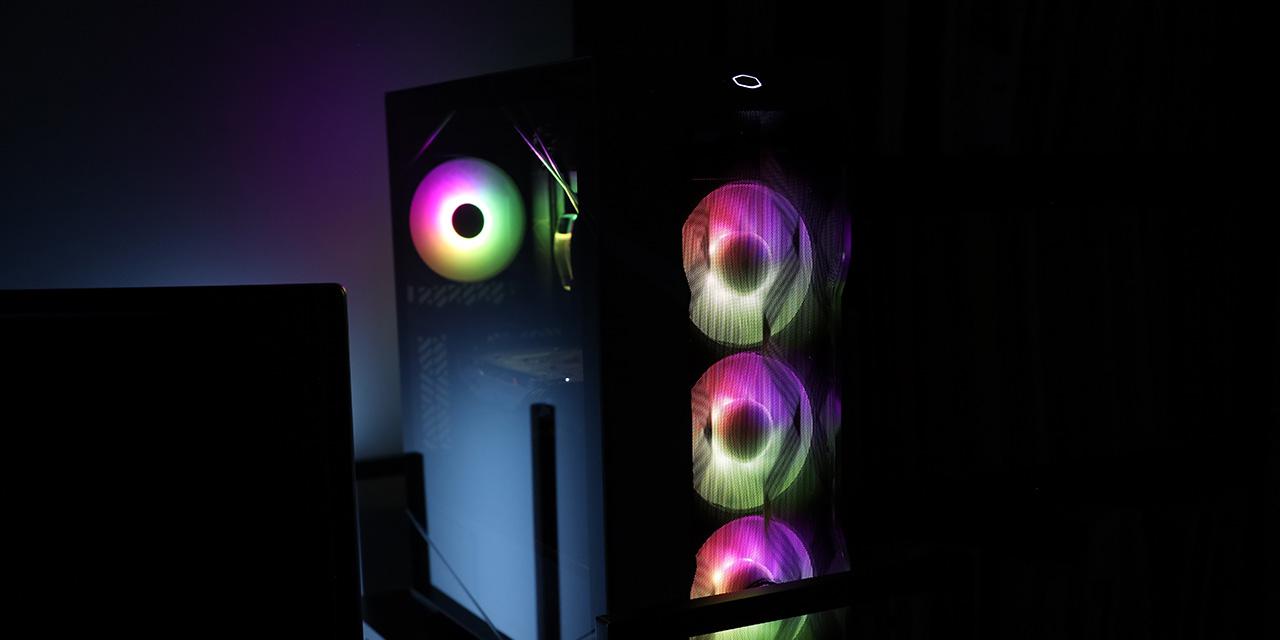
In my opinion, the Cooler Master TD500 MAX looks amazing. While looking quite sleek, Cooler Master was able to add a bit of uniqueness with the crystalline design. The front panel is especially nice, because it allows maximum airflow and RGB LED lights to shine through it at the same time. The design of this case is the main attraction, as this is a very different and aesthetically pleasing case. The design of the front panel serves both function and aesthetics and I really appreciate how the tempered glass side panel continues the pattern.
Page Index
1. Introduction, Packaging, Specifications
2. Physical Look - Outside
3. Physical Look - Inside
4. Installation
5. Cooling Test Results
6. Conclusion