Page 2 - Physical Look - Hardware; Installation

The first thing that stands out about the DeepCool ASSASSIN IV WH is its cubic shape. This remains quite consistent with other DeepCool coolers we have seen, including the AK620 Digital. This seems to be the modus operandi of DeepCool's air coolers, which at least makes for a consistent design language across the board. The top part shows off both solid and perforated areas, especially with its grid in the middle. At the leading edge of the cooler, we have the same grid pattern on the fins we also saw on other AK-coolers, which alternates slightly indented squares for a unique grid effect. Otherwise, you can also see why this is the "WH" edition, as we have a lot of white elements here. Everything is covered in white, including the stacks of fins, the heatpipes, and the plastic framing elements around the cooler. The only exception is the base and the translucent DeepCool logo on the bottom corner. This logo actually glows teal when it is plugged in to match DeepCool's branding colors.

With the top grid panel open and both fans removed, you can get a closer look at the fins and the plastic frame surrounding the heatsink fins. The grid panel holds well to the rest of the heatsink with magnets, but it is also easy to remove. We have a dual-stack tower design, albeit at a taller profile than some other coolers. It should still fit inside most mid-tower ATX cases. The fins are a bit tricky to see from this vantage point, but we have a total of 53 fins on each stack, with a mostly even spacing of 2.0mm between each fin. The front stack of fins is not as wide as the back stack of fins. From my calculations, the total surface area of the dual stack cooling fins is approximately 1.2m², which is quite a bit. In terms of mass, the total weight of the heatsink and fans is a hefty 1.575kg. Of course, this includes the plastic frame and the frames that hold the fans in place, but it is still quite a large number. For some perspective, a typical AMD Wraith Prism stock cooler weighs 582g, which is just over a third of the weight of the ASSASSIN IV WH.

As for its dimensions, the DeepCool ASSASSIN IV WH is not a compact cooler. With a height of 164mm, width of 144mm, and depth of 147mm, this is a pretty big unit. You could argue this is only 2mm higher than the AK620 Digital, but it is also taller than the Noctua NH-D15. The ASSASSIN IV WH is also not symmetrical with its thicker set of fins on the back stack compared to the front one. By default, the fans are installed in between the stack and at the back, so there is no part of the cooler that will sit over your memory. There is approximately 4.3cm of space between the bottom of the base and the bottom of the fins. However, I actually did run into some clearance issues due to the wider spread of the heatpipes, as I will explain later on in our review.
From the base where the metal contacts the processor, seven continuous U-shaped heatpipes lead away from the CPU contact and split into the two stacks of fins. This effectively makes fourteen heatpipes in total. The 6mm diameter heatpipes are supposed to efficiently lead the heat away from its source due to the low heat of vaporization, or phase change energy, of alcohol. The heatpipes are aligned in a manner to spread out the heat in the array of radiating fins. The 1.2m² of surface area, combined with the two DeepCool fans, should be able to deliver very good heat dissipation performance, but we will see if this statement is true on the next page.

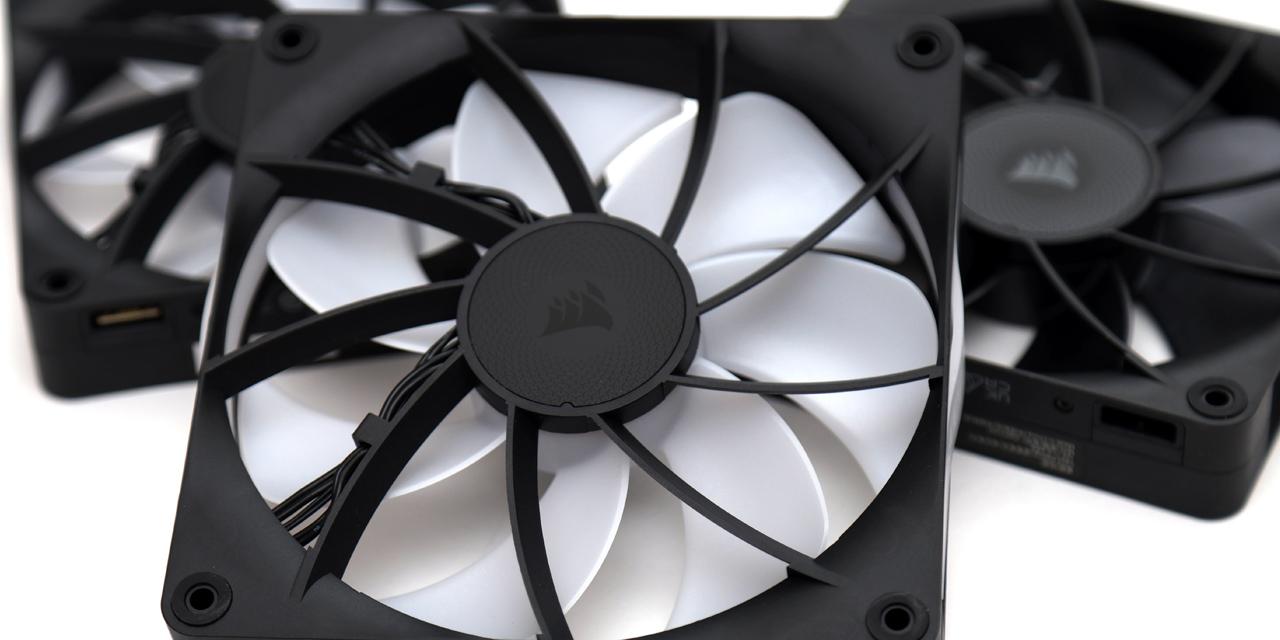
As for the two fans in question, we have a single 140mm fan to slot in between the two heatsink fin stacks and a 120mm fan that sits at the back. The 140mm fan has a maximum airflow of 79.1CFM and air pressure of 2.44mm H2O. The 120mm fan has numbers of 58.06CFM and 2.1mm H2O for maximum airflow and maximum air pressure, respectively. Together, they will produce an overall noise level of 29.3dBA. One neat thing DeepCool has done is the inclusion of a fan mode switch built into the cooler. All of the maximum numbers above were under the performance mode. However, if you switch to the quieter mode, these numbers will reduce with the overall noise decreasing to 22.6dBA. The switch is a physical one built into the top of the plastic shroud over the fins. While most people would leave the fan speed control to the motherboard, I think it is neat to see a solution like this for a quieter output. Otherwise, both of these fans are PWM-controlled with fluid dynamic bearings inside.
The fans attach via different brackets, depending on the position. The middle 140mm fan slots in between the stacks with metal brackets on each side to attach it in place. This forms tension clips on the top, which can be squeezed if you ever need to remove the fan, such as when you are installing the cooler. The back 120mm fan attaches with the plastic shroud and its plastic clips. This one can actually slot into two different positions, depending on the clearance you might need under the cooler. If you want, you can also install one more fan at the front, as DeepCool provides a plastic frame to mount yet another 120mm fan.

The photo above shows the bottom of the DeepCool ASSASSIN IV WH and how the heatpipes lead out of the base and into the fin array. The base is very flat, which should translate into the entire base pressing evenly on top of the processor. A quick inspection also reveals there are no abnormalities here with no milling marks seen. This whole heatsink is composed of different materials. The base and heatpipes are composed of copper with nickel plating on the outside. Copper is used because it has one of the best heat transfer abilities with a thermal conductivity of 401W/mK. Meanwhile, the fins are made up of aluminum as it is quite a bit lighter in comparison to copper. This reduction in weight will reduce stress on the motherboard, although aluminum has a lower conductivity of 237W/mK, which is not as optimal for heat transfer, but the trade-off is understandable.
In terms of appearance, the copper base is concealed with an electroplated nickel. While nickel has a notably lower conductivity of 90.9W/mK, this layer is very thin and should not adversely affect the performance to a significant degree. Instead, nickel and nickel-base alloys are used here because of their properties in withstanding corrosive environments and high temperatures, which is especially beneficial for a heat dissipation device. The reason why nickel has these properties is because of its ductility and toughness all the way up to the melting point of 1455c, measured at non-standard pressure. Nickel's face-centered cube crystal structure is highly resistant to corrosion, so corroded material will not build up on the surface in the long run. As a result, the DeepCool ASSASSIN IV WH will be less prone to losing its cooling performance over time as juxtaposed to a corroded copper surface.
At the base, all of the joints are soldered to the base, but the fins are pressed to the heatpipes. Pressed fins are pretty typical, but this may lead to degradation over time as contact between metals decreases due to thermal expansion and contraption. It also means the fins can slightly slide about easier. Even so, everything is well put together on the DeepCool ASSASSIN IV WH with a solid choice of materials around the heatsink and fins. The white finish also makes everything look uniform in color despite differences in materials.

Installation of the DeepCool ASSASSIN IV WH is straightforward and imitates other competition's system in how it works. While this might be seen as copying, it is one of the most seamless mounting experiences, and this is great for the end user. With Intel systems, you will use the included backplate. This comes with bolts for installation of the entire unit, and it can be moved around depending on the socket you are using. For AMD systems, you can use the backplate that comes with your motherboard. You can start by screwing in the four bolts to secure the backplate.
Once the backplate is fixed in place, you can use two mounting bars to attach on the CPU side. DeepCool again has separate bars for AMD and Intel motherboards, so be sure to use the correct ones. It is important to note the bars should be oriented so that the arrows on them point towards the processor. From here, you can tighten the thumb bolts on the bars before you mount the larger heatsink. I would also advise squeezing out some thermal paste on your CPU. DeepCool has provided sufficient amount of paste for multiple installations.

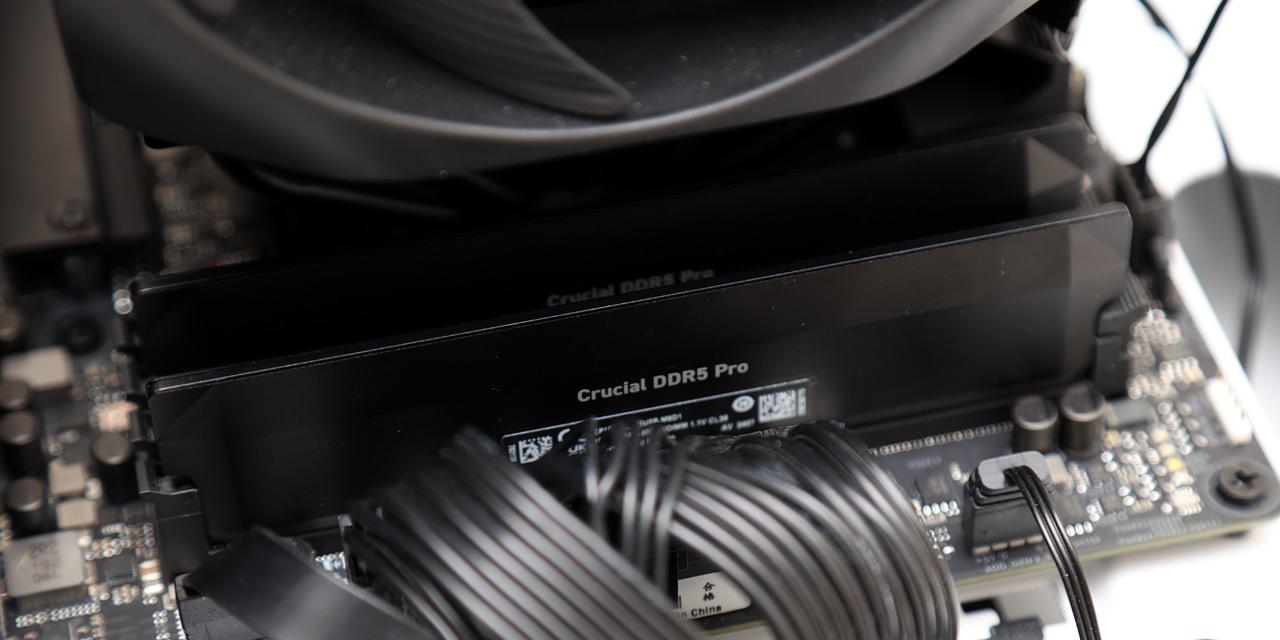
Afterwards, with the fans removed from the fin stack, you can place the whole ASSASSIN IV WH on top and screw the unit onto the mounting bars. You will probably need an L-shaped screwdriver that is long enough to reach, which is why I am glad they have provided one in the box. Be sure to tighten these screws in an alternating fashion to evenly attach the heatsink to the metal bars. Next, you can install the middle fan in between the two towers by sliding it into place and seeing the metal bars clip in place. As I have pointed out before, the ASSASSIN IV WH does not hover over my memory. Furthermore, the back fan does sit over the back of the motherboard near the I/O, but it does not interfere with my AMD motherboard.

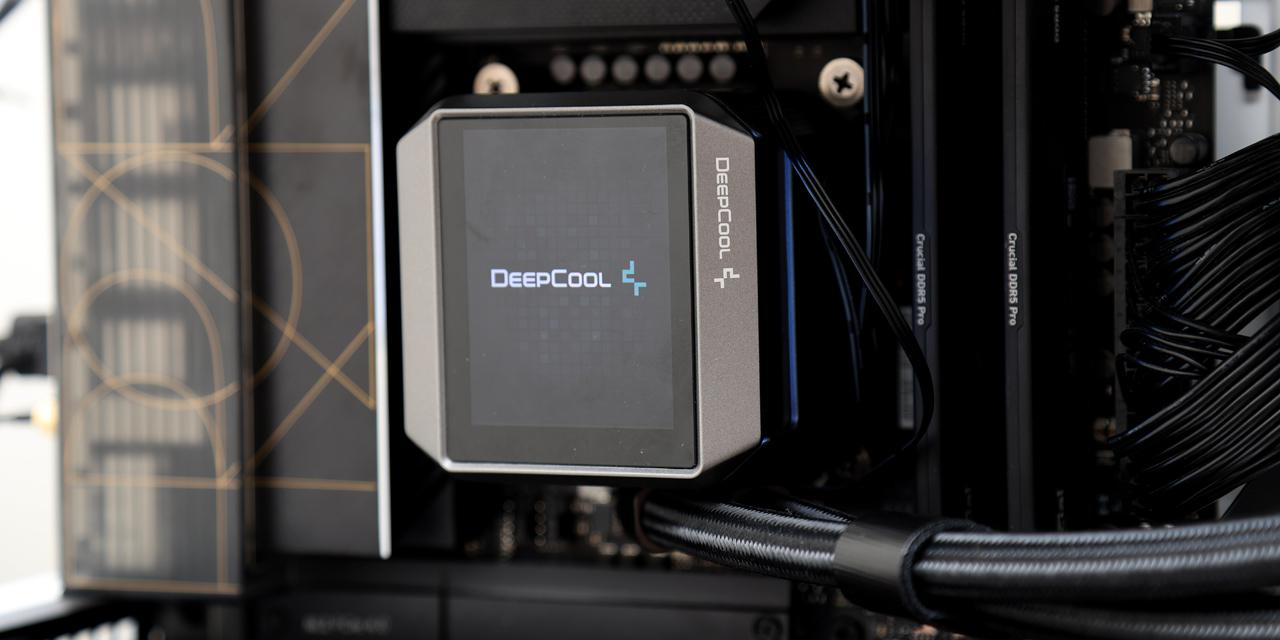
One difference you might have noted is that I mounted the DeepCool ASSASSIN IV WH on my AMD system. I originally intended to test the ASSASSIN IV WH on my Intel system, as this is where I have done most of my recent tests for coolers. However, I ran into clearance issues, as the wide spread of the heatpipes interfered with the VRM cooling on my motherboard. This is honestly the first time I have seen something like this and I was quite surprised. Unfortunately, I did not notice this issue, despite the notable tilt shown in the image above, until my testing results came back quite poor. Once I removed the ASSASSIN IV WH, my fears were confirmed as there were scratch marks on the heatpipes. As such, you may want to avoid the ASSASSIN IV lineup if you have taller VRM heatsinks.
Page Index
1. Introduction, Packaging, Specifications
2. Physical Look - Hardware; Installation
3. Test Results
4. Conclusion