Page 3 - A Closer Look, Board Layout, Test System

To be absolutely honest with you, before writing this review, I have actually never owned an Intel motherboard before. The general consensus for most enthusiasts in the past is Intel motherboards are not made for people who are looking for power and performance, but rather your average user who want stability and reliability. If this is indeed the case, then we are in the wrong target market. Fortunately, as you read through this review, you will realize more and more this is indeed not the case (Which you probably would have figured out a bunch already if you read the BIOS commentary on the previous page). Taking a quick glance at the company's latest foray into the enthusiast market, the DZ77GA-70K reminds me of an ASUS motherboard in a very positive way. The beautiful black PCB is complemented by a simple array of blue heatsinks around the CPU socket and platform controller hub; the well refined layout that emits a strong sense of maturity without giving up its playful side. Okay, looks and feelings aside, while aesthetics is not really an issue when it comes to internal components of a computer compared to the way the board is built and how well it performs, surprisingly it can be a deciding factor for some users. Of course, the comments on the look are just a personal opinion.
As you can see in the photo of the Intel Desktop Board DZ77GA-70K above, the heatsink configuration is very simple. Because the Z77 PCH is not a whole lot more than just a glorified Southbridge with a 6.7W TDP rating, a simple passive cooler over the chip makes a whole lot of sense. The other two heatsinks extends over the MOSFETs placed around the processor socket as mentioned, in which we will cover in just a short moment. Either way, the Intel Desktop Board DZ77GA-70K performs very reliably, even in chassis with not a whole lot of airflow.
As with most motherboards, the ATX 4-pin/EPS 8-pin power connector is located near the top left corner, and along the edge of the board. I am quite pleased with the way Intel orientated the socket, as it is placed in an easily accessible location that is not too close to the rear I/O panel. If it is placed too close to the back, you will have a bit of trouble disconnecting in a standard ATX case, especially for those who own a large cooler. Score one for Intel; let's see what else we got.

Above is a shot of the motherboard at the back. The design is relatively simple and clean; great for those thinking of adding aftermarket CPU cooling solutions. A standard Intel backplate is found here, but all LGA 1155 aftermarket coolers should be designed to work with this backplate in place. As always, the RAM socket and expansion card slots uses through hole connectors, as shown in our photo above; SMT (Surface-mount technology) is not capable of withstanding higher mechanical stress required for this purpose. As Intel concentrated most of their efforts highlight the board's apparent features such as the excellent Visual BIOS, there is no mention on distinctive elements of the hardware build -- such as extra copper on the power and ground later, glass fabric PCB, etc. like ASUS and Gigabyte -- so let's move on to the next section.

Within close proximity of the LGA1155 processor socket is the usual series of items; including components relating to the CPU voltage regulator circuit and a duo of heatsinks over a its voltage regulator modules. The heatsink as well as the exposed components in general are low profile, so I have experienced no problems in installing large heatsinks such as the Noctua NH-D14 or Cooler Master TPC 812. The CMOS battery is placed between the processor socket and the first expansion card slot, but since we have a Back to BIOS switch at the back the board -- more on this later -- the traditional pull-out-the-battery-to-settings trick will probably never be used. A 4-pin fan header for the rear fan is conveniently found nearby as well. One interesting feature to the Intel Desktop Board DZ77GA-70K is an array of LEDs at the top that lights up corresponding to the power consumption of the CPU for those who have window cases.

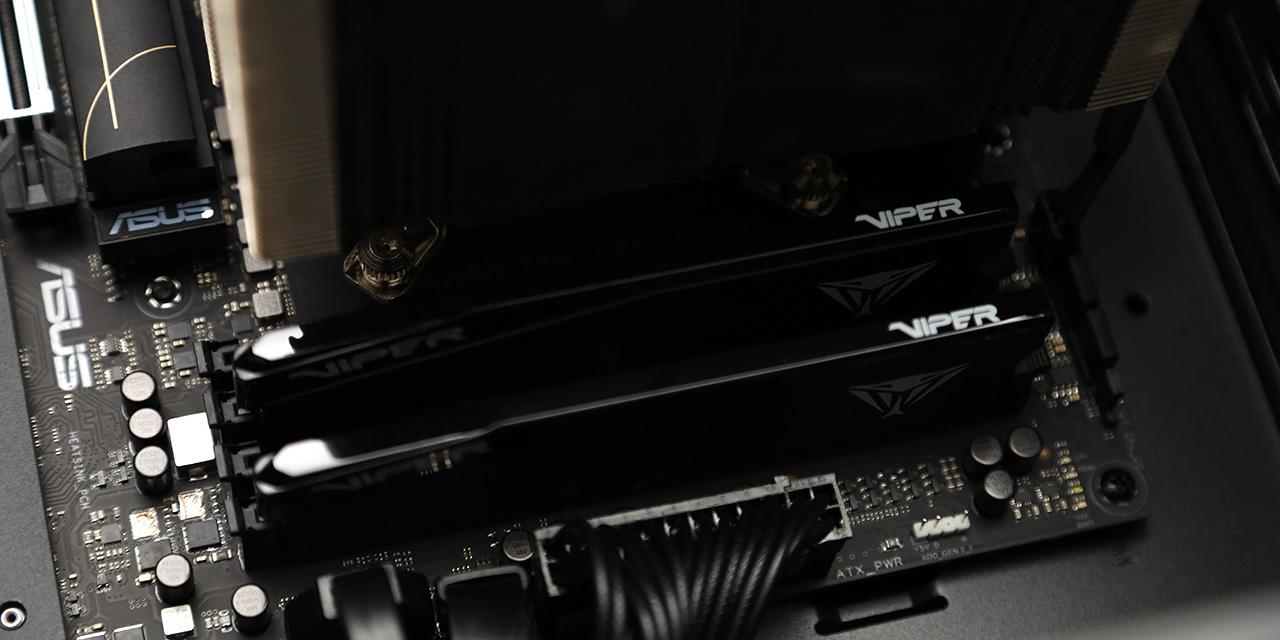
The RAM slots are placed rather close to the CPU socket; even closer than the Gigabyte GA-Z77X-UD3H we have reviewed a while back. Additionally, since the CPU socket is shifted to the middle of the board rather than left-biased like old LGA 775 boards, you may experience clearance issues with the inside slots if you have memory with tall heatspreaders in conjunction with a large CPU heatsink/fan. That said, many RAM manufacturers are now aware of this issue, so low memory kits with low profile heatspreaders are actually a lot more common today than it was a couple of years ago. A built in motherboard speaker is located right under a 4-pin fan header near the top right corner. The ATX 24-pin power connector is placed along the side of the motherboard as far as standard design is concerned, followed by an onboard power and reset button. I am actually quite pleased to see a built in motherboard speaker, since it is an absolutely invaluable tool for diagnostic purposes, and many cases do not come with them anymore.

Eight color coded Serial ATA connectors are angled perpendicular to the motherboard for optimal cabling convenience. They first six are native to the Z77 chipset; and supports RAID 0, 1, 5 and 10. The blue ports are SATA 6Gb/s ports, while the black ports are SATA 3Gb/s ports. The grey ports are provided by the Marvell 88SE9172 PCIe SATA 6Gb/s controller, which supports RAID 0 or RAID 1. Obviously, you won't get full speed out of it, since a single PCI Express lane only supplies 500MB/s of bandwidth. Additionally, external Serial ATA controllers are not exactly known to provide excellent storage performance, so I would just use them as extra storage ports for connecting your drives if you happen to fill out all your Intel powered ones.
Next to the SATA ports is a debug LED. The debug LED displays a code corresponding to the boot sequence, so if there are any issues preventing your system from starting, you can get a visual queue in addition to listening to a bunch of beeps to find out what is going on. The block adjacent to the LED display is the case I/O connection header. It is color coded but not labeled, so you will have to take out your motherboard manual to get things going. You can see these more clearly in the following photo.

The expansion slots on the Intel Desktop Board DZ77GA-70K are ordered as follows: PCIe x1, PCIe x16, PCIe x1, PCI, PCIe x16, PCI, and a PCIe x4. However, do keep in mind that only the first PCIe x16 slot is a "true" PCIe x16 slot; the second one will have a nice sharing-is-caring session with the first slot if a graphics card is installed to become two x8 slots. This is due to limited availability of PCIe lanes provided by Ivy Bridge and Sandy Bridge core processors. And yes, you read it correctly -- there are two legacy PCI slots. I am not sure why they included so many, since I doubt anyone would have more than one, if at all. As Intel's Z77 chipset has no native support for PCI slots, the ones found on the Intel DZ77GA-70K are connected to one of the PCI Express lanes by an ITE IT8892E bridge chip.
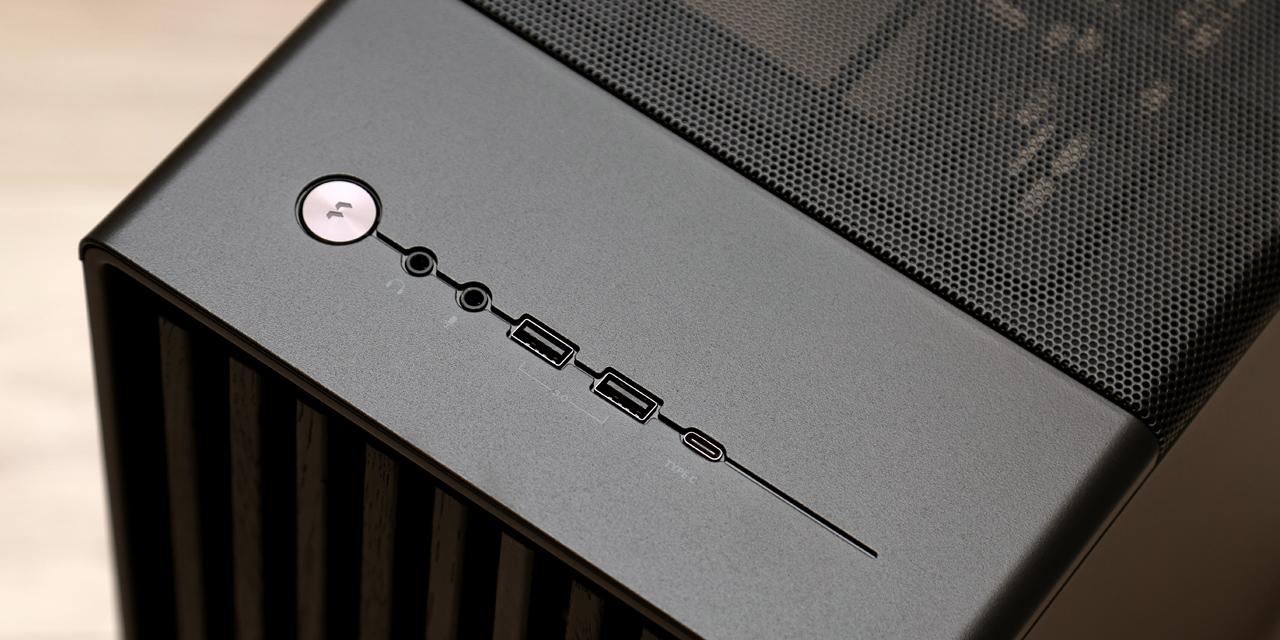
An array of internal headers can be found at the bottom of the Intel DZ77GA-70K. From the left, we have Firewire, 4-pin fan, repeating LED indicators, S/PDIF, two USB 3.0, one high power USB 2.0, and two standard USB 2.0 headers. Pinouts of lesser importance such as IR, clear CMOS, serial, and chassis intrusion can be found near the bottom right corner as well. All fan headers on this motherboard is capable of controlling both 3-pin voltage and 4-pin PWM fans. The front panel audio connector is placed a little higher up next to the second PCIe x16 slot, but I don't think you will have too much trouble getting a cable up there in my opinion. Generally speaking, good placement of connectors in this segment of the motherboard is usually very challenging, and Intel has done an excellent job of organizing it in an efficient and user friendly manner in my opinion.

The back panel offers a generous array of available external connectors. It features one dual purpose PS/2 connector provided by its Winbond W83677HG chip, and a total of eight USB ports. Since Intel only provides native support for four USB 3.0 ports out of the box, and the Intel DZ77GA-70K has eight USB 3.0 ports (Four of them are headers), the extra four is made possible by a Genesys Logic GL3520 hub controller. Meanwhile, the yellow USB 2.0 ports are designed for high current charging. It is certainly a very nice touch by the engineers, since devices that charge via USB such as your cell phone can really benefit from this. It is also capable of delivering power even if your system is on standby or turned off. The button between the USB 2.0 and USB 3.0 port blocks is what Intel calls the "Back to BIOS" switch. Basically, if engaged, it forces the system to enter the BIOS on startup, and lock it down to default values if something proves to be problematic during your overclocking sessions.
Moving on, the two eSATA ports you see are provided by a second Marvell 88SE9172 chip. An Intel 82579V and 82574L Gigabit Ethernet controller makes for the two LAN jacks. It is rather unsurprising to see a pair of Intel network controllers on an Intel motherboard, and I am very happy to see it done this way. From my past experience, Intel LAN delivers significantly better performance than Realtek and VIA counterparts in true network throughput. The only video output on the DZ77GA-70K is an HDMI port as shown in our image above. Unfortunately, it does not support Lucid Virtu GPU virtualization. The rest are audio connectors based off the Realtek ALC898 codec; an optical output can be seen in addition to the five standard 3.5mm analog jacks. We will see how its analog audio output performance stacks up later on in this review.

As with all high end enthusiast motherboards, Intel packages the DZ77GA-70K with a few extra accessories to make their product more enticing. This includes a PCI Express based wireless adapter running on the company's excellent WiFi Link 6205AGN dual antenna chip, along with an external antenna. A Bluetooth module -- manufactured by MSI -- connects to your computer's internal USB 2.0 header, and can be mounted inside your chassis by double sided tape. Finally, a 3.5" USB 3.0 front panel header is included for those who own cases without such a feature. That said, I found the 3.5" packaging quite impractical, as you won't find many new cases that can accommodate this format out of the box. After all, who still uses floppy disk drives?

Our test configuration as follows:
Compared Hardware:
- Intel Desktop Board DZ77GA-70K (Intel Z77; $220 at press time)
- Gigabyte GA-Z77X-UD3H (Intel Z77; $150 at press time)
Common Specifications:
CPU: Intel Core i7-3770K
CPU Cooling: Arctic Cooling Freezer 13 Pro
RAM: G.Skill Ares F3-1600C8Q-16GAB 4x4GB
Graphics: Gigabyte Radeon HD 7870 2GB OC
Chassis: NZXT Switch 810
Storage OCZ Agility 3 240GB
Power: Thermaltake Toughpower XT Platinum 1275W
Sound: Integrated
Optical Drive: None
Operating System: Microsoft Windows 7 Professional SP1 x64
Page Index
1. Introduction, Features, and Specifications
2. Bundle, Chipset, BIOS
3. A Closer Look, Board Layout, Test System
4. Benchmark: AIDA64 CPU
5. Benchmark: AIDA64 FPU
6. Benchmark: AIDA64 Memory
7. Benchmark: BAPCo SYSMark 2012
8. Benchmark: PCMark 7
9. Benchmark: 3DMark 11
10. Benchmark: PassMark PerformanceTest 7.0
11. Benchmark: SuperPI 1M, Cinebench R11.5
12. Onboard Sound Frequency Analysis
13. Overclocking and Conclusion