Page 4 - Installation and Conclusion

The installation process is extremely straightforward with the Lian Li PC-B12. For the most part, it is very easy to work with as far as a standard mid-tower is concerned. Out of preference, I installed the power supply first, followed by my ASUS P8P67 WS Revolution motherboard. The power supply used was a PC Power & Cooling Silencer Mk III 1200W reviewed by Yours Truly last week. It appears to me the PSU intake vent's location is not perfectly aligned, especially if you have a smaller PSU -- larger units like the PCP&C I have used is not a big issue. Either way, this is nothing to get overly worried about, because the additional 1 cm raise the PC-B12 provides is sufficient enough for allowing airflow into the power supply anyway. As I have talked about earlier in this review, the opening on the motherboard tray to accommodate aftermarket heatsinks with their own backplates is not large enough, or at least not in the correct location. It should have no problems working with older motherboards; unfortunately the average Intel CPU socket location has shifted since late 2009. For a chassis released in late 2012, I think Lian Li should have addressed this problem already.

The rest of the installation process came and went just as smoothly, as I continued to install the rest of my components. You can even install your motherboard with thumbscrews, but for an extra touch of security, I kept my screwdriver handy. The only exception to this otherwise smooth process rolled around when I pulled the EPS 8-pin cable from my PC Power & Cooling Silencer Mk III 1200W to its intended location from behind the motherboard. The top opening on the tray corresponding to this connector is simply too small for such an obtuse input angle; the solution is simply to tilt the upper panel up. Fortunately, with the removal of only a two screws, enough tilt can be applied, and everything is quite straightforward from this point on.
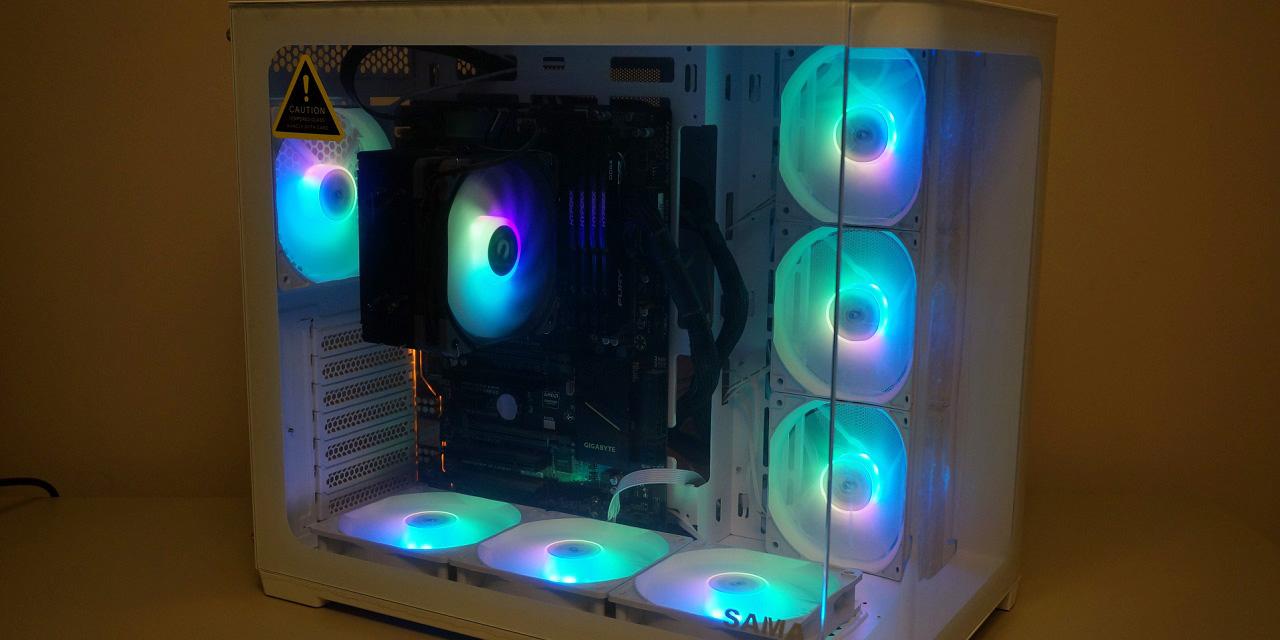
The rest of the procedure is quite tool-free in nature. This includes all add-on cards and optical drives. All mechanisms are design quite well, as discussed on the previous page. To recap, expansion card installation requires a simple clip engagement. Optical drive installation involves a quick swing of the locking lever. You will need a screwdriver for the 2.5" and 3.5" SSD and HDDs though. While the act of putting them in your case is tool-free, attaching the rubber vibration dampeners (Which doubles as a rail guide) is done by a screw. 3.5" hard drives are locked into place by a vertical rail on the drive rack. Again, I am not a big fan of the fact that the PC-B12 can only take one 2.5" and three 3.5" drives, because I know many people who have more than one SSD. One of our readers pointed out that you can sneak an extra 2.5" drive upside-down on the rack, but this is not officially supported by Lian Li. As you can see in our photo above, I have a Gigabyte Radeon HD 7870 2GB OC installed, and although it is a pretty long card, it fits well with room to spare. We don't expect any current or projected video card to not fit into the Lian Li PC-B12.
Executing a good cabling job is quite straightforward on the Lian Li PC-B12. There are two well sized openings adjacent to the motherboard on the right, so choose your half. They are all appropriately placed for routing cables through, whether they are from your power supply or your hard drive. Two small ones are lined up along the bottom for thinner cables like USB and chassis I/O connectors. Other than that, a full height gap is situated on the right and beneath the motherboard tray, just in case the integrated openings are not sufficient for whatever reason. The only problem you will face is when you close the right side panel. The insulation will get in the way of the already thin gap between the motherboard and the side panel, so good luck getting this piece back on. If Lian Li could just add one centimeter of extra width here, life would have been so much easier. As of now, I can actually see the panel actively being pressured out by cables inside my system.

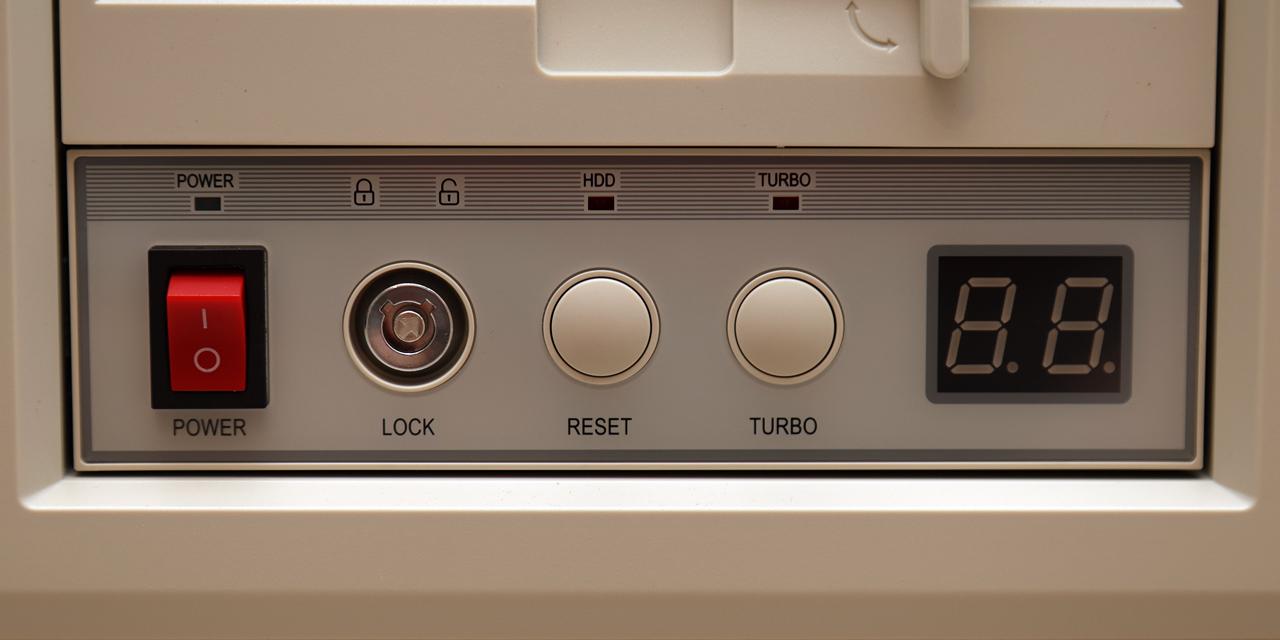
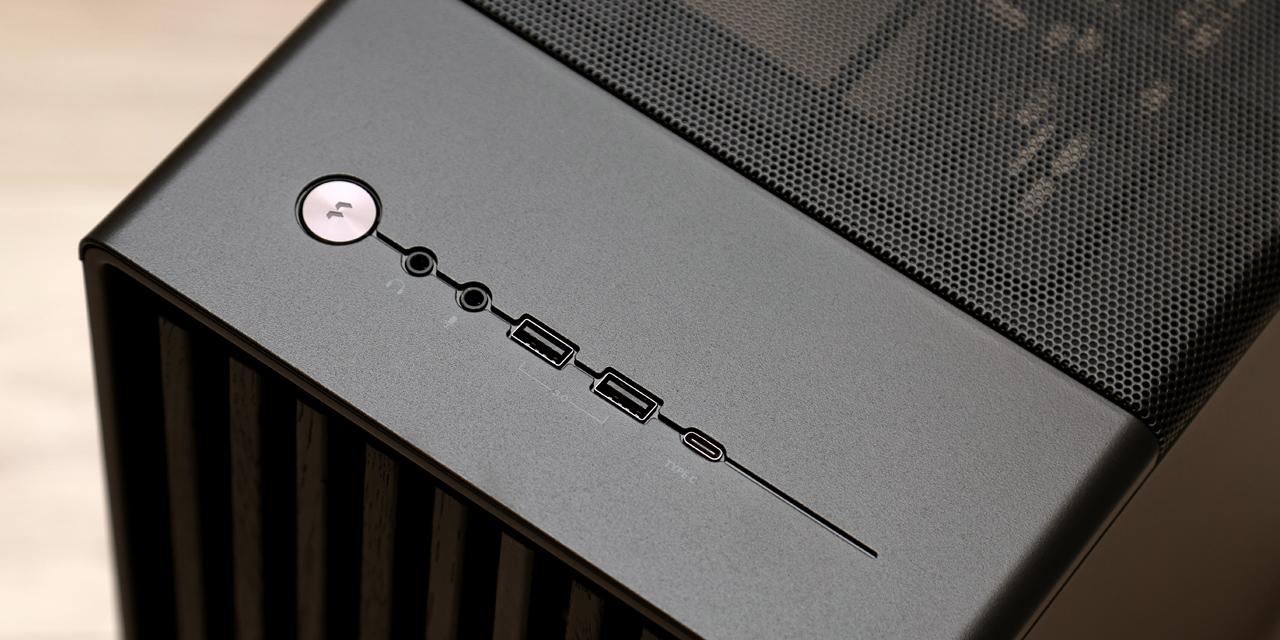
After plugging in everything, our system configured inside the Lian Li PC-B12 is ready to roll. I hit the large power button at the top, and my computer came to life. Your finished system should resemble what I have above, since there is nothing much you can change here anyway, haha. The power LED will glow blue, and the HDD activity LED will flash red. A small complaint is the power LED's blue light leaks considerably into the HDD activity LED, but this is not a major issue.
On a scale from 0.0 to 10.0 where 0.0 is silent and 10.0 is the loudest, the Lian Li PC-B12 configured stock fans would come in at 3.5 subjective sound rating at full blast. This is pretty decent. Slowing them down will keep it at around 3.0 in my personal opinion. I am quite sensitive to perceived sound volume, and as a quiet PC enthusiast, the Lian Li PC-B12 is decent for most applications and better than your average case, but definitely not the best silent mid-tower I have seen. That crown, of course, goes to the Fractal Design Define R4. While the sound insulation on the PC-B12 does a fine job in keeping the noise in and the heat out, keep in mind this is an aluminum chassis, so I don't think it is reasonable to expect it to be as good as competitor cases built out of thick SECC panels. Consider the following: The Lian Li PC-B12 is literally less than half the weight of the Define R4!
-----------------------------------------
The Lian Li PC-B12 is an very good mid-tower retailing for about $160 at press time. I know this is quite subjective, but man, I love the way it looks. I am not sure if Lian Li even hires designers anymore, because all it takes is someone with a ruler and a pencil -- but if a clean looking chassis with beautiful brushed aluminum panels built to perfect precision is your thing, the PC-B12 takes this classic formula a step further, and adds sound insulation material inside to keep the noise down. Lian Li's tool-free installation system is also among the best I have seen for the most part. I think this is the closest I have ever been to in building a computer without whipping out my screwdriver. Combined with a great interior layout and excellent dust resistant design, I think it is rather hard to imagine I have much to complain about Lian Li's latest foray into the silent PC market. The fact is, I do not have much to complain about, but for the things I am about to mention, these are important. Firstly, the gap behind the motherboard tray. It is too narrow to reasonably accommodate cables from your power supply. Secondly, the drive bays. It is important that it can accommodate more 2.5" SSDs out of the box. Lastly, a window option would be nice, but this is just personal preference. Other than that, don't get me wrong, the Lian Li PC-B12 is yet another beautifully manufactured chassis to add to the company's large profile of awesome aluminum chassis.

Lian Li provided this product to APH Networks for the purposes of evaluation.

APH:Renewal Award | APH Review Focus Summary:
8/10 means Definitely a very good product with drawbacks that aren't likely going to matter to the end user.
7/10 means Great product with many advantages and certain insignificant drawbacks; but should be considered before purchasing.
-- Final APH Numeric Rating is 7.1/10
Please note that the APH Numeric Rating system is based off our proprietary guidelines in the Review Focus, and should not be compared to other sites.
The Lian Li PC-B12 is a beautiful aluminum mid-tower built to perfect precision with sound insulation to boot -- no weight penalty attached.
Do you have any comments or questions about the Lian Li PC-B12? Drop by our Forums. Registration is free, and it only takes a minute!
Page Index
1. Introduction, Packaging, Specifications
2. Physical Look - Outside
3. Physical Look - Inside
4. Installation and Conclusion