Page 2 - A Closer Look - Hardware and Software; Installation

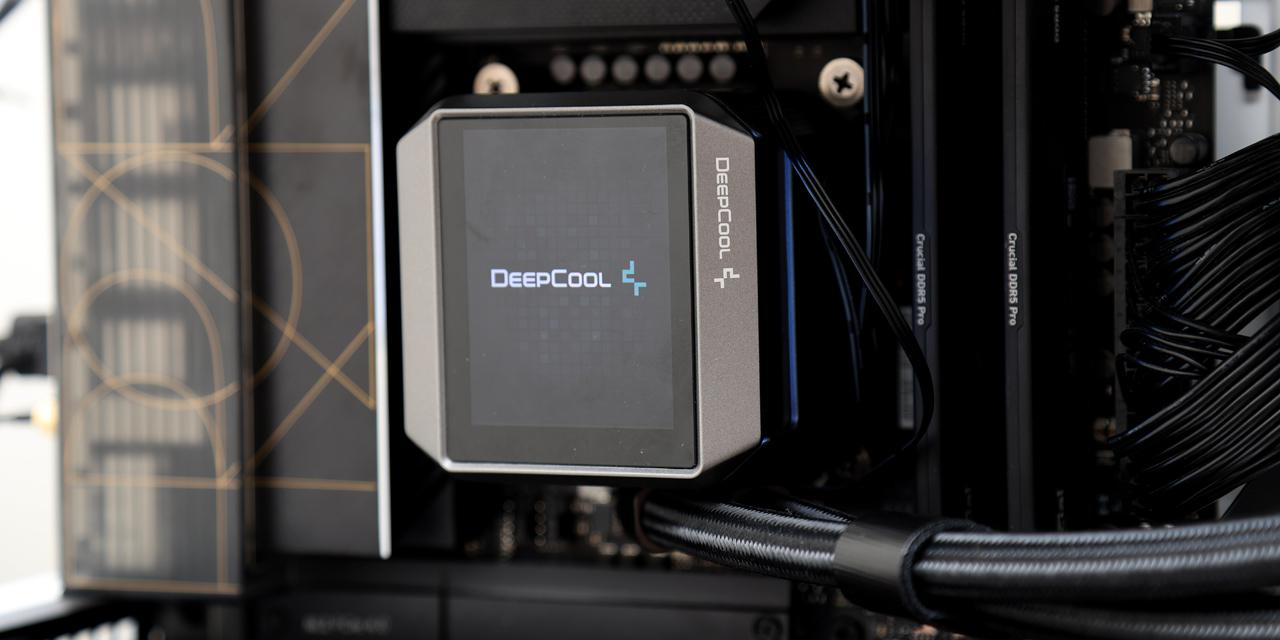
Like most all-in-one liquid coolers nowadays, the Thermaltake TOUGHLIQUID Ultra 240 has a pretty similar look to all of the current ones. This includes the same matte black finish on the components and the tubing. The Thermaltake branding is also kept to a minimum with it only printed on the side of the CPU block head. While it may resemble some other closed-loop liquid coolers, it should be noted this is not an Asetek AIO solution. The real thing that stands out on this all-in-one is the large circular screen on top of the CPU block. This 2.1" TFT-LCD screen sits on a rotating head so that it swivels around and can accommodate a different mounting orientation. Otherwise, you cannot really tell it is a screen until it is plugged in. Out of the pump block is a single cable to power the pump. Meanwhile, the screen has a micro-USB port on the side to plug into your motherboard, in order to power the screen and communicate with Thermaltake's RGB Plus software, as you will see below. I do not love this position of this port, as it means you will have a random cable sticking out the top when installed.

The Thermaltake TOUGHLIQUID Ultra 240's radiator is a pretty standard fin layout. These fins are placed in this manner to come into contact with liquid running through the radiator. The result is a wavy set of fins. As liquid runs through the radiator, the heat is transferred from the liquid to the fins through the contact points. Fans are attached on the radiator to dissipate the heat. The liquid is transported around from the water block to the radiator via tubing. The tubing is made from rubber and sleeved for a nicer finish. This tubing measures 400mm in length and should fit in most standard mid-tower cases on the market. It is possible they may be a bit short in larger full-size towers, although it depends on the placement of both the CPU and the radiator. The tubing is strong and flexible and should not form any kinks. They also pivot on the water block to allow for easier maneuverability when required.
As for the radiator, it has dimensions of 273mm in length, 120mm in width, and 27mm in thickness. These are pretty standard dimensions for a 240mm all-in-one-liquid cooler. This size plays a big role in cooling, as a larger surface area should result in better heat dissipation. The radiator is made up of aluminum, which performs satisfactorily in terms of heat transfer. However, the advantage of using aluminum is for its lower mass, which should in turn reduce the strain placed on this case. Near the end of the radiator, beside the two tubes, is a small outlet, which looks like it should provide access to the liquid inside. However, it does not look user serviceable, so I would not recommend opening this area up. Overall, the build quality of the Thermaltake TOUGHLIQUID Ultra 240 is good with no defects or nicks to be concerned about.

At the other end of the tubing is the water block and pump combination of the Thermaltake TOUGHLIQUID Ultra 240. This compact but chunky block measures 85mm in length, 75mm in width, and 68mm in height. Majority of this height comes from the pump and the screen all existing on the same combination. Otherwise, the whole unit is black with a matte finish. The screen on top is a 2.1" TFT-LCD screen that displays graphics measuring 480x480px. Otherwise, the base making contact with the processor is made up of copper, as you can see by its copper color. The base is flat and does not show any milling marks at the bottom. A plastic label was placed on this area for protection with warning notices to remove the label before installing the TOUGHLIQUID Ultra 240. On the sides of this area are deep tracks for mounting different mounting arms, depending on what socket you are installing the TOUGHLIQUID Ultra 240 onto. Internally, the water pump exists here to move water between the radiator and the CPU block. This pump spins up to 3200 RPM while operating at 12V voltage and 0.38A current. A cable leads out of this area with a 3-pin header to power the pump.

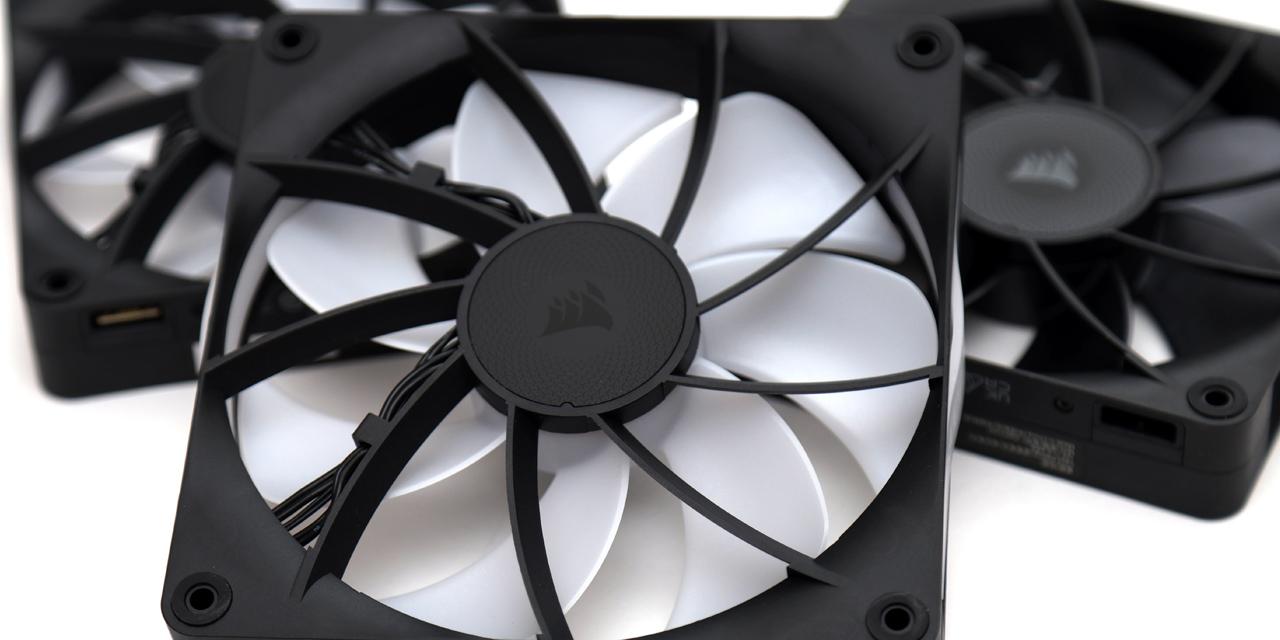
The two fans included with the Thermaltake TOUGHLIQUID Ultra 240 are retail Thermaltake TOUGHFAN Turbo 120mm fans. These fans have a similar look to the Noctua NF-A12x25, but operate at different specifications. Inside, we have hydraulic bearings with a lifespan of 40,000 hours. The rated noise level is a maximum 28.1dbA, but we will see what this means when we test for noise levels. In terms of other numbers, each fan produces a maximum air pressure of 3.78mm H2O with an airflow rating of 72.69CFM. Each fan also has rubber dampeners on each corner to soften vibrations between the fan and radiator. Finally, these are PWM controlled fans with 4-pin headers. We also have a fan adapter included so that both fans can be powered and driven by a single header on the motherboard.

Thermaltake's RGB Plus utility can be used here, assuming it is v2.0 or newer, to change what is displayed on the screen. As this utility is used to control other Thermaltake hardware and peripherals, there are several tabs that do not affect the TOUGHLIQUID Ultra, so I will only explore the utility with respect to this product. If you download this utility from Thermaltake, you will be looking at a 72MB compressed file.
Once installed, you can see this single page that shows you the ability to select different graphics or information. By default, this screen will start up showing you the liquid temperature on top of a speedometer-like graphic. You can change this screen to show other information including CPU and GPU temperatures, loads, and frequency, as well as the aforementioned liquid temperature. This includes different screens that cycle through this information or show a single dedicated one. You can make changes to the speed of cycling between the information, the brightness of the screen, as well as the text. From this screen here, you can also upload your own GIFs or JPGs to use as a background graphic. I definitely spent a few more minutes than I should have, but I was honestly super excited to try this out. The GIF I uploaded above is from an anime called Haikyu!!, which I have enjoyed in the past. While this utility is generally easy to use, I did notice a few hiccups while using it including mismatching preview images and slightly confusing interfaces, but it was generally quite usable.

Installing the Thermaltake TOUGHLIQUID Ultra 240 is a generally straightforward process, but I ran into some slight issues, some in part due to my case. The first step is to use the single backplate included and install the bolts into place on the backplate. It locks in place with some plastic washers that generally hold the bolt in place. Once installed, you can put the backplate in place and put the plastic standoffs on the motherboard side to secure the whole unit in place. Due to my case's back opening where the motherboard being a bit narrower than I would like, installing the backplate was not as straightforward as it could have been. Finally, once the standoffs are secured, you can flip to the other side.

The next step would be to either mount the fans and radiator to the case or mount the water block onto the motherboard. I chose to go with the former and mounted my radiator with fans attached to the top of the case. Another issue I ran into here was the fact that the screw holes did not seem to be threaded properly, so I had to pre-thread them before installing the whole unit into place. It was a small annoyance, but I think it is something that can easily be fixed. After mounting the radiator at the top of my case, I applied a sufficient amount of thermal paste, which is included from Thermaltake, and mounted the water block and pump combination on top of my AMD processor. Before I did this, I installed the correct arm frame onto the block that matched with the mounting bolts. I also removed the plastic protective sheet on the bottom of the block. Once placed on top, you can use the necessary nuts to screw onto the bolts and tighten in a cross pattern. The last step was to plug all of the connectors in place, including the fan, pump, and USB header. Overall, the installation had a few hiccups, but it was straightforward.
Page Index
1. Introduction, Packaging, Specifications
2. A Closer Look - Hardware and Software; Installation
3. Test Results
4. Conclusion