Page 3 - Configuration and User Interface
After plugging the device into my router, I turned on the device and logged into the networking device to see the IP that has been assigned to the Thermaltake Muse NAS RAID. I copied and pasted the private IP address into Firefox to see what kind of web configuration interface it has.
Surprisingly, it just led to a page displaying connected disks as well as a small box underneath for uploading a new firmware. It was kind of strange, but the setup poster indicates that the Muse NAS RAID has to be flashed prior to use -- kind of strange in my opinion. Can't Thermaltake just make it work right out of the box?
No firmware was available for download at the time from Thermaltake's website, so I followed the setup poster and used the firmware provided on CD.
The flashing process did not go all that smooth -- the third phase froze at 98% -- so I just rebooted the machine. The second surprise popped along because it was rather a progress display bug than a firmware flash problem; the Thermaltake Muse NAS RAID worked without problems to date. The appropriate web based configuration screen appeared for setting disk configuration, device name, and the such.
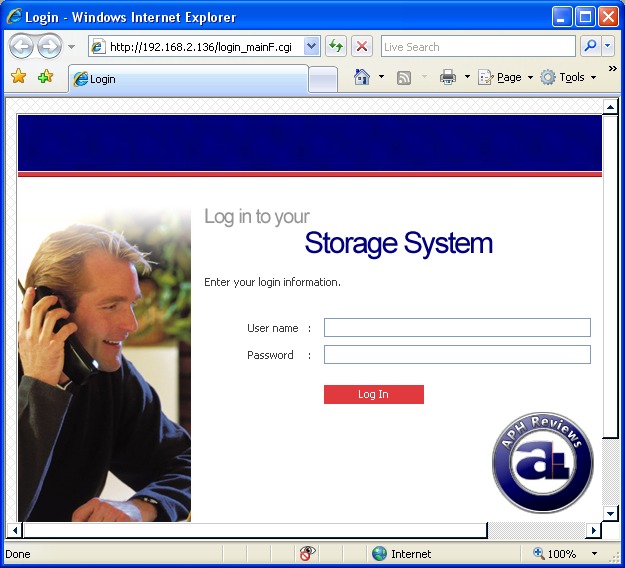
After completing the disk configuration and setup, the next time you connect you will see Thermaltake Muse NAS RAID's web-based configuration login screen. According to the setup poster, the default username and password is admin and storage, respectively.
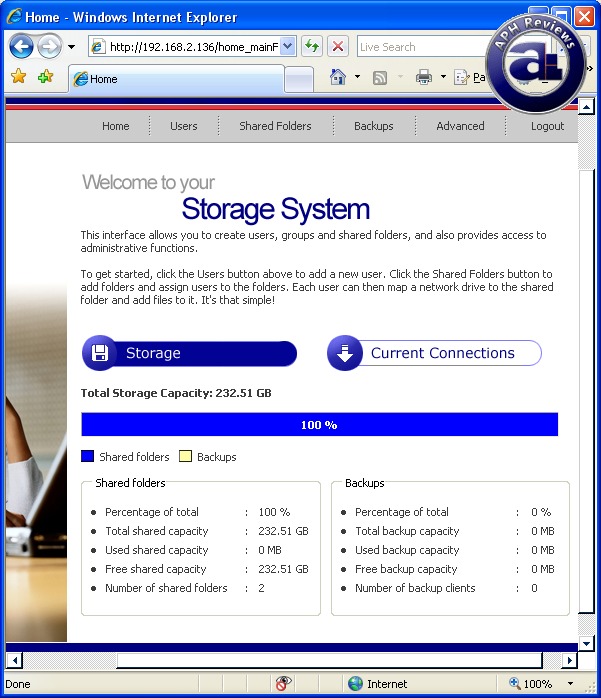
The main administration screen displays disk information. A separate link shows connected users. During setup, I made my 250GB hard drive to 100% shared folders -- but you can make a separate partition later for backups, but it will destroy all your data.
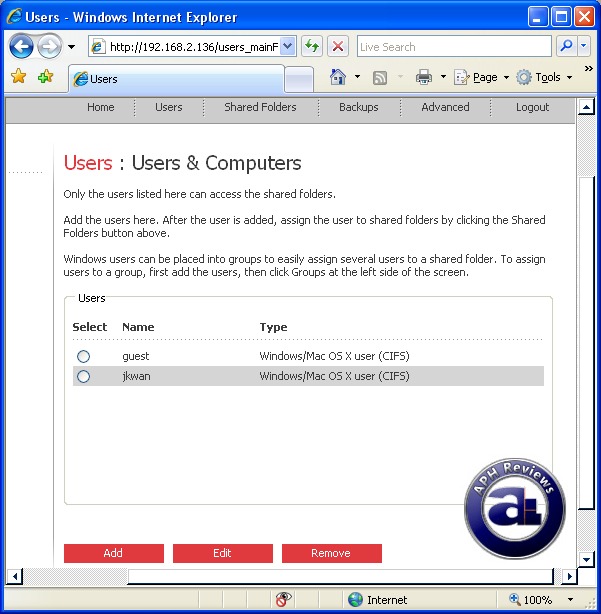
Creating and managing users under the Users tab. Unfortunately, I can't find a way to disable the guest account; although you can disable the guest account to make it unable to access any folders.
Please note that you cannot create a user with the same name as a folder, and vice versa. User passwords are also limited to 8 characters -- and nowadays, who does not have passwords with more than 8 characters besides my prehistoric editor (Editor's note: Shut up :P)? Quite inconvenient in my opinion and I believe the above should be fixed.
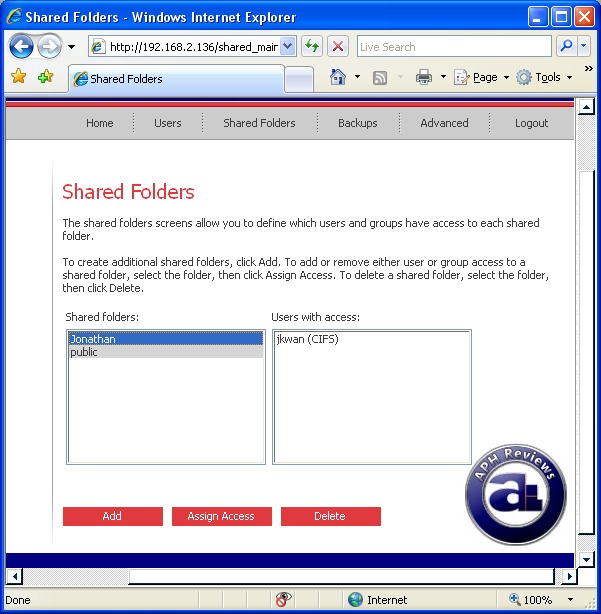
The Shared Folders tab. You can assign access of who can access which folders; again the default 'public' folder cannot be removed -- the max you can do is deny all access to it.
Two types of folders can be created: CIFS for Windows/Mac OS X users, and NFS for Linux/Other Mac users.
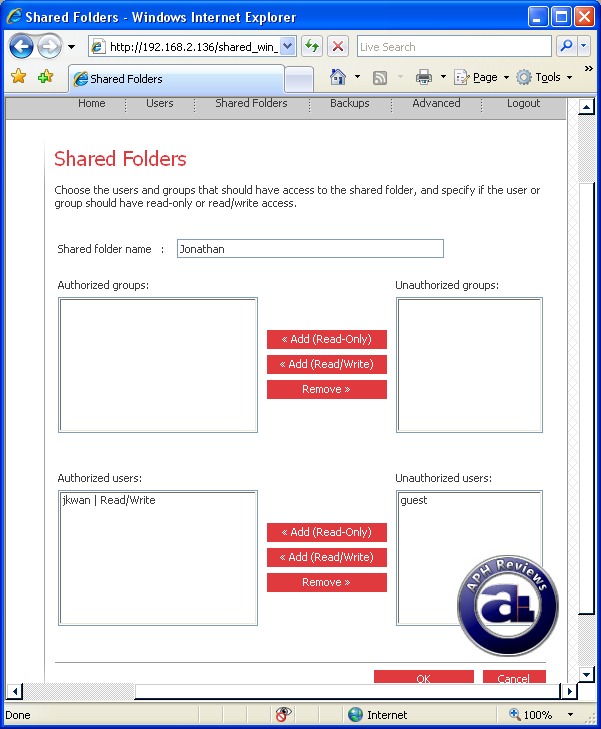
The above displays configuration and permission settings of shared folders.
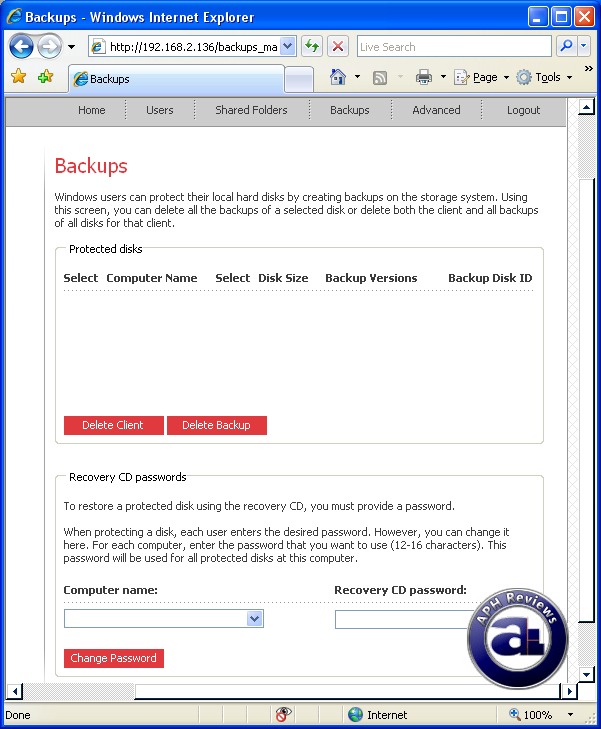
The Backups tab of Thermaltake Muse NAS RAID's web-based configuration utility.
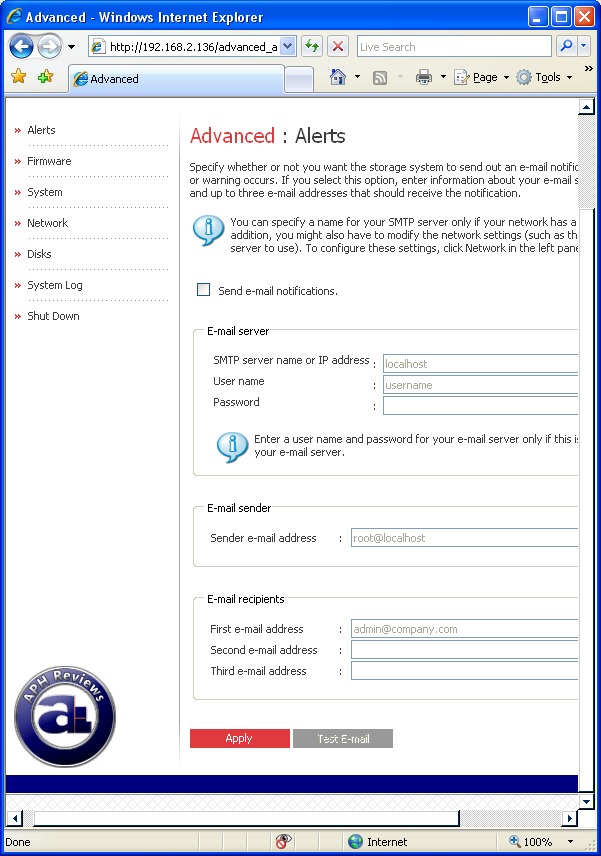
In the Advanced tab, there's quite a few things to make note of. If your device is connected to the internet, it can send email notifications of certain problems regarding the device. Quite convenient for a file server in my opinion.
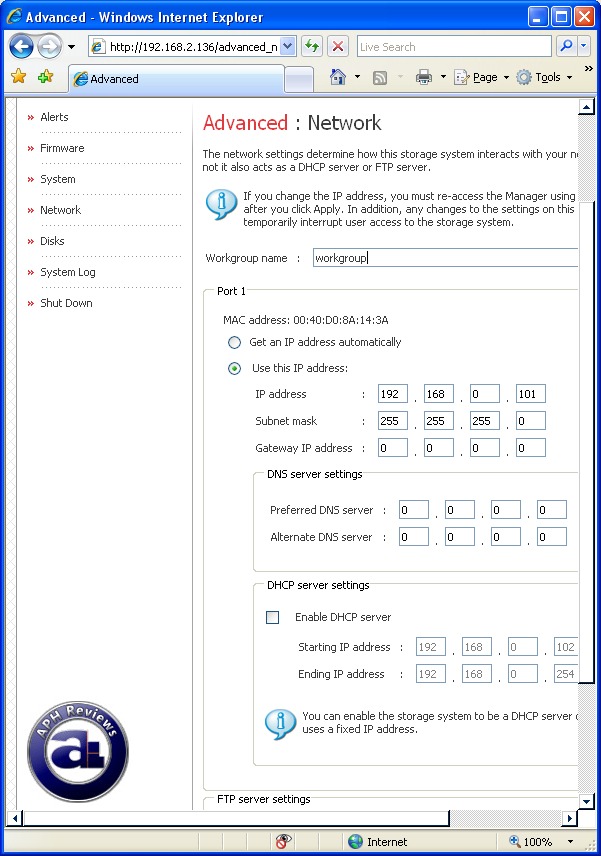
The Networks section under the Advanced tab is quite interesting. I do really appreciate the fact that the Thermaltake Muse NAS RAID can act as a DHCP server for users who want to directly connect their computers to their network attached storage. Since I don't have a Gigabit switch or router at the moment, it's extremely convenient for me to plug the second Gigabit LAN port on my Asus P5W64-WS Professional motherboard. I am sure that many users nowadays have a second Gigabit LAN on their computers, and it proves extremely useful in this area -- especially if you have a separate public and private network at home.
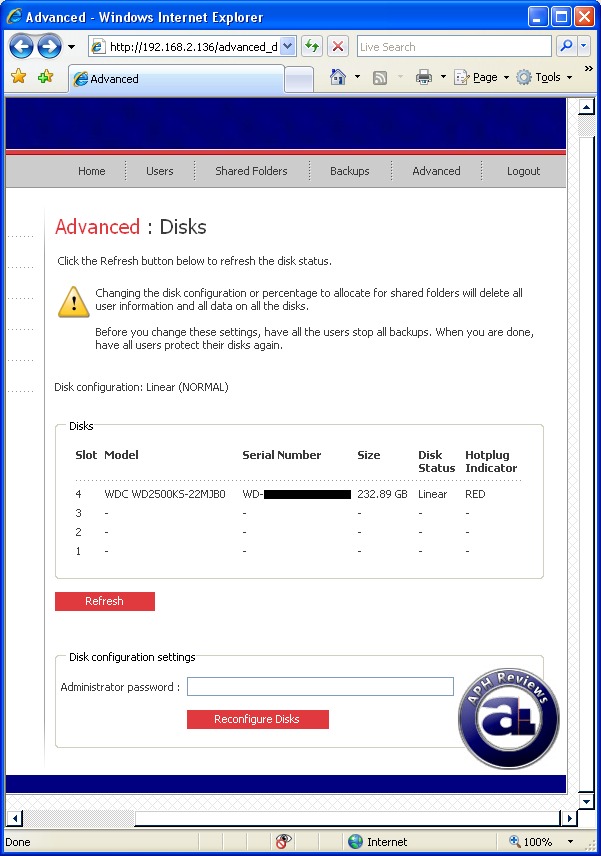
The Disk Status page. I found it quite interesting how the top drive bay is read as "Slot 4" by the Thermaltake Muse NAS RAID internally -- shouldn't it be the other way around?
The Disk Reconfiguration button will allow you to repartition your drive(s) for shared folders and/or backups. I am extremely impressed on how fast the Thermaltake Muse NAS RAID can format a drive though; it takes just a few minutes to complete a full 250GB drive. Wow!
Thermaltake's Muse NAS RAID has a graceful shutdown function in the panel as well. Simply enter the correct administrator password and hit "Shut Down".
Page Index
1. Introduction and Specifications
2. A Closer Look
3. Configuration and User Interface
4. Performance Benchmarks
5. Other Notes and Conclusion


