Page 3 - Physical Look - Inside
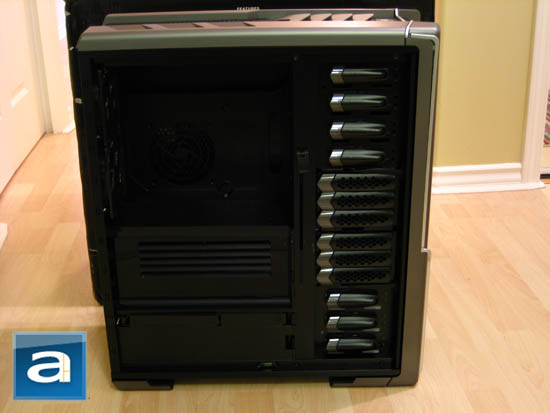
When the left windowed side panel of the Thermaltake Spedo Advance Package is opened, I really appreciate the excellent accessibility of the case -- I was able to install every component easily. The Spedo is also designed with something Thermaltake calls the "Advanced Thermal Chamber"; which is a four piece separator that Thermaltake claims to have gotten the idea from an automotive engine. It is used to improve the airflow and thermal management within the chassis' interior. The GPU, CPU and the power supply are separated using the four piece partitioning units. These pieces are attached with pins and connects to the back of the case, where the vents are located. The third partition features an integrated slide-out compartment to keep additional screws, similar to what's featured on the Antec P182. This partitioning system is truly unique, although it would be hard to say that it doesn't have any drawbacks. The uppermost piece has small cutouts on paper-thin plastic. Also, while these pieces are supposed to allow cables to move through, unfortunately the cutouts will potentially touch your ram, as well as the heatpipes on your motherboard.
The slide down hinge on the right side is attached to a piece of plastic next to where the motherboard goes. An additional fan may be added there for extra cooling and it is adjustable to cool either your CPU or your GPU since it is able to bypass the Advanced Thermal Chamber to increase airflow.
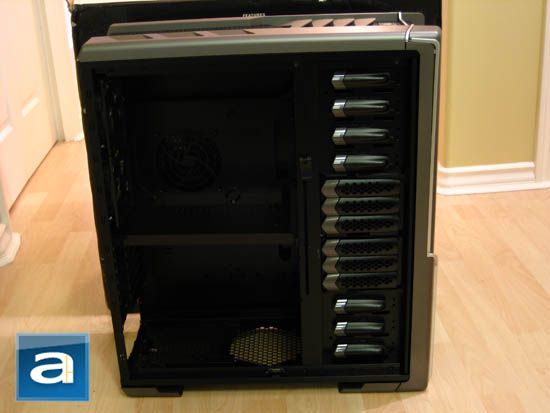
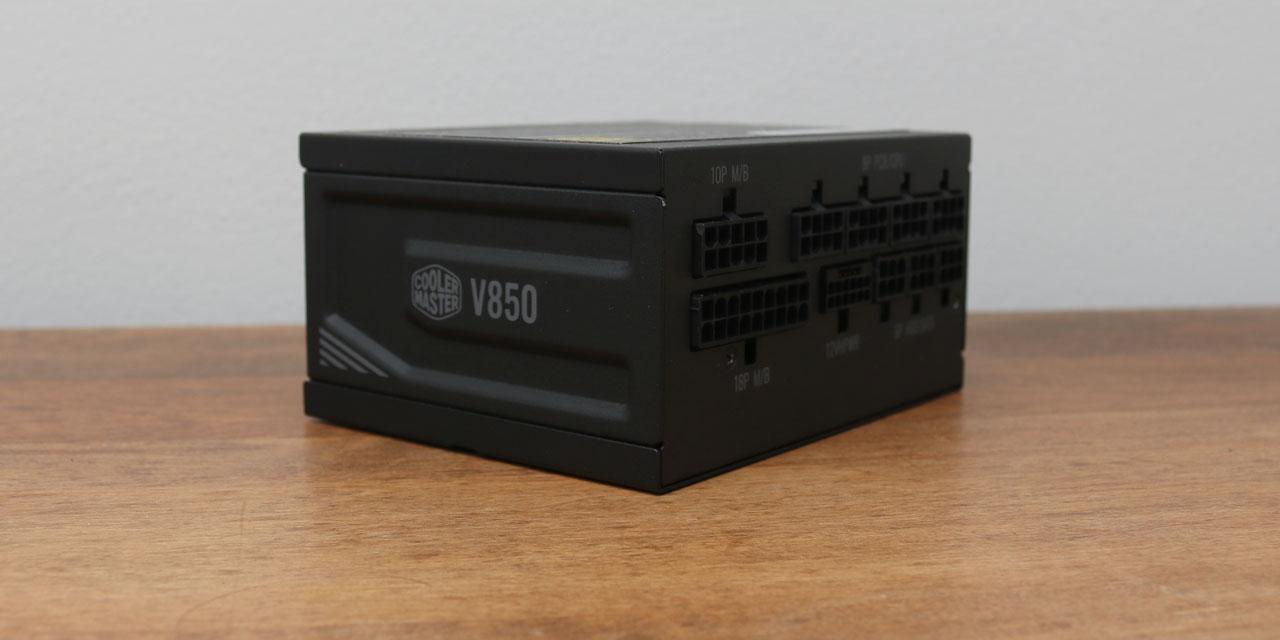
Underneath the Advanced Thermal Chamber system reveals the rest of the case. The bottom part of the Thermaltake Spedo is where the PSU is to be installed. The odd thing is that it is just installed on the base -- there are no risers nor a raised platform for the PSU.
The motherboard tray is non-removable; but it does allow cables to be patched through. This case is able to fit both ATX and micro-ATX motherboards. Standard standoffs are included for installation of the motherboard.
The screwless hard drive trays and the screwless 5.25" drive bays are located on the right. There is room for up to six internal hard drives, and up to seven 5.25" drives. The 5.25" drives are button spring loaded -- when you press them, the internal parts unlock, thus allowing a drive to be pushed in and locked in place. We will talk about this a bit more during installation section of this review.
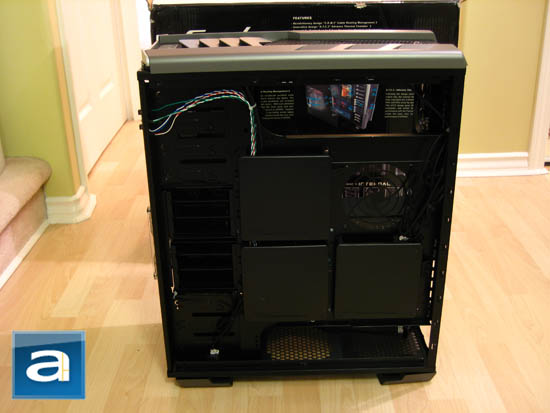
Removing the right side panel reveals the opposite side of the case. The three removable plastic pieces are part of the Thermaltake Cable Routing Management system. This is yet another unique addition to this case. This system is used to assist optimal cable routing, as well as hiding cables more effectively -- since most high end systems are designed to have cables to be put through behind the motherboard tray for better cable management. There is also a fourth square fan mount designed for an optional 120mm fan to be installed under the motherboard. Again, this is there to increase airflow inside the Thermaltake Spedo.
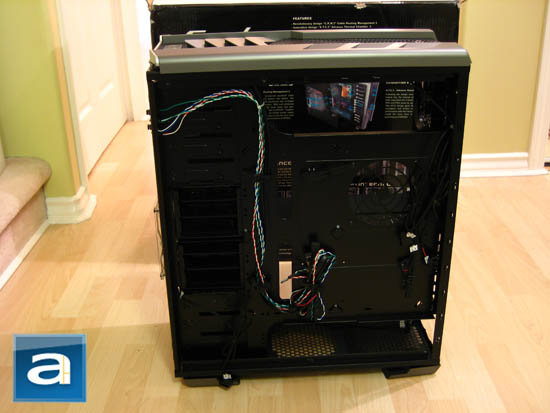
Without the three pieces, the Thermaltake cabling system itself is clearly seen. They are just simply reusable zip ties to tie internal cables together. This means that the plastic pieces are used to block the cables from sight (Although it's unlikely you'll be looking back there), so it's more or less for organization -- at least now you are guaranteed to be able close the right panel with all the cables flowing through! Standard case cables for the front panel connectors, power button and LED, reset button and HDD activity cable are located here as well. Fortunately, these cables are already neatly organized and hidden, which only requires the user to cable it to the other side through openings in the motherboard tray. The only thing missing is the internal speaker and speaker cable, which is now being excluded in more and more computer cases.
Thermaltake's cable management system also lets thicker cables to be hidden behind the motherboard easily. Even the flat and space consuming legacy PATA and floppy cables can be easily hidden using the Cable Routing Management system. The plastic pieces has four small pegs on its corners; designed to be pushed into the slits of the metal plate inside the Spedo -- this is a great way for the user to easily reinstall the plastic pieces back into the case.
Page Index
1. Introduction, Packaging, Specifications
2. Physical Look - Outside
3. Physical Look - Inside
4. Installation and Conclusion