Page 4 - Installation and Conclusion
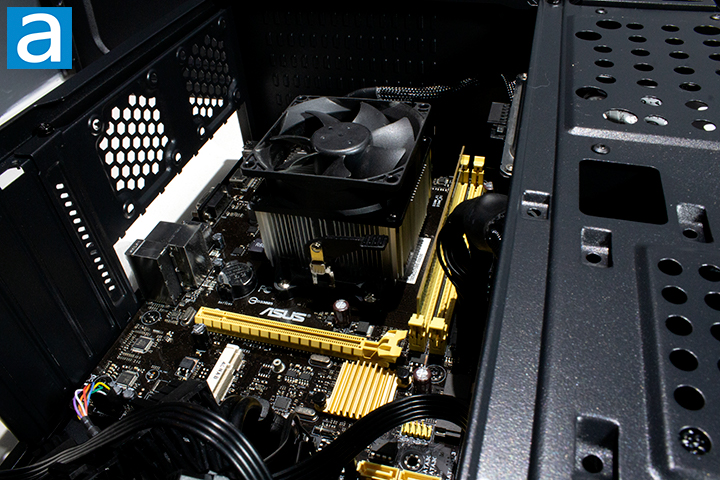
I found the installation process for the FSP CST110 to be a little harder compared to other cases, given this case is smaller. As someone who has built several computers now, the process was straightforward, but did have its own unique twist to some parts like the drive mounting solution. FSP included all the necessary supplies inside a small bag zip-tied to the back of the case. This packaging is fairly standard for most retail cases. I took out any necessary screws and got to work. Having a single fan allowed me to route the one cable to its Molex connection on my PSU incredibly easily, as it is a straight path with no shroud in the way. The front I/O was simple enough to route to the motherboard and is long enough to be easily plugged into the motherboard. However. some may consider it too long, as it is harder to manage in this regard. The drive setup was more interesting than what I was used to, but interesting in a good way. I unscrewed four screws and pulled out the bar to install a drive onto it, then I just placed the bar back in place and screwed it back in. The whole process was super linear, except for the different approach to the drive storage and my previously stated issue with the CPU cable.
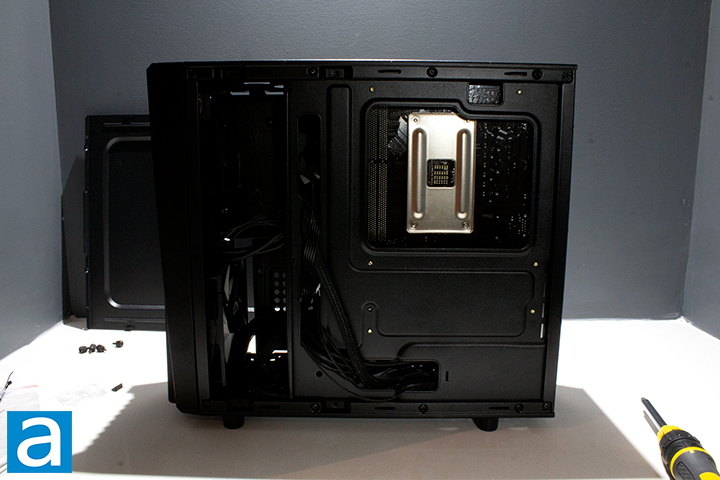
I know my cable management could be better, but given the case has no see-through panels, I thought it would be unnecessary to do a perfect job, haha. It would probably have been better to try and place more cables behind the motherboard tray, but my cables were a little thicker and stiffer, making it a bit harder. The case does come with some zip ties for cable management. Fortunately, there is enough space, albeit a bit tight, behind the motherboard for a simple system. There is about 15mm of space between the motherboard tray and panel provided by the protrusion of the rear panel. I am not too familiar with SFX PSUs, but I believe there is a promising amount of space for most users to route efficiently. The cut outs alongside the motherboard makes passing through cables from the back of the case to the front of the case very easily, but I mainly used them to make longer routes to prevent having too much cable slack. With the most minimal amount of parts required to have a functioning computer, I found I had enough room to route my cables. It is very unlikely you would build anything higher than a mid-tier system in this case. This case should be able to hold most builds, but be wary of the amount of space required for a GPU.
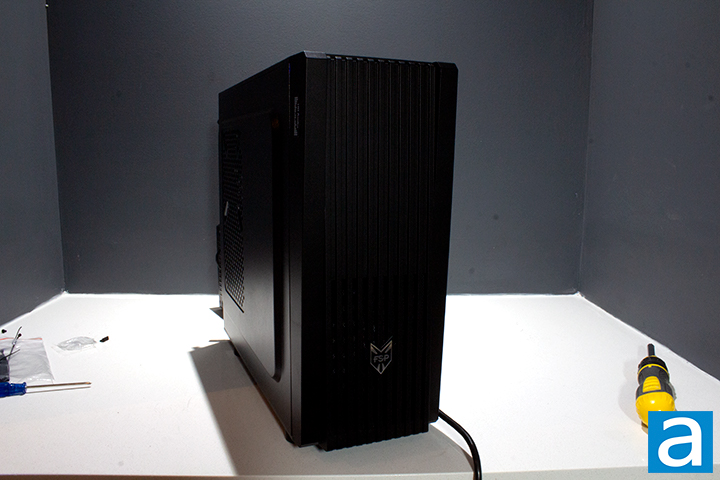
In my opinion, the FSP CST110 looks decent. I think FSP pulled off a good look despite not have a glass side panel. The basic design of the side panels is quickly made up for by the front panel that makes this case edgier in a literal sense. Personally, I am not a fan of the fan layout. In this case, the most optimal spot to leave cables would be to leave them directly beside the PSU itself, but this is also in the way of the front intake fan. I think a better layout would be to raise the fan to a higher level and have a small drive bay at the bottom of the case. According to the standard APH Networks sound scale, where 0 is silence and 10 is loud, the CST110 is a very manageable 2.5/10 under full load, which is louder than I thought it would be when considering it only has one fan, but is still good for everyday use.
-----------------------------------------
Going back to my idea about houses, everyone has their own preference for their home. Both size and functionality matter much like a PC case. When taking a look at the FSP CST110, I personally did like the idea of a small form factor SFX case, but also knew how it was harder to pull off compared to a regular ATX case. With this in mind, I continued to try and better understand how to use this case to its maximum potential. It is a simple, well-built budget case that does its job, and the highlight for me was the design of the metal bar holding drives, which I thought was well thought out. It was a nice out-of-the-way solution to drive storage that took advantage of having no glass side panel. There are some issues I encountered though. In this case, the cable management could be worked on as there were no points to tie down cables and the CPU cable cut out was a bit small for my PSU. My second issue was the fan placement, as I found it too low. This issue piles on top of the issue of cable management, as the best spot for the cables to sit happened to be the same place the single preinstalled fan was placed. I personally would prefer the fan to be raised a bit, so there would be a lower chance of the cables getting in the way. Changing the fan to one that can be controlled by your motherboard will also be appreciated. In my opinion, this case has great potential with some room for improvement. For a price of about $55 USD at press time, the FSP CST110 definitely has some good value in it.
FSP provided this product to APH Networks for the purposes of evaluation.
APH Networks Review Focus Summary:
7/10 means Great product with many advantages and certain insignificant drawbacks, but should be considered before purchasing.
6/10 means A product with its advantages, but drawbacks should not be ignored before purchasing.
-- Final APH Networks Numeric Rating is 6.2/10
Please note that the APH Networks Numeric Rating system is based off our proprietary guidelines in the Review Focus, and should not be compared to other publications.
The FSP CST110 is a good budget SFX case with key areas of improvement in its design.
Page Index
1. Introduction, Packaging, Specifications
2. Physical Look - Outside
3. Physical Look - Inside
4. Installation and Conclusion


