Page 2 - Physical Look - Outside

Sizing up the NZXT H2, it measures in at 215 mm in width, 466 mm in height, and 520 mm; meaning it is slightly larger than your average ATX mid-tower. It is taller and overall bigger than the NZXT Panzerbox. The NZXT Panzerbox is a comparable case and is priced quite closely together as well. The NZXT H2 supports both ATX, Micro ATX, and Baby AT motherboards. Although the H2 may not be as refined as the Fractal Design Define XL (Along with the Define R3, the ATX version), which is another comparable case due to similar target markets, the case is still built very well. In terms of materials, the whole case excluding the front panel is made out of steel. The front panel is made out of a combination of plastic and steel -- most of the steel is found on the black polished front, which sets a nice tone for the overall design of the case. In general, the chassis is well made, and has no sharp edges. The design is great, and works as well as it should. Aesthetically, this is one of the cleanest cases I have ever owned, with a front panel that is polished with a subtle reflective border to surround the almost rectangular shape of the panel. If we look down a little bit lower, we will find an opening to the bottom of the case, where most of the intake airflow for the chassis will happen.

Opening the front panel reveals the expandability options of this case. Like the Fractal Design Define R3 and Define XL, the door opens only in one direction, so if you need it to swing the other way, then you are out of luck. Going along with the clean theme, there is not much here to wow the owner, but there is more than enough to satisfy users who like simple, modern looking designs. Three external 5.25" drives bays can be found here, with buttons on the right side to help remove the temporary plastic panel used to fill up the slots. We will discuss more about these as well as installation of drives on the following pages. Below these three drive bays are two 120mm fans; both of which are open to be seen, along with a mesh-like fan filter to prevent too much dust from entering the interior. Quietness is a big item for the NZXT H2, and as such foam padding on the inside of the front panel adds to its noise dampening capabilities.

The side of the case features nothing too special; it is simply a thin piece of steel with no openings for additional cooling. There is a reason for that, and that is because people who want this case probably won't like it anyway. Also, as seen in our photo above, there are big plastic covers found at the top of the case. Both of these covers can be removed, and again, it will be looked at further in detail in just a short moment. Overall, the case looks clean and conservative; which is something that a lot of cases are missing these days. So many of them try to appeal to... well, 'young' gamers, or have over-the-top decorations to try to make it look 'cool'. Sometimes, getting down to the basics is really is a breath of fresh air -- and this definitely shows through in a chassis like the NZXT H2. The H2 is part of the Classic line of cases from NZXT as aforementioned, which one could gather from the name, means the cleaner and more 'classic' looking line of cases.

Oscillating the case around (I'd like to see you do that at 500Hz. - Editor), we are treated with a look at the back of the case, and all of the goodies along with it. The first thing that sticks out -- literally -- is of course the blue cable; directed from the top of the case. This blue cable is used for the front USB 3.0 ports, and goes to the back of your motherboard. Although this may seem like a hassle, this is done so computers that do not have internal USB 3.0 headers can still use the USB 3.0 port up front, as well as enabling the three USB 2.0 ports. The top of the case features a storage bay for one hot-swappable SATA solid state drive and hard disk.
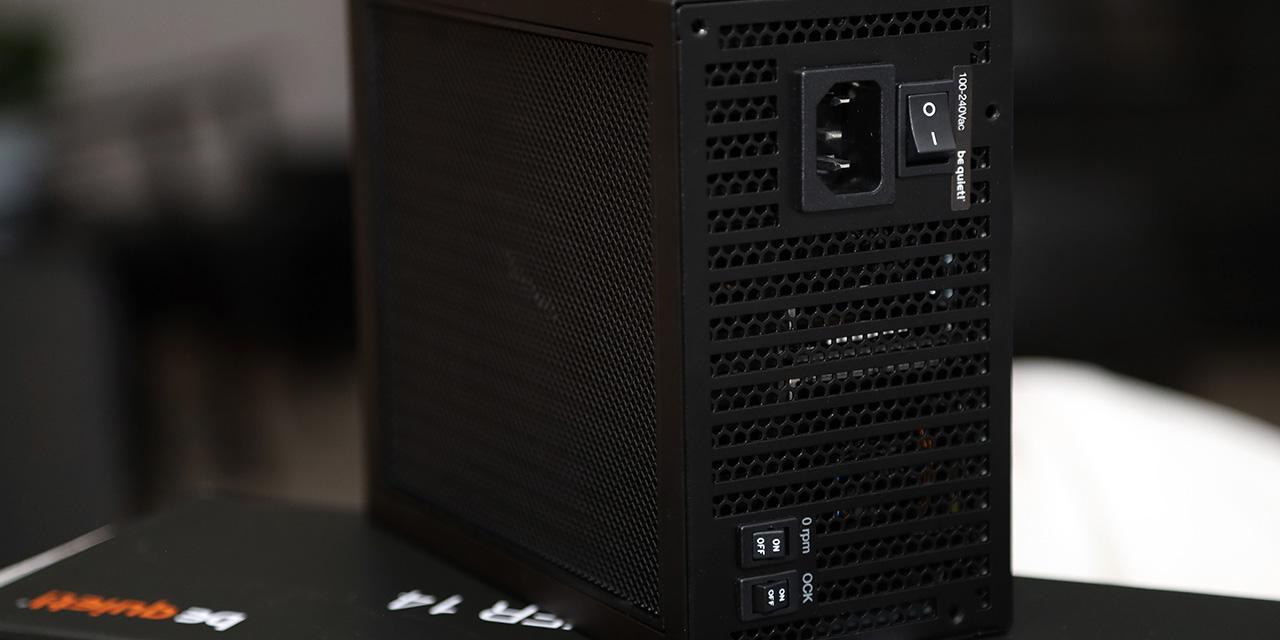
Back to the NZXT H2, we have the motherboard I/O cutout at the top left, and a 120mm fan with its standard honeycomb mesh to prevent big objects from entering the fan area to the right. Below that are seven expansion slots, two cutouts for water cooling, and an additional honeycomb mesh for cooling. The power supply cutout is located near the very bottom of the chassis. Under the power supply bay is a small flat tab of plastic. At first, I wondered what it was. After pulling it out, I realized it was a removable screen mesh for the bottom of the case. This filter keeps the case interior as dust free as possible, while being extremely easy to clean at the same time.

The top of the NZXT H2 is certainly the pinnacle of the exterior of the chassis. No pun intended. This is where pretty much everything is located. Near the very front, we have all the buttons and assorted front panel connectors. From the left to right, we have the following: Power button, 3.5mm headphone jack, 3.5mm microphone jack, one USB 3.0 port, three USB 2.0 ports, fan controller switch, and finally, the reset button. The most interesting of the bunch is probably the fan controller, as there are three settings on the controller, ranging from I to III, to set the speed of the fans. Since this chassis is advertised to be quiet, this is a convenient addition.
Also of interest in this area is the support for USB 3.0, which is something that is still lacking from a lot of modern cases. It is great to see more support for USB 3.0, as more and more devices are starting to support it. Behind the ports is a piece of plastic with a latch to keep it in its place. Underneath this piece of plastic is a SATA dock for hot-swapping hard drives and SSDs. Features wise, the NZXT H2 is pretty loaded. Found at the very back is another plastic cover attached using four magnets. This cover can be removed for additional airflow, since a fan can be installed at this location inside the case.

For most modern computer chassis, there is a not a whole lot going on at the bottom of the case. However, the NZXT H2 has a really interesting base; a large open area is implemented at the bottom with the whole case elevated. A separate opening at the bottom near front of the case allows airflow into the H2, as aforementioned. All of this airflow is then processed through the bottom here, which is protected by a removable mesh filter for protection against dust and other miscellaneous objects that should not be entering. In addition, the base of the case also contains pieces of rubber that reaches the residing surface, used for better vibration dampening to keep noise level at minimum.
Page Index
1. Introduction, Packaging, Specifications
2. Physical Look - Outside
3. Physical Look - Inside
4. Installation and Conclusion