Page 2 - Physical Look - Outside
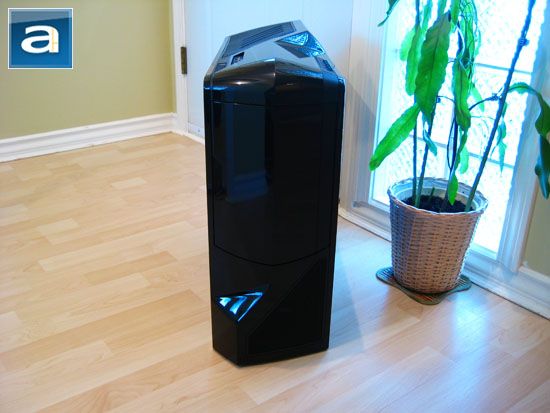
When looking at the NZXT Phantom from a physical size standpoint, it is quite large -- as expected from a full tower case. The Phantom's dimensions measures in at 222 x 540 x 623 mm, according to the manufacturer. Compared to the Tagan A+ Black Pearl WCR, which came down to 279 x 533 x 584 mm, the NZXT Phantom is actually slimmer; but taller and considerably longer than the latter. With this added space, there should be more room for additional airflow, easier to work with by the end user, and the obvious ability to accommodate eATX motherboards. The NZXT Phantom comes in either red, black, or white. Our particular unit is built mainly out of black painted steel and plastic. High gloss plastic makes up the whole front of the case, as well as a good portion of the top. As far as downsides are concerned, it will inevitably be a fingerprint magnet -- just like most things that look nice, they are very delicate in this regard. As I previously mentioned, the usage of plastic really reminds me of those old Alienware cases, especially the white colored version. When I first got the Phantom, I was a bit surprised at how good the curves actually appear in real life. I may not be an fan of Alienware aesthetics, but even with the Alienware design elements, it did not go over the top to retain clean design in the 3D world. For me, this rounds up to a pretty nice implementation, but similar to many design choices, beauty is in the eyes of its beholder. Build quality is also very solid, even with all the plastic used for the front and the top. I have not noticed any sharp edges on the NZXT Phantom, either.
Opening the front door provides access the five 5.25" drive bays. Unlike most cases, there is no way to lock it, and there are only two magnets to hold the door in place. Five 5.25" drive bays is quite a standard number; you can probably find standard ATX cases with the same amount of drive bays. However, I would assert five bays should be more than sufficient for most users -- after all, how many DVD/Blu-Ray disc drives does a person need anyway? Just to note, there are no additional brackets for 3.5" external drives, but then if you think about it, I can't recall the last computer that I have a floppy drive, haha. The power and reset buttons are found on the top of the Phantom, and we will discuss that in more detail later on in this review.
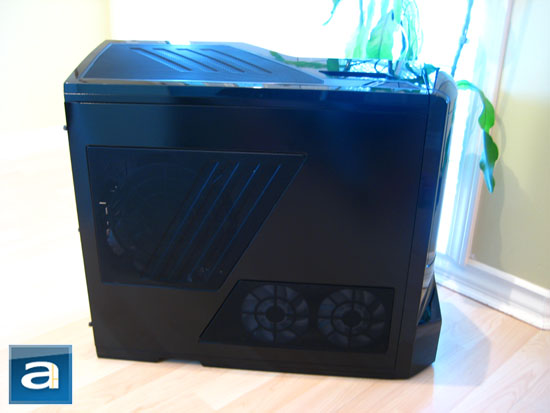
Glancing at the Phantom from the left side, we are treated with the same great curvature that adds sophistication to the overall case design. The left side panel includes two trapezoidal mesh openings providing additional ventilation. This again rises up the dust issue, and you will also lose out on having a clear plastic side panel to show off your internal components. A case in point would be how quickly the dust settled in our NZXT Panzerbox. I fully expect dust to settle in the NZXT Phantom as well due to all the openings and fans as well, except maybe not to the Panzerbox extent, haha. It would be excellent if the openings can be closed by the end user with the fans removed if not desired. Speaking of which, two 120mm fans found behind the lower mesh opening, and a 200/230mm fan can be mounted at the top opening (Not included). During testing, I have found the NZXT Phantom to have more than enough airflow even without additional fans. If there is one thing that this case lacks, it is certainly not the amount of fans or ventilation openings.
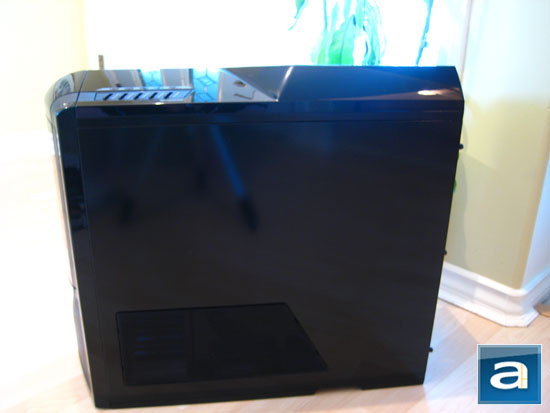
The right side of the case is loosely a mirror image of the left side panel, except with only one ventilation opening at the bottom. You probably won't need another mesh behind your motherboard tray, so it is fair the corresponding right opening is missing. The right side panel does not provide any area for mounting fans -- they're just for air circulation purposes. Again, as a consequence to that, we will have more dust settling inside. From the photo above, we are able to see some details on the curves found at the top of the case, as well as the integrated fan controller near the front. We will delve deeper into both features in just a short moment.
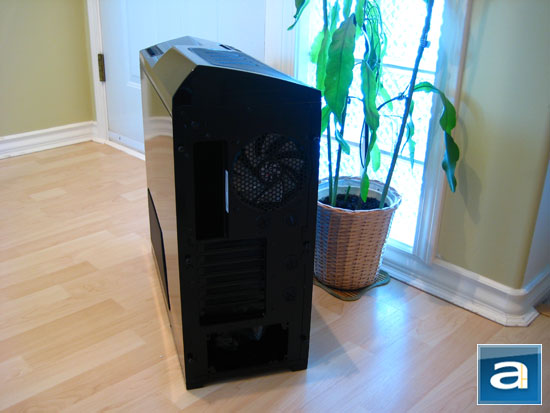
Let's take a glance at the back of the NZXT Phantom. The motherboard is mounted up top on the left side, as expected. To the right of that is the usual 120mm fan with honeycomb mesh to allow hot air to exit the case. Located below the rear I/O panel openings are seven expansion slots. Found between the rear exhaust fan and expansion slots are two liquid cooling tubing cutouts; with two additional ones located to the right of the expansion slots, for a total of four. Similar to many modern cases found in today's market, a standard power supply is set to the bottom of the chassis for better cabling and cooling efficiency.
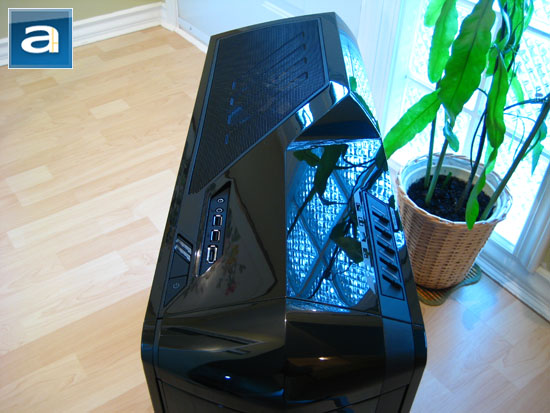
The top of the case is what really sets the NZXT Phantom apart from other cases I have seen in the past. Found at the back cutout is an additional steel mesh integrated in the incline of the plastic. Below the opening resides a large single 200mm LED fan. There is room for yet another fan (!), except that is not included. To be fair, there is little need for more fans in a case that is already so loaded. If you need any more than what we already have, water cooling may not be a bad idea. Near the front left of the top of the Phantom are standard case I/O connectors. Listed from top to bottom, we have an eSATA port, two USB ports, 3.5mm microphone jack, and 3.5mm headphone jack. They are placed in a pretty convenient position in my opinion. Adjacent to that are two LEDs and two buttons. You can probably guess what they are -- but to make things less ambiguous, it is the power and HDD activity LED, followed by a reset and power button, respectively. What really steals the show has to be the integrated fan controller found on the right side -- capable of accommodating up to five fans at 20 watts per channel. A built in fan controller is a great idea, and definitely a valuable asset to any case, especially one of this caliber.
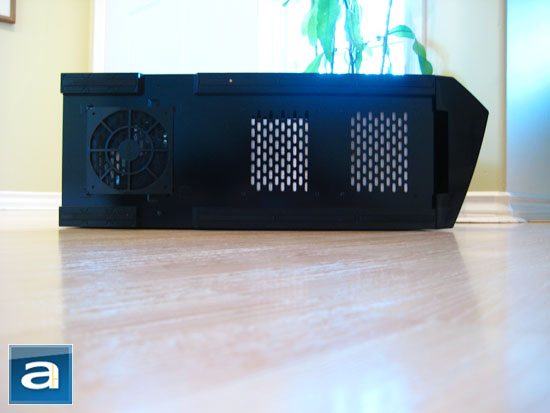
Reaching the bottom of our NZXT Phantom, rubber support extends around the entire perimeter of the chassis. This is implemented for damage prevention as well as anti-vibrational features. The back also sports a vent for the power supply; two other vents with a steel mesh can be found near the front, too.
Page Index
1. Introduction, Packaging, Specifications
2. Physical Look - Outside
3. Physical Look - Inside
4. Installation and Conclusion


