Page 3 - Physical Look - Inside

Getting inside the Thermaltake CTE E600 MX is a tool-less affair, as both side panels are held on with ball-and-socket joints. The tempered glass panel has steel frames on the top and bottom with protruding ball joints. A small lip at the back also helps with getting an easier grip on the panel. Moreover, once the panel is removed from the joints, it remains balanced until you open it further. This 4mm thick pane is not tinted, so you will have clear visibility to the interior. Unfortunately, there is zero padding between the side panel and the rest of the CTE E600 MX, which would prevent the two hard materials from bumping against each other. I found a slight chip in the glass on the outer edge, but this likely happened during transportation. The top and bottom edges are filled in with the same blue color, so you can hold the panel in this area without leaving noticeable fingerprints on the inside. The flip side steel panel is removed in a similar fashion with its ball-and-socket joints.

Similarly, the front panel can be popped off so you can choose between the steel panel and a 4mm thick tempered glass. Once again, the front connects with the same ball-and-socket joints. The metal panel has a thin mesh filter that can be easily removed for quick cleaning. Meanwhile, the tempered glass pane has handling borders on the top and bottom to hide any finger markings. With the glass installed, there is even greater visibility of your inner components. The lack of tinting also helps in providing the clearest sight lines from multiple angles. Behind these panels is a white metal frame where users can mount additional cooling here. This supports up to three 120mm or 140mm fans and radiators up to 420mm in size. Alas, there are no fans included with the Thermaltake CTE E600 MX, so you will need to supply your own to promote airflow.

Taking a look inside, you might think everything looks a bit strange. Similar to the Thermaltake CTE C750 TG, this case has a rotated design. This is integral to the CTE form factor from Thermaltake, as it takes advantage of warmer air rising out the top. As such, everything is rotated 90 degrees to accommodate this interior change. The other notable design choice is the multiple options for air intake, as you will see shortly. Otherwise, a lot of things are similar for a mid-tower case. The CTE E600 MX supports motherboards up to the E-ATX form factor with a width of 10.5". A large cutout sits behind the motherboard area for users to easily access the back of the motherboard. This provides easy access for mounting third-party coolers without needing to take out your motherboard. At the top, you can see the seven black slots for your expansion cards like graphics cards. Moving towards the front, you can see the cutout for where your motherboard I/O would be. Finally, there are fan mounts for up to two 120mm fans or a single 240mm radiator.

Taking a look at the front interior of the Thermaltake CTE E600 MX, you can see we have many options for mounting more cooling at the front and side. Once again, you can mount up to three 120mm or 140mm fans, or radiators up to 420mm in length in these two spots. There are cutouts and slits to support this mounting, as well as pass-through holes for the inevitable cables with any cooling option mounted here. If you opt for the tempered glass front panel, you can remove the front white metal frame bracket for improved visibility. This frame is held on with some screws at the front, which makes it very easy to take off. I was a bit concerned with removing this frame, in case it could lead to a possible weaker frame. Thankfully, the chassis still felt sturdy when this front frame was removed.

At the back of the case, you can see even more slits. Once again, you can mount even more cooling at the back. At the bottom of the case, we have the fifth and final position to place fans. This sits on a slightly raised frame to provide a gap for airflow with less impedance. There are six pairs of screw holes with an interestingly shaped opening in between each pair. These are used to mount the hardware for holding a vertically mounted graphics card in a floating-like manner, as you will see later in this review. The motherboard area is also sunken down compared to the bottom area, and there are two large holes to route cables from the back of the Thermaltake CTE E600 MX to the motherboard. Another long and thin hole sits at the back for this same purpose. All of these holes are rounded to prevent cables or fingers from being cut on sharp edges, but there are no rubber grommets here to hide cables.

Flipping to the back of the case, we have an interesting looking area. For one, we can see the black I/O cables tied together. Most of them are flat cables, although the USB 3.0 header is not. The front I/O pins are also grouped into a single header for easy plugging in and out. Furthermore, we have a flat USB 3.2 Gen 2 Type-C header. Continuing on, the top shows the two options for mounting internal storage. We have a large drive cage at the top that is held on with a thumbscrew. It can hold two 3.5" hard drives. Next, we have a flat drive sled over the back of the motherboard opening. This is also held on with a thumbscrew, and can hold two 2.5" storage options. If you have more drives than this, the Thermaltake CTE E600 MX is clearly not the case for you.
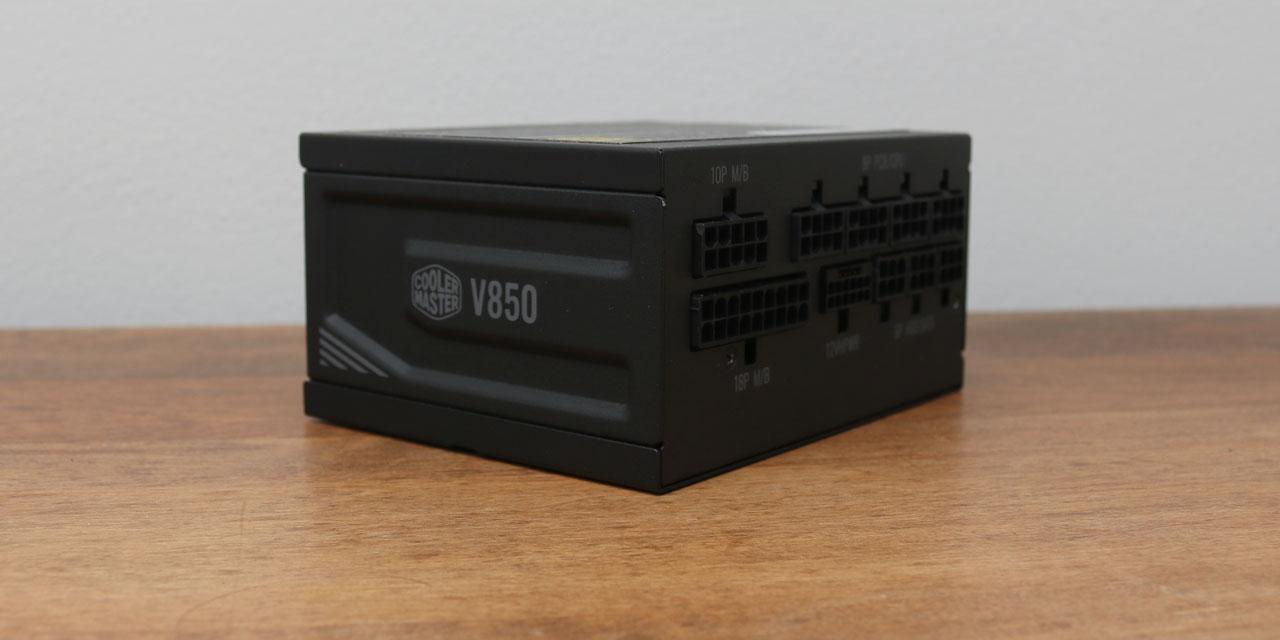
At the bottom, we have a large area for the power supply. This configuration requires the PSU to be positioned horizontally, expelling air out the back side of the case instead of the bottom. Furthermore, foam pads at the bottom prevent vibrations between the power supply and the rest of the case, which enhances overall stability. With a minimum gap of 7.0cm and even more space available at the bottom, the ample room for cable management makes working in this area quite convenient.
Page Index
1. Introduction, Packaging, Specifications
2. Physical Look - Outside
3. Physical Look - Inside
4. Installation and Conclusion