Page 2 - Physical Look - Hardware
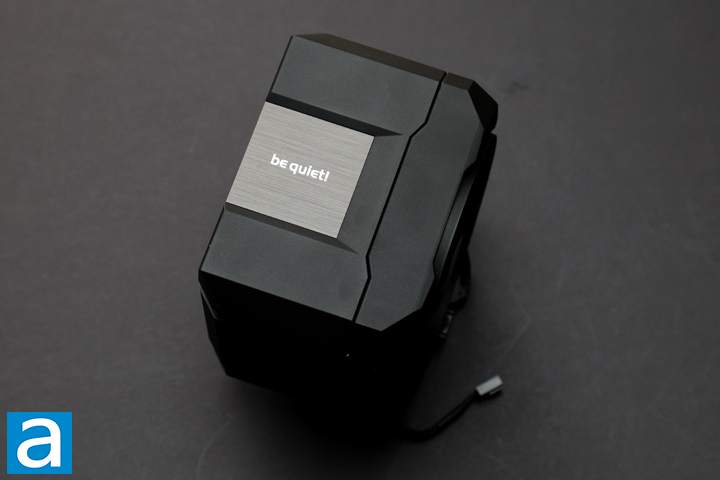
Unfortunately, we did not review the direct predecessor of the be quiet! Dark Rock 6, but you can see this one is remarkably similar to the Dark Rock Pro 6 in appearance. From an initial look, the entire cooler is boxy and large, but it is also cut down in size compared to the Pro. The all-black finish is consistent with other be quiet! coolers in the past. Instead of two stacks, this single stack of fins is covered by a top cover that hides any ends of heat pipes. Unlike the Pro version, the top is purely an aesthetic item that holds in place with a large circle magnet. It has a color and textual finish like the fan frame, apart from a middle area that imitates a metal look. I appreciate the fact it is cut so it aligns with plastic cutout of the fan, making the entire area look contiguous. The manufacturer's logo can be found on the fan hub and the top cover, but otherwise the whole unit looks clean.
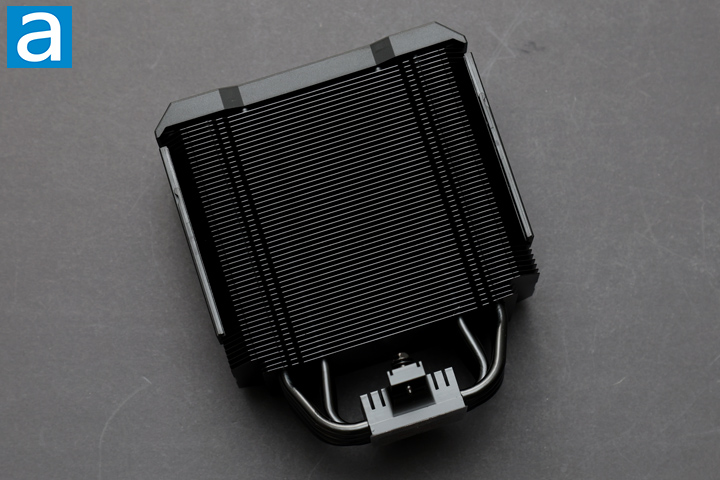
The dimensions of the be quiet! Dark Rock 6 are 102.4mm in length, 139mm in width, and 162mm in height with the fan attached. These are typical dimensions for a single stack cooler with a 135mm fan. Based on the placement of the heatsink fins, pipes, and the fan, you can see the Dark Rock 6 is asymmetrical with an offset stack to prevent the cooler from interfering with the memory slots. There is approximately 3.8cm of space between the lowest fin and the bottom of the base, but this decreases to 2.7cm between the fan and the bottom. While this number seems low, the location of the fins and the fan mean you will not run into any interference with your memory modules. However, if you have other tall parts near the socket, such as VRM heatsinks, this may be a potential issue. One other different thing is that the fan only sits in the lowest position, and it is not flexible in the placement.
From the contact base where the Dark Rock 6 sits on the processor, six continuous U-shaped heat pipes lead away from the contact plate and split into two stacks of fins. This effectively makes twelve heat pipes in total. The 6mm diameter heat pipes lead the heat away from the source due to low heat of vaporization, or phase change energy, of the fluid inside. They are aligned in a manner to spread out the heat in the array of radiating fins. There is a total of fifty-one fins in each stack of varying sizes. Each fin is separated by a gap of about 2mm. In total surface area, I calculated it to be around 0.95m2 with some rough estimates. In total, this weighs about 1012g with the front fan attached, or 836g for the heatsink alone. All these aspects are favorable for the be quiet! Dark Rock 6 in terms of heat dissipation, but we will validate this in our performance tests.
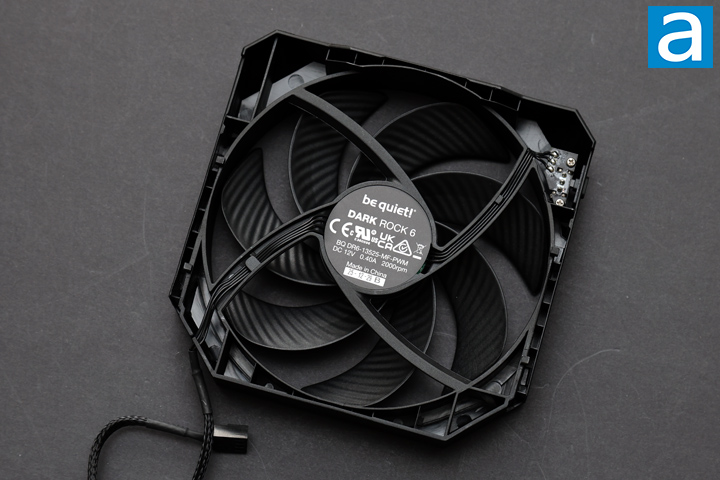
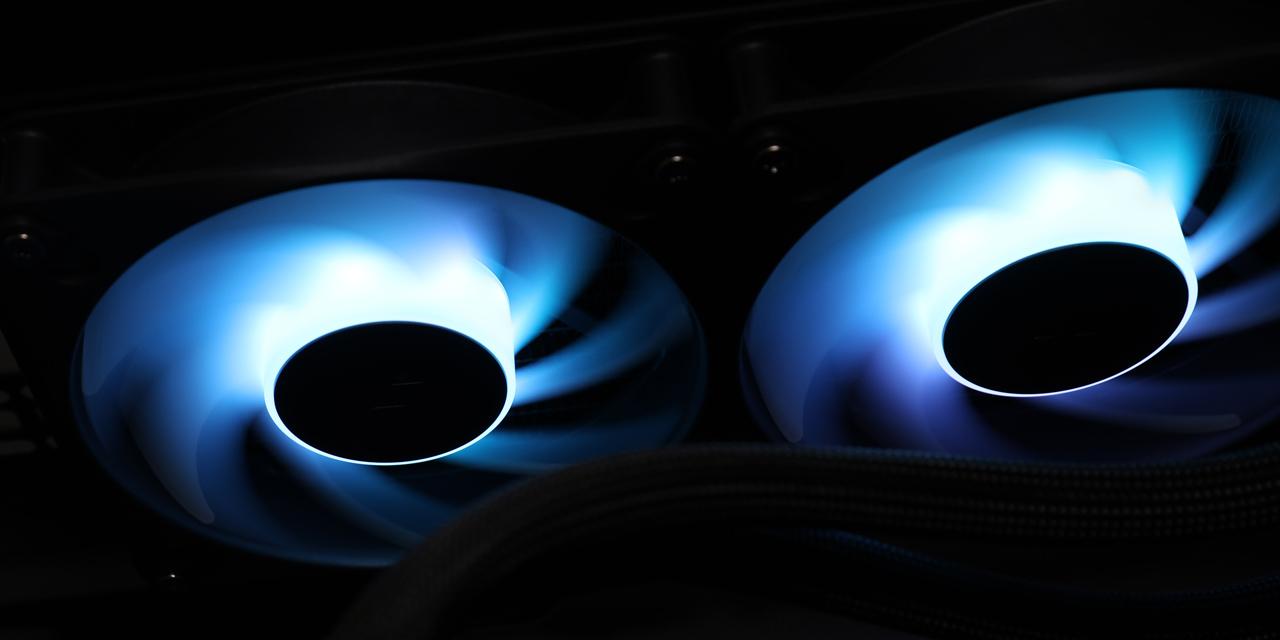
There is a single 135mm fan here made specifically for this heatsink. It is based off the same Silent Wings designs, which is distinguishable with the ridged edges on each blade. Internally, this has fluid dynamic bearings with a 6-pole fan motor controlled by a PWM signal. In specifications, it has a maximum speed of 2000RPM and produces a maximum airflow and air pressure of 79.48CFM and 2.48mmH2O. be quiet! says the fan produces an overall noise level of 31.1dBA. As I have mentioned, this sits on plastic rails, but secures only in the bottom position. As such, it is not easily replaceable if it fails after an extended period of use. Thankfully, the fan has an MTTF of 300,000 hours, or over 34 years.
In addition, there is a built-in speed controller on the be quiet! Dark Rock 6 with a hardware switch to select between two operating modes. This is found on the side of the fan, and the two positions are marked by P and Q. This lets users toggle between performance and quiet operation, which results in two different fan curves. In quiet operation, the fan does not spin under 40% PWM signal. At full load, the fan does reach its maximum, but every speed under 100% is slightly lower in quiet mode compared to performance mode. This means it only reduces noise when there is less load, while kicking the fan to full gear when needed.

The base of the be quiet! Dark Rock 6 is where you will see how the heat pipes lead out of the base and into the fin stack. The base itself is very flat with circular milling marks. This should result in even pressure applied across the top of the processor. The base and heat pipes are composed of copper. Copper is used because it has excellent heat transfer characteristics with a thermal conductivity of 401W/mK. The fins are an aluminum alloy, which is quite a bit lighter than copper. This reduction in weight will reduce stress on the motherboard, although aluminum has a lower conductivity of 237W/mK. This might not be optimal for heat transfer, but the trade-off is understandable.
On the outside, the copper base is concealed with an electroplated nickel. While nickel has a lower conductivity at 90.9W/mK, the layer is thin and should not adversely affect the performance to a signification degree. Furthermore, nickel and nickel-based alloys are used for their ability to withstand corrosion, even in higher temperatures. The reason nickel has these properties is because of its ductility and toughness up to its melting point of 1455c, measured at non-standard pressure. Its face-centered cube crystal structure is highly resistant to corrosion, which means we would not have corroded material built up on the surface. As a result, the be quiet! Dark Rock 6 will not lose its cooling performance over time compared to a heatsink with a corroded copper surface.
All the heat pipes are soldered to the base, but the fins are pressed to the heat pipes. Pressed fins are typical but can lead to degradation over time as contact between metals may change due to thermal expansion and contraption. This means fins can slide about and affect the gaps between each fin, especially at the bottom and top of the stacks. Even so, everything is well put together on the be quiet! Dark Rock 6. The uniform black color finish makes everything look consistent despite the differences in materials.
Page Index
1. Introduction, Packaging, Specifications
2. Physical Look - Hardware
3. Installation and Test Results
4. Conclusion