Page 2 - Physical Look - Outside
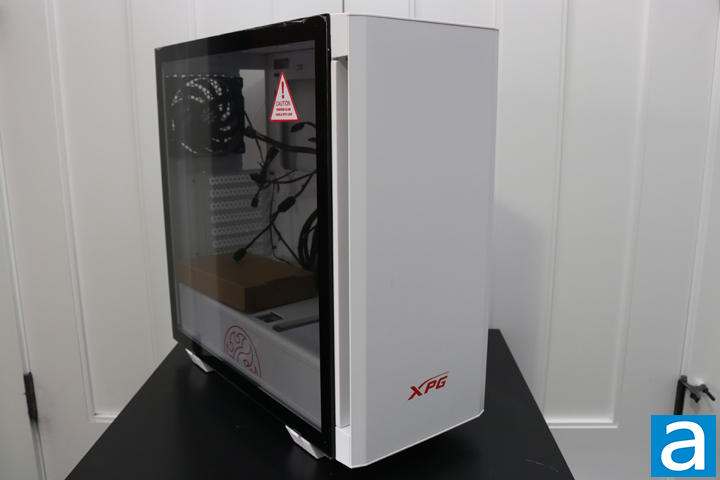
There are two different colors to choose from for the XPG Invader, black or white. We were sent the white version, as you can see from the image above. Both colors have red accents, which you can see along the bottom front with the XPG letters, but also the XPG logo found on the power supply shroud. The black version also has the same red accents. Some cases have some in-your-face colors and designs, but the XPG Invader case has them a bit more subtly. I am usually not the biggest fan of red on computer cases, since they are often overdone. However, XPG did a great job on the aesthetics of this case in my opinion. I think it looks great. The darker tempered glass side panel looks especially nice with the lighter white color on the rest of the case.
As usual, the XPG Invader is in the form of a rectangular box. The dimensions come in at 470 mm in height, 206 mm in width, and 482 mm in depth. These measurements are about right for a mid-tower chassis, and as we will see later, I had no trouble with installation. The weight is not listed, but it is not very heavy. A large chunk of the weight probably comes from the 4 mm thick tempered glass. The rest of the case is mostly metal, giving it great build quality.
So many cases today have a similar design over and over. Most standout features for cases are found in the smaller details, like cable management or cooling capability. One nice departure from the traditional design of the XPG Invader is the option to mount a radiator right next to the motherboard tray. I will speak to it a bit more later on in the review, but it means the radiator can either exhaust air out of the side panel or pull in air through the side panel. Most important of all, you are able to show off the RGB fans of attached to the radiator, which is quite fitting in 2020, haha.
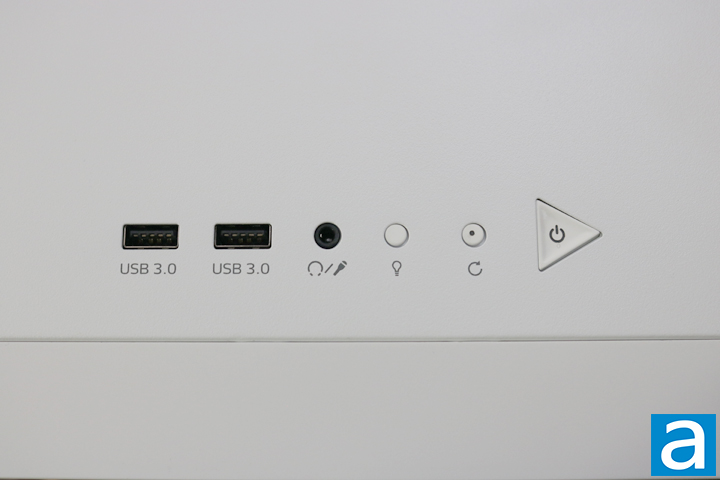
At first, I thought the front I/O for the XPG Invader is a bit limited. There are two USB 3.1 Type-A ports, which is excellent, but they are the only USB ports available on the front. Otherwise, there is a combination microphone and audio 3.5 mm jack, reset switch, LED cycle button, and a power button. I am sure for most users, two USB ports on the front are enough, but I use them frequently and often want to plug in more than two USB devices on the front. Otherwise, a wonderful detail to note is the power LED is white, not red. Many cases use the accent color, in this case red, as the power button LED, which could throw off then entire theme of a case if you chose a different color for all the other RGB LEDs inside. The white power LED button is subtle and does not intrude on whatever other color scheme is chosen for the rest of the case.
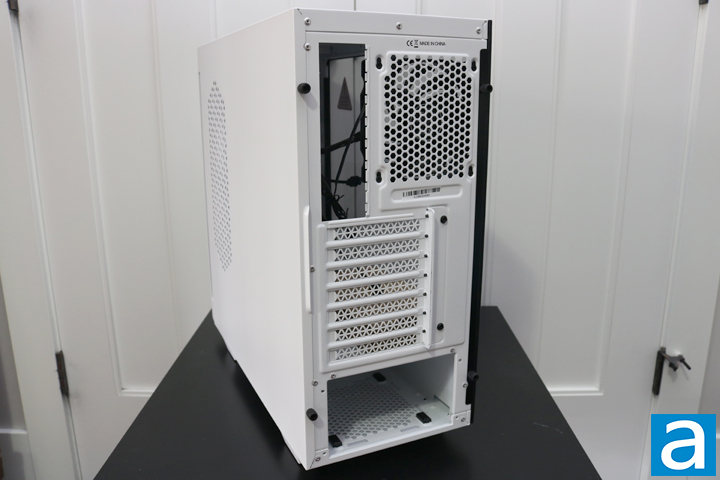
There is no big departure or change when it comes to the design of the back of the XPG Invader. There is one 120 mm fan for the exhaust, motherboard cutout, seven expansion slots, and the power supply cutout. The power supply has a mounting bracket, which is stored in the box with all included screws. A bracket makes a big difference during installation, making it quite easy. All of the expansion slots have a basic locking mechanism, but each still has its own individual screws.
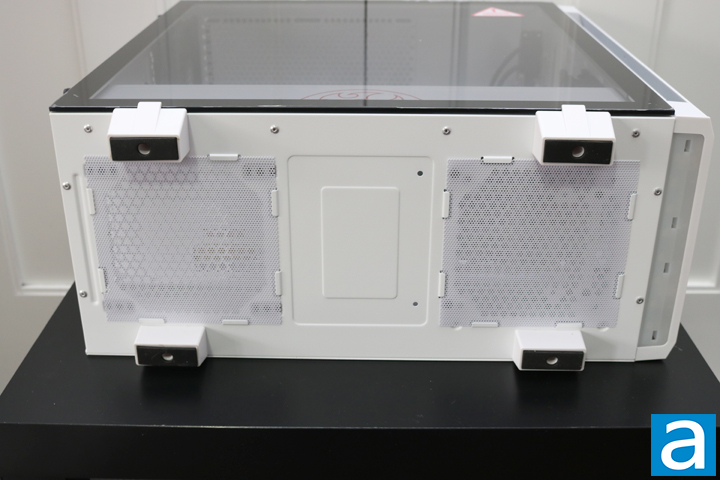
On the bottom of the case, we find four fairly large rectangular feet. They have a rubber bottom, ensuring the case will not slip around on a smooth surface. As well, the feet will lift the case up just enough for the power supply to pull air in if the case is on a carpet. But carpet have much more dust, so frequent cleaning will be necessary even with dust filters. There are two dust filters on the bottom of the XPG Invader. These feel fairly flimsy and thin, but should be enough to keep the majority of the dust out. The left filter is for the power supply, and the right filter is for another 120 mm fan, which is usually an intake fan.
Page Index
1. Introduction, Packaging, Specifications
2. Physical Look - Outside
3. Physical Look - Inside
4. Installation and Conclusion


