Page 3 - Physical Look - Inside

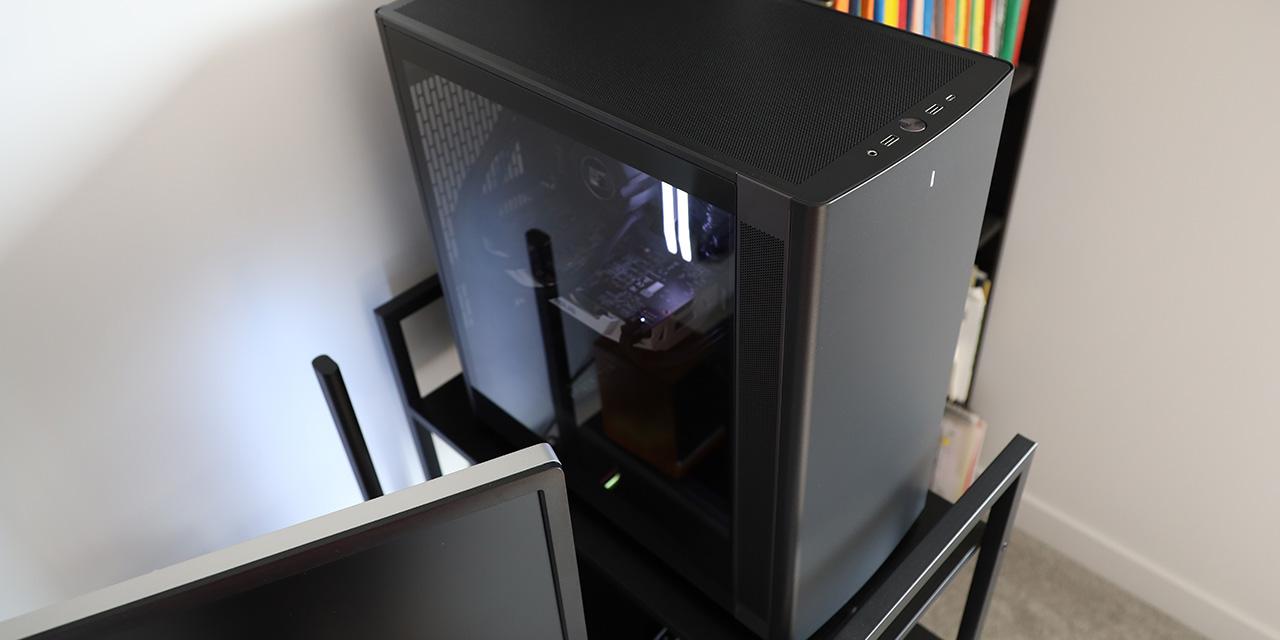
Removing the side panels of the HYTE X50 is extremely easy. Both panels are held with pegs and slide upwards before loosening from the sides. Due to this action, the panels will always rest in a locked position until they are purposely pulled out. Unfortunately, there is no padding between the side panels and the steel structure, but the glass is lined with a metal frame to prevent the tempered glass from making direct contact with the rest of the X50. There is also a color-matched frame around the see-through glass, so users have a place to hold the panel without leaving noticeable fingerprints. The pane is not tinted by any measure, so users will see any messy cables. The back perforated steel panel also easily comes off from the bottom. I do like this tool-less design that still feels secure.
With the panels off, you can see the internal layout of the HYTE X50. The case is an open concept design with the only sectioned off area for the power supply. With ventilation spots on the front, side, and bottom, there are multiple places for fans. Internally, everything matches the purple color with the exception of the black standoffs. The paint on the steel panels is applied evenly and does not scratch off. The main area of the HYTE X50 is where you can install up to an ATX motherboard, with support for micro ATX and mini ITX boards too. The standoff positions are marked with an A, M, and I to indicate where users need to install any additional standoffs as the ATX spots are installed out of the box.

Removing the front panel is an easy yank from the bottom, which will loosen the many metal pegs around the frame. From here, you can see an area for mounting fans. Unfortunately, no fans are included with the HYTE X50. Instead, there is accommodation for three 120mm or 140mm fans, or a single radiator up to 360mm in length and 105mm in thickness. As mentioned previously, there is no mesh filter behind the front, as the grille itself is meant to help with preventing dust from entering.

In the back corner, the first thing I would point out is the opening under the motherboard area. Matching with the rest of the case, this hole has rounded corners, and is rounded over to prevent users from cutting their hands. This hole helps with installing third-party coolers, as you can change the mounting mechanism while keeping the motherboard installed. It is a bit smaller than other cases, but the cutout should be clear for standard ATX spacing. HYTE mentions a maximum CPU cooler height of 170mm, which should be sufficient for even larger air options. Above here, you can see a circular opening and the rounded power supply shroud. The hole is for intake air to the PSU. At the back, there are mounting rails to install a 120mm fan or radiator. Once again, there is no pre-installed fan here. There are also no routing holes for supporting motherboards with back connectors.

Down the back and to the bottom, there is a total of seven expansion slot covers, which is standard for a mid-tower enclosure. The slots are bridgeless in design. There is no support for vertical mounting out of the box. At the bottom, there is a large opening for routing cables like audio, fan, front I/O pins, and other headers. At the very bottom, there are mounting points for up to three 120mm fans up to 32mm thick. I would not recommend installing a radiator here, as the dropdown basement may restrict anything more than fans. It also is not generally an optimal spot, because it could leave the pump at the highest point in a loop.

The front of the HYTE X50 shows two more places for installing air options. In addition to the front rails, there is a side mount to install up to three 120mm fans or a single radiator up to 360mm long and 70mm thick. This is quite reasonable for the size of the case. Not pictured from this angle is a set of routing holes between here and the back. It is lined with a silicone ring to lead cables through and prevent them from getting caught on an edge. It does not do much to hide excess, but the angle of the holes should suffice in keeping the cables behind the motherboard. One thing I would have liked to see here is an integrated video card support bracket to help with carrying heavier GPUs. This is a common accessory and an asset given how large and heavy some video cards can be. Otherwise, you can fit a graphics card up to 430mm long and 160mm tall.

At the back, the HYTE X50 continues the purple color, but the front cables are all white instead. This includes a single header front I/O pin set, USB Type-C header, USB 3.0 header, and front panel audio. These are flexible to lead into place and long enough to reach all the routing holes. They are also channeled through their own dedicated tunnel to not get in the way of other components. The rest of the back tray has a row of Velcro straps to form a valley. The main and top holes leading between this side and the primary area are lined with a silicone trim that helps with organizing cables. There are more anchor points around the top and back. In terms of cabling space, there is up to 60mm of space behind the motherboard. This means we have quite enough space here for even thicker power cables.
Storage and drive support are all on the back side of the HYTE X50, but it is limited to a single cage under the backplate opening. This tray is where you can mount a single 3.5" and two 2.5" drives at the same time. The sled holds on with a single captive thumbscrew. If you have more internal storage in these sizes, the X50 is not for you. At the top, there is a power supply area, where you can mount a unit up to 223mm in length, including the cables. There is one more Velcro strap here to organize any of the wires leading out of your power supply.
Page Index
1. Introduction, Packaging, Specifications
2. Physical Look - Outside
3. Physical Look - Inside
4. Installation and Conclusion