Page 2 - Physical Look - Outside

With the updated H-series for this year, the NZXT H210i takes its cues from the previous case, the H200i. In fact, based on the external differences alone, you may have trouble differentiating between the two. This updated case keeps the classy look that is consistent across almost all of the products in the H-series with its straight edges and overall rectangular shape. Once again, I do not think this case looks boring by any means, especially with its contrasting colors. The Matte White version we have today has a Stormtrooper color scheme that I have quite enjoyed from almost every black and white case with a good blend on the H210i. Other color schemes include Matte Black and Matte Black + Red. Overall, the design may have been very similar from the last one to this one, but I do not think this is a negative point at all, as it stands apart from other cases from other manufacturers.
The front panel is a flat piece of matte white steel consistent with its design. Metal openings can be found down the front edge of the left and right panel to allow for airflow at the front. The left panel is a piece of tinted tempered glass, while the right side uses a standard steel panel. NZXT has placed a caution sticker on the glass panel due to indicate it is both heavier and more fragile. Otherwise, the NZXT H210i is a mini ITX tower case, with dimensions of 210mm in width, 349mm in height, and 372mm in depth, which is the exact same as its predecessor. This case utilizes steel and tempered glass all around, making for a similar weight of 6.0kg. Build quality has remained excellent with a sturdy structure offering rigidity and stability. Build quality is one area I have praised many NZXT cases in the past and thankfully we can say the same today.

The top panel is one area where you might notice a difference from the original H200i, as they have updated it to be more akin to the 2019 inputs. Starting from the top of the image, we have a power button with a translucent ring around it. There is both a power light and hard drive activity light in this ring. Next, we have a single USB 3.0 port and a USB Type-C connection here. Finally, we have a single 3.5mm audio jack here. This is the same layout as the H510 Elite, and so I have the same suggestion here: The H210i should have put two front-facing, full-sized USB 3.1 ports. This is more important since the internal header takes up the same space on your motherboard connector, so doubling the number of ports would not affect the number of headers required. Moving on, the single combination four-pole plug might be an issue to some, but there is an included adapter to split up the plugs into two, three-pole plugs for headphone and microphone. The other thing at the top is an exhaust area for a single 120mm fan here. NZXT has mounted their case-version of the Aer F120.
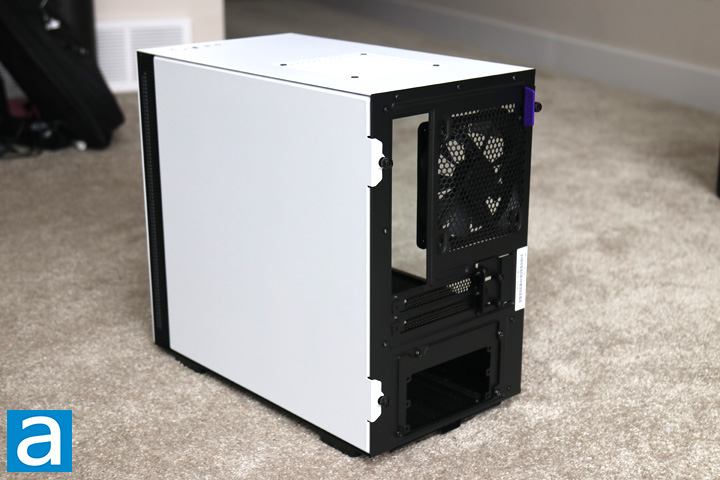
The back shows off a pretty typical design with a layout as you would expect. The motherboard and exhaust openings are at the top while two slots are underneath for any expansion cards you may want to install. These expansion slots are held on with thumbscrews and a metal plate to reinforce the card and reduce the amount of sag you may see, though there is an internal feature to help in this regard. Finally, at the bottom is the opening for the power supply. NZXT has included a bracket that allows you to mount either SFX or ATX sized power supplies. As someone who works with a mini ITX system all the time, I appreciate the support for both the standard and smaller format of power supplies.

On the bottom, there is not a lot of interesting things in this area. There is a rubber foot in each corner of the case to lift it off the ground while still keeping the H210i in place. On the left side, you can see a large sliding power supply filter with a fine mesh to prevent air from entering the power supply. At the front, there are some marked rails. Despite it not being clear in the photo, this area is actually marked for SSD or HDD mounts, which allows users to mount drives on the inside of the case, as we will see later on. Finally, at the front we have an opening to allow air to pass in from the bottom.
Page Index
1. Introduction, Packaging, Specifications
2. Physical Look - Outside
3. Physical Look - Inside
4. Installation and Conclusion


