Page 3 - Installation and Test Results

The SilverStone IceMyst 360 PRO installation process is quite straightforward, but can be slightly overwhelming when first looking at the user manual. There is a total of twenty accessories included in the package, but only about half are used. For my Intel LGA1700 socket, I installed the provided backplate onto the motherboard and the Intel clip onto the pump block. There are also two other clips for the AM4/AM5 sockets and the sTR4/sTR5 sockets.

Before installing the radiator fans on the SilverStone IceMyst 360 PRO, I installed the IMF70-ARGB fan. I removed the pump block lid to access the 8-pin header and installed the upgrade kit. I then inserted the provided rivet to ensure the kit was secured in place. Moving on to the 120mm fans, these were packaged inside plastic bags rather than coming pre-attached to the radiator, as mentioned before. This actually works perfectly for my case since I need to sandwich a tray between the radiator and fans. I then used the 3-in-1 fan cable to daisy-chain the three fans together. After installing this assembly to my case, I applied some of the provided thermal paste and dropped the LGA1700 spacers into place. The pump block was then attached to the motherboard using the provided screws, which can be tightened using your thumb or a screwdriver.

With everything in place, I connected the radiator fans to the CPU fan header, while the IMF70 ARGB fan was connected to one of the system fan headers. The ARGB cable coming out of the pump block and the radiator fans were connected together before finally connecting it to an ARGB header on the motherboard. Lastly, the pump header from the pump block was attached to the pump header on my motherboard. There is also an alternative method for ARGB control if motherboard ARGB control is not available. As mentioned earlier, SilverStone has provided an ARGB control box, which can be connected to the fans' ARGB headers. Afterwards, the SATA power adapter must be connected to the power supply to power the control box and fans. The pump block can also be directly connected to the power supply using the 4-pin peripheral adapter cable.
The overall installation experience for the SilverStone IceMyst 360 PRO is quite straightforward once I figured it out. However, I would recommend utilizing both sides of the user manual to create a more logical flow for the installation steps. The steps were scattered throughout the page, which made it difficult to understand at first.

Our test configuration is as follows:
CPU: Intel Core i9-14900K
Motherboard: MSI MAG Z790 Tomahawk Max WiFi
RAM: Team Group T-Force Vulcan DDR5-6000 2x16GB
Graphics: ASUS TUF Gaming GeForce RTX 3080 V2 OC Edition 10GB
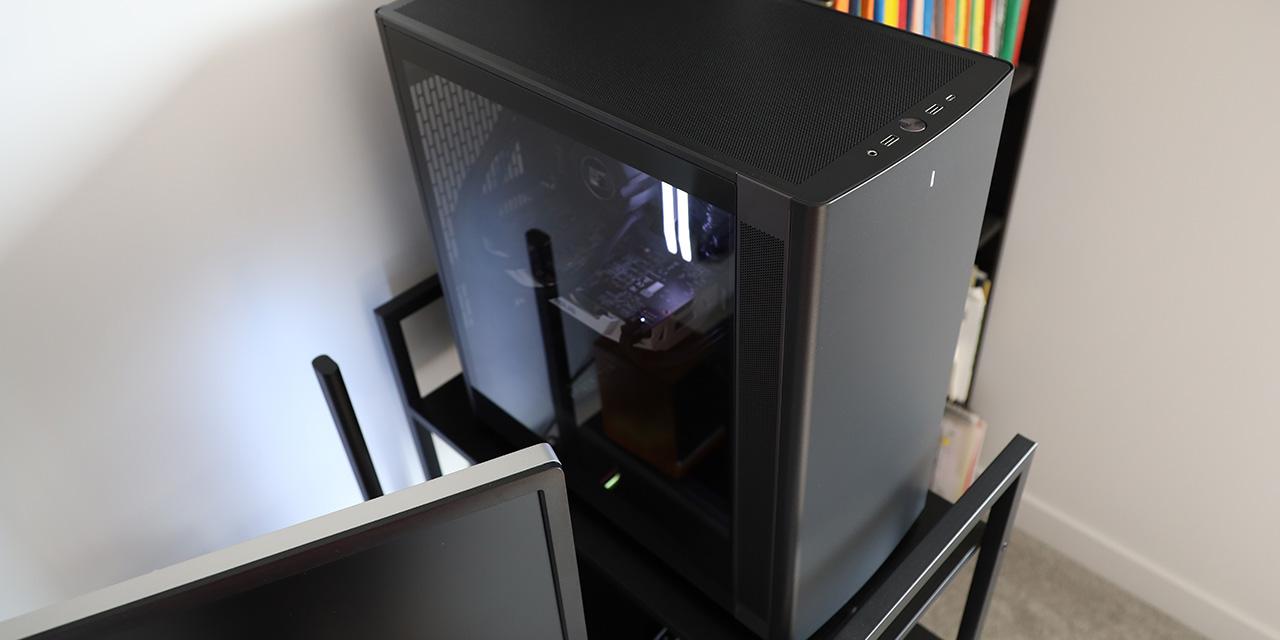
Chassis: Lian Li Lancool II Mesh RGB
Storage: Western Digital WD_BLACK SN770 NVMe SSD 1TB, Western Digital Black SN750 NVMe SSD 1TB
Power: Corsair RM850x 850W
Operating System: Microsoft Windows 11 Pro
Compared hardware:
- SilverStone IceMyst 360 PRO
- TRYX STAGE ARGB 360mm
- TRYX TURRIS 620
All tests were performed on my custom-built computer to best reflect real-life performance. The computer remained in a room with the temperature controlled to be about 20 degrees Celsius for all tests. The thermal paste was applied according to standard practices for Intel CPUs. The fans attached to the heatsink were all connected to the same CPU 4-pin fan connector on the motherboard. The case fans, GPU fans, and the product's CPU fans in my computer were all set to max speeds to allow maximum airflow through the heatsink for all tests. For the idling tests, the computer was left running for at least an hour before data was collected. To stress the CPU, Prime95 was used to place a high load on all available threads using the Large FFTs torture test setting. The highest core temperature measured by HWiNFO was recorded after waiting at least 10 minutes for the temperature to stabilize. HWiNFO is used to obtain accurate temperature data, since it directly reads the CPU's integrated thermal sensors.


Starting with the idle test, the computer was left idling for a long time before the highest average core temperature was taken. In the first graph, the SilverStone IceMyst 360 PRO achieved an excellent idle temperature of 24 degrees Celsius, which is the lowest among all the other coolers. This is within the margin of error of the other coolers, so we will move on to the load test to get a better idea of the performance.
After stressing the CPU for over 20 minutes to generate as much heat as possible, the temperature was stabilized, and the highest average core temperature was recorded at 63 degrees Celsius with no observed thermal throttling. Once again, the SilverStone IceMyst 360 PRO achieved the lowest temperature, tied with the TRYX STAGE ARGB 360mm. My CPU averages at 250W with spikes to around 300W, so these performance results are excellent.

We will use an airflow test to quantitatively measure the performance of the cooler under the back pressure caused by the heatsink. Manufacturers will almost always list the maximum static pressure of the fan, but this is not a very practical metric. The maximum static pressure will only be reached when the fan is pushing against a wall, which will never be the case for a computer build. The best way to visualize static pressure performance is to use a pressure and airflow curve, or PQ curve, as it is a line graph that shows the airflow at every back pressure value. The graph is also not linear, so it cannot be easily produced. SilverStone has not provided this graph, and we do not have the testing equipment to generate one, so we will place the cooler on the table and measure the airflow instead. In practical application, the airflow would be slightly less, since the configuration inside the case of the PC build will increase the back pressure on the fans, but for comparison purposes, this test is adequate.
Measuring with an anemometer directly on the exhaust side of the heatsink, the SilverStone IceMyst 360 PRO produced the highest airflow of 7.2km/h or 4.5mph. This airflow was measured from the center fan, so two more fans would contribute to the actual total airflow of the cooler. In a PC that causes low back pressure, the actual value would be close to triple our measured value, while under high back pressure, the result could even be lower than our measured value. Nevertheless, the SilverStone IceMyst 360 PRO produced some solid airflow during our test.

Measuring from 50cm away at maximum fan speed, the cooler produced 44dBA of noise. I agree with this from a subjective standpoint. On a scale of 0 to 10, where 0 is pure silence and 10 is standing right below fireworks, I would say the cooler is a 0.5 on idle. The sound produced is nearly silent, but I can still faintly hear the wind movement when my ears are right beside the pump block. At full speed, I would give the noise a rating of 3.5. It is noticeable, but still pretty quiet. I installed two of the IMF70-ARGB fans for testing, and found that they contributed very little to the overall noise even when spinning at maximum speed. The pump also produced minimal noise.
To test the performance of the IMF70 ARGB fans, I first installed a single one and oriented it above the motherboard voltage regulator modules, or VRM. Without the fans, the VRM temperature was at 51 degrees Celsius. With one fan, the result was 49 degrees Celsius, while adding a second IMF70 ARGB fan caused no change in the value. My PC setup already has a lot of airflow due to the excessive amount of fans I have, so I suspect the performance would be more apparent in a PC case with less airflow.
Page Index
1. Introduction, Packaging, Specifications
2. Physical Look - Hardware
3. Installation and Test Results
4. Conclusion