Page 4 - Installation and Conclusion

Installing your system into the SilverStone SETA H2 is a standard affair. Starting at the back, I popped the be quiet! Pure Power 12 1000W into place and mounted it. Even with its 16.0cm length, there is quite a bit of space in the SilverStone SETA H2. In fact, SilverStone says you can fit a unit up to 22cm in length. Of course, as this is a non-modular power supply, I needed some extra space to tuck away unused cables. I did not need to remove the basement drive cage, but you can if you want. I continued building by routing all the required cables into place. Despite the number of drive locations, I did not end up using any of them, as I only have M.2 drives in my system. Thankfully, you can easily remove the drive sleds as you desire and make room for other components.

On the other side, I installed my ASUS ProArt Z690-Creator WiFi motherboard with an Intel Core i5-12600K on it. Beside it is a set of Crucial Pro Overclocking DDR5-6000 2x16GB memory. The cooler on top of the processor is the Noctua NH-U12A. According to SilverStone, users can put an air cooler as tall as 188mm, which should easily fit larger CPU coolers. Not pictured here is the MSI GeForce GTX 1070Ti Titanium I installed afterwards, which measures 279mm in length. Even with the hard drive trays installed at the front, there was more than enough space with about 330mm of total clearance. If you remove these, you will have 428.9mm of space with standard 25mm fans installed. Otherwise, I continued by plugging in the necessary cables and front I/O. Everything was easy to route with many routing holes.

With everything installed, you can see the cabling situation at the back. I did use the valley where possible while also fitting cables as needed. I did find I could use a few more cable anchor points, although I am still grateful for the valley and other areas to manage the wires. As well, with more than ample spacing behind the motherboard, I did not have any issues installing the side panels back in place. Overall, the whole SilverStone SETA H2 was easy to work in. I really like the magnetic basement door to hide any unsightly cables. My only gripe from the building process comes from the rubber grommets. While they are good to see, they are not held very securely and slide in and out of place. Whenever I ran the thicker cables through, the rubber would fall off and I would spend more time putting them back.

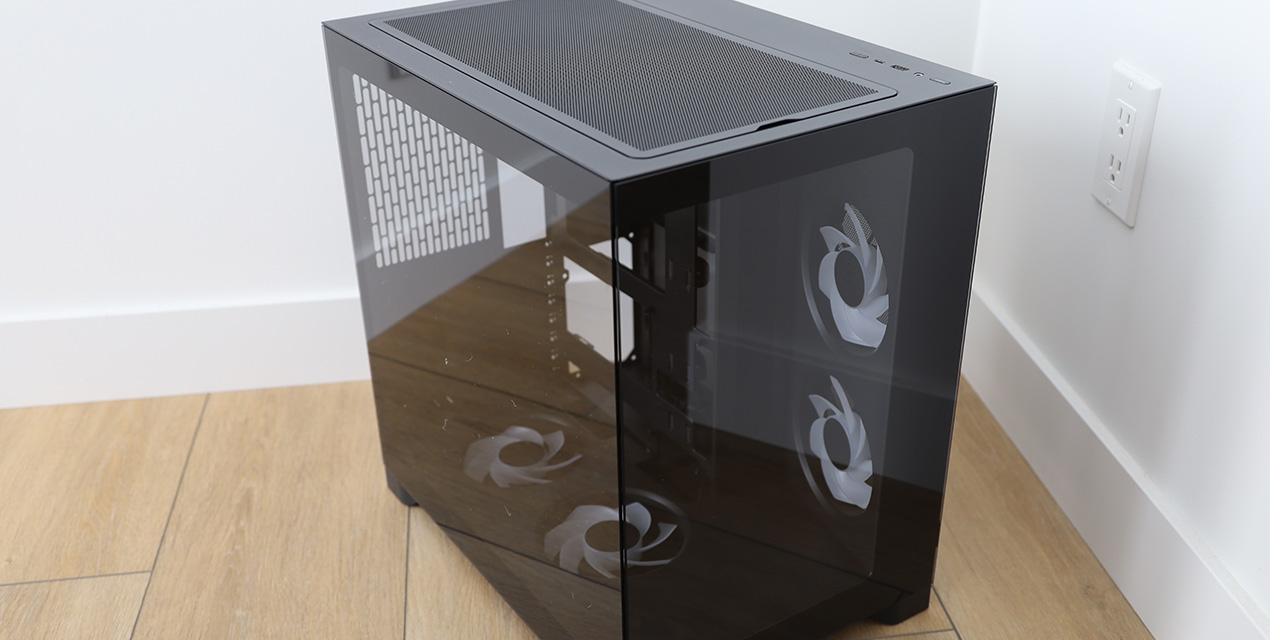
With everything plugged in, I powered my system on and everything spun to life. Without the indicator lights at the front, I am not sure if you can really tell the system is on. For one, the lack of any visibility inside the system means you will not see much unless you install some of your own lights and can see it through the mesh. Secondly, there are no fans included with the SilverStone SETA H2, so the only audible indicator will be from your own components. Using our standard APH Networks sound scale, where 0 represents silence and 10 indicates loudness, the SilverStone SETA H2 is a 0/10 because the case components do not make a sound. As for noise suppression, the SETA H2 also does not do anything to keep noise down, as there is no noise damping material in or around the enclosure. The result is a computer that really blends into your background, even with its enormous size.
-----------------------------------------
If I were to describe the SilverStone SETA H2 as a cake, I would say there are a lot of internal items that make this a delectable option. On the other hand, there are no exterior aspects that really make this case stand out. The plain, all-black steel look is very utilitarian. The functional aspects include a large mesh front and top for increased airflow. The front I/O is standard as they come, as is everything else from the outside. In fact, you really need to open SETA H2 to discover the benefits. For one, this is a home server dream case with support for up to fifteen storage drives out of the box and spacing for motherboards up to SSI-EEB and extended ATX. Cooling support is also expansive with the ability to hold multiple 420mm radiators inside. This is not too surprising for a full-tower computer case, but I still appreciate it. You also have more than sufficient room for standard components like a large CPU cooler, long graphics card, or a chunky power supply. It also has some creature comforts like a GPU support bracket, many magnets for doors and panels, sufficient cabling space in the back, and a swinging radiator mount on the front. Building in the SilverStone SETA H2 is a standard process. The only knock here was having to make sure the rubber grommets stayed in place when thicker cables ran through. The primary shortcoming with SETA H2 is the lack of any included fans, which is a bit counter intuitive given how much ventilation we have inside. I also would have liked to see some finer mesh filtration on the front and top ventilation areas. Even so, the SilverStone SETA H2 is a no-nonsense computer case with more than enough capability to hold whatever you put inside. At the time of review, the SETA H2 is available for around $220, which is a hefty price. If you are looking for a large, unassuming workstation/server-grade case to hold your many storage drives, then the SETA H2 is worth a look.

SilverStone provided this product to APH Networks for the purposes of evaluation.
APH Networks Review Focus Summary:
8/10 means Definitely a very good product with drawbacks that are not likely going to matter to the end user.
7/10 means Great product with many advantages and certain insignificant drawbacks, but should be considered before purchasing.
-- Final APH Networks Numeric Rating is 7.3/10
Please note that the APH Networks Numeric Rating system is based off our proprietary guidelines in the Review Focus, and should not be compared to other publications.
The SilverStone SETA H2 is a no-nonsense full-tower workstation/server-grade computer case that you can load a whopping fifteen drives inside.
Page Index
1. Introduction, Packaging, Specifications
2. Physical Look - Outside
3. Physical Look - Inside
4. Installation and Conclusion