Page 2 - Physical Look - Inside
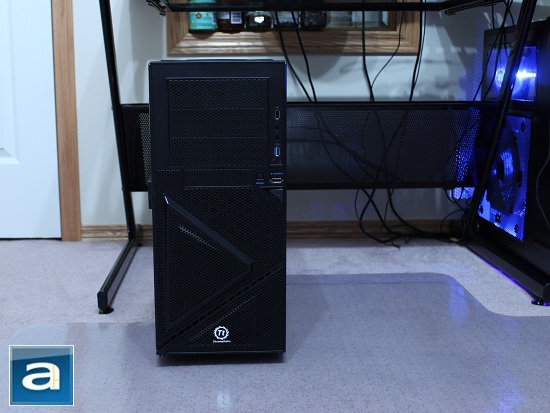
Similar to the Thermaltake Armor A90, there are trapezoidal and triangular shapes in a three dimensional format, but it occurs to me that it is much more organized in my opinion than the Armor A90. Whether it is to your taste is purely subjective. The bottom half of the front panel consists of an array of large honeycomb mesh with a "bug screen" just behind it, and a good ventilation surface in front. All this covers the 120 mm blue LED intake fan (16dBA @ 1000rpm). We would rather prefer a real dust filter, since the fan will draw in dust along with cooler air from the outside. Unlike the Armor A90, the upper half does not have a door; instead drive bays used for installation of your preferred drives are open directly. Removable mesh covers sit in place of empty drives bays. A good side note is that the whole front panel could be removed for easy access when installing certain components.
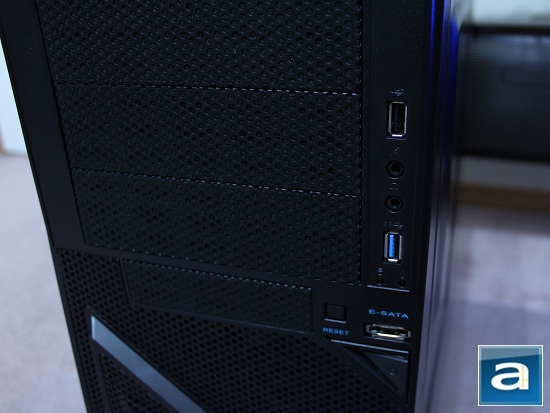
Here, from the image above, we can see more clearly that there are three 5.25" and one 3.5" externally accessible drive bays with mesh blank covers. Thermaltake ensures that dust will not seep into the computer by using dust blockers when drives are not installed. The usual array of connectors and case controls are situated on the right side of the drive bays. As we can see, from the top down, we have a standard USB port, two standard 3.5 mm audio jacks, one USB 3.0 Superspeed port, red hard drive activity LED, blue power indicator LED, as well as an eSATA port and a reset button just above the power button. One thing I would prefer Thermaltake to do is to recess both the reset button and power button, just in case of accidental engagement -- like the Armor A90.
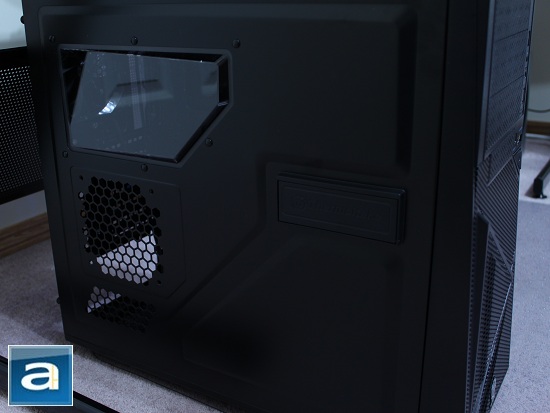
Turning our eyes to the left side panel of Armor A60 chassis reveals some of Thermaltake's prominent design elements of the Armor Series. This side features a small window and a large-hole honeycomb mesh, as well as distinct and unique beveled "armor" shapes for its design. Thermaltake's SideClick EasySwap allows a 3.5" hard drive to be easily removed from the system from here, in which I will get into further detail later in this review. As most of you know, I very much like rivaling our Editor-in-Chief Jonathan Kwan when it comes to neatness in wiring up the internals of my computer, especially when I can show off my internal components. Although Thermaltake provides a window at the top, I find that it is still not large enough to show off what I intend. As well, I have noticed that dust tends to get into my chassis through large-hole honeycomb mesh (Good luck have fun if you have a fan installed there), which is a problem for me simply because it consumes too much of my time trying to clean it out down the road. In my opinion, I would much rather have Thermaltake put in a larger window without the honeycomb fan grille and its adjacent opening underneath, as opposed to having both the window and the series of ventilation openings. While some may argue the mesh design on this left side panel makes the design of the chassis look more "armored", it does not justify the tradeoff for me for higher maintenance in the future. The extra ventilation for air circulation from this side would be unnecessary if there is adequate ventilation through the front and back of the system.
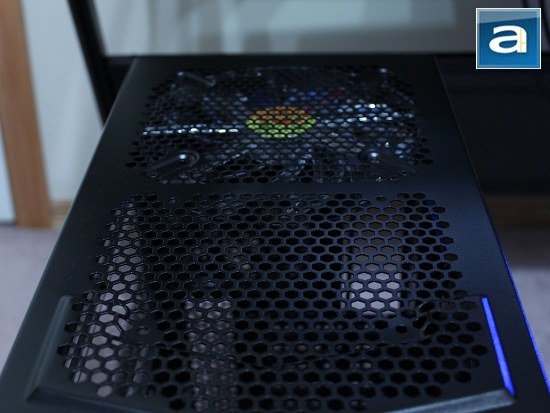
In this image above, we are shown the top view of the Armor A60. Basically, it is like the Armor A90, except with the removable top plastic panel missing. It actually has quite a dramatic effects on the looks -- if you don't believe me, look at the photos on Jonathan's review on the A90. Meanwhile, the A60 features two honeycomb grilles similar to the one found on the left side panel, albeit much larger, to accommodate 200 mm exhaust fans (One blue LED unit rated at 15 dBA @ 800rpm is included). This offers great natural advantage for ventilation, since heat rises. But also be very mindful that the large opening at the top also allows dust to easily settle into your chassis. This problem will become quite irritating, especially when your computer is sitting around for a while! Users may wonder if there are any solutions to this. To be honest, there is no solution, unless you would not mind covering that area with a cloth. And that defeats the purpose of having these openings in the first place, haha.
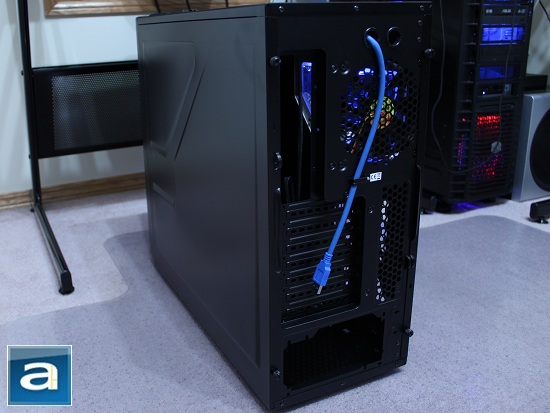
Shifting our attention to the back and right panel, I have noticed that both side panels are held in place with two thumbscrews each. Thermaltake even goes as far as covering the minute details, such as fully painting the inside of the panels and the ventilation plates for the expansion slots black. I would have expected them to have left them in their original metal color, so these minor details gave me a small surprise. As shown in our photo above, there are also two pre-drilled holes for water cooling near the upper perimeter. I used it for routing the cable for the front panel USB 3.0 port instead, which can easily be hooked up to the back of your motherboard's USB 3.0 port, where available. Four rubber feet are installed to accommodate the fan on a bottom mounted power supply. A locking feature is also provided for the left panel if you ever feel the need to have it secured.
Page Index
1. Introduction, Packaging, Specifications
2. Physical Look - Outside
3. Physical Look - Inside
4. Installation and Conclusion


