Page 3 - A Closer Look - Disassembly and Internals

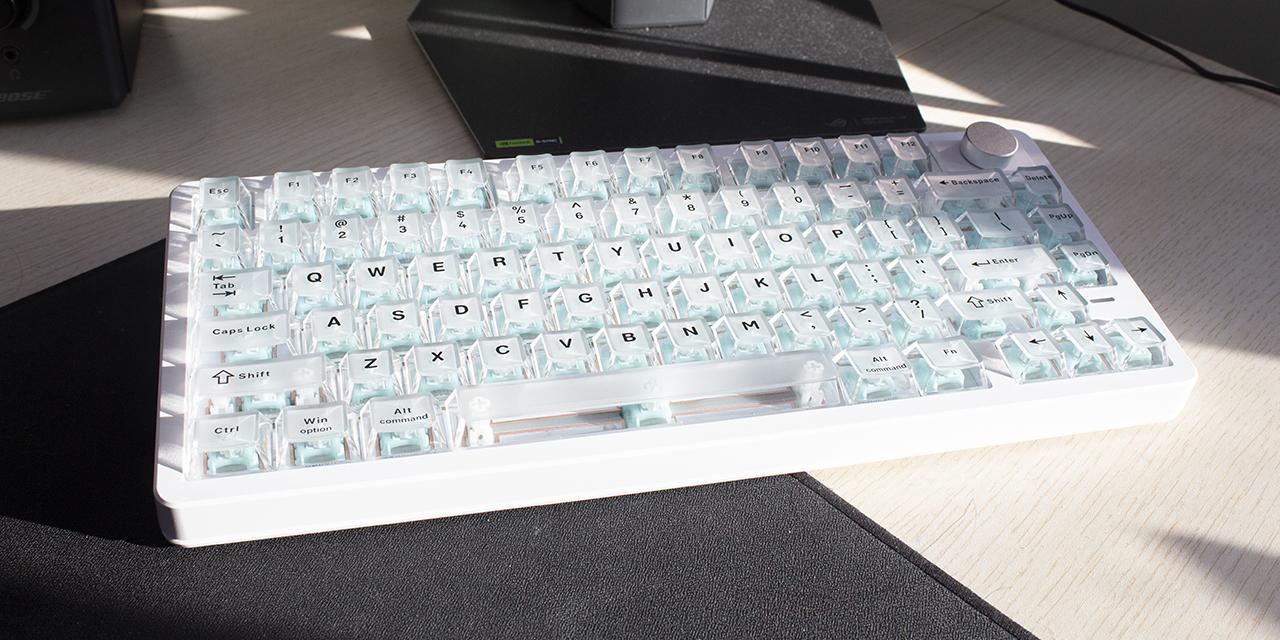
The disassembly process of the Epomaker HE75 V2 TMR is quite difficult. Given the gasket structure, you can simply remove the knob, but unclipping the top frame from the bottom is another story. I had some difficulty unclipping the top and bottom frame from each other as the clips are quite tight and required a bit more force than I was comfortable with. I personally would not recommend risking cracking the frame to take apart the keyboard. If you really want to, I would recommend starting with the sides and sliding a tool around the corners to unclip the front. To unclip the top, do the same thing starting on the corner with the knob. The top of the frame was the most difficult section for me, as you have to navigate around the daughterboard. If you want to take apart the PCB assembly, you will have to remove all the keycaps and switches. Upon unscrewing, the PCB assembly can be popped out fairly easily, only being tethered to the case by the daughterboard. This disassembly process was fairly difficult with a good amount of know-how to perform. Upon exposing the interior design, I was quite satisfied with the design. There is a good amount of foam usage to fill the case.

The interior design was quite standard in my opinion. Taking a quick look, the design is very simple. The Epomaker HE75 V2 TMR is a gasket mount keyboard. The installation is probably the most common modern mounting style, being used in many premium keyboards. The design uses gaskets on the edge of the PCB to hold in the enclosure within the case. The gasket structure provides a nice bounce when typing.
The foam in the case is fully utilized. Epomaker does not hold back when it comes to foam in this case, as inside, you will find a five-layer sound-optimizing system consisting of sandwich latex foam, a switch pad, a PET sound enhancement pad, noise-absorbing foam, and bottom silicone. Foam in keyboards are quite important, so having access to this much dampening material is excellent. To explain simply, the more foam you use, the more muted your keyboard will be for the most part. Underneath the PCB, we have noise absorbing foam paired with bottom silicone to fill the space. The use of PET sound enhancement pads has also become more common in keyboards. Switch pads are a strange usage of foam that I personally find to be a cheat code to premium sound with no science to back up my claim. These five layers of sound-optimizing material should help to benefit in the sound of the keyboard.
The plate material used inside of the Epomaker HE75 V2 TMR is FR4. FR4 is a very popular choice when looking for a middle ground sound type for your keyboard. This plate material will provide a deeper tone of sound, and in this case, a deeper “clack”. As an independent factor in the keyboard, the plate properties that affect its sound include its stiffness and density. To be more specific, we want the specific modulus or specific thickness, which is also known as the stiffness-to-weight ratio. The lower this number is, the more “thocky” this material will be for a keyboard.

Upon closer inspection of the Epomaker Creamy Jade switches, I hope to provide you with more detail in the makeup of the switch. According to the manufacturer's page, the Creamy Jade switch uses a POK stem, PC top housing, and a PA66 bottom housing. I will not bore you with the material specifications, but they all have relatively low coefficients of friction. The POK and PA choices make sense, as their low coefficients of friction make for a smoother experience, while the PC top housing is interesting as it is not clear. The spring is slightly longer than the usual at 20mm.
Page Index
1. Introduction, Packaging, Specifications
2. A Closer Look - Hardware and Software
3. A Closer Look - Disassembly and Internals
4. Conclusion