Page 4 - Installation and Conclusion
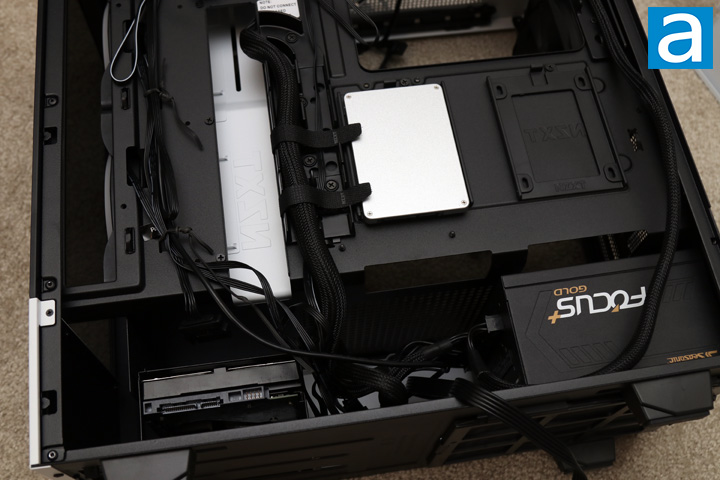
It has been a while since I built a new computer on a new platform, but thankfully I was able to do so with the NZXT H510 Elite. However, my installation process has not really changed. I started by installing the power supply first and routing the necessary cables to the expect slots. As you can see, without moving the hard drive cage, my Seasonic FOCUS Plus 850 Gold 850W is pretty compact at 140mm and has ample spacing for additional cables to hide in the basement. As for routing, I drew my CPU power cable directly up to the routing hole at the top, while using the valley for the motherboard connection, and the shroud hole to power my graphics card. Even though this is the same layout as the H500, I am still quite impressed at the number of routing holes for cables.
Afterwards, I decided to install my two drives, which includes the OCZ ARC 100 240GB and a Western Digital Blue 1TB hard drive. With the smaller 2.5" drive, I mounted it in a plastic holder. The larger 3.5" drive I mounted in the metal bracket. I personally do not like this implementation for the cage, as I would need to remove the cage fully. I would much prefer using some sort of tray mechanism that can be slotted in instead, while allowing the smaller drive size to be mounted here as well.

I recently joined AMD with my main build, so I paired an ASUS Prime X470-PRO with an AMD Ryzen 7 3700X. I also put the Gigabyte AORUS RGB Memory DDR4-3200 2x8GB memory kit to use here. On top of the processor, I mounted the Noctua NH-U12A here. At a height of 158mm, this cooler fits within the maximum 163mm height specified by NZXT. For gaming power, I reused my MSI GeForce GTX 1070Ti Titanium video card. This card has a length of 279mm and does not come close to the front cooling area. NZXT says you can install cards up to 368.5mm in length, though it will depend if you decide to mount additional cooling options at the front. Just to note, you can install up to a single 280mm radiator here. I personally also tried to install a 140mm fan in the top opening for a neutral airflow setup, but I ran into some clearance issues between the CPU power cable and the fan. I think this could have been fixed by moving this top ventilation area forward by a few centimeters, just to move it away from the back area. As such, I would check for clearances if you were to mount other cooling options, such as radiators.
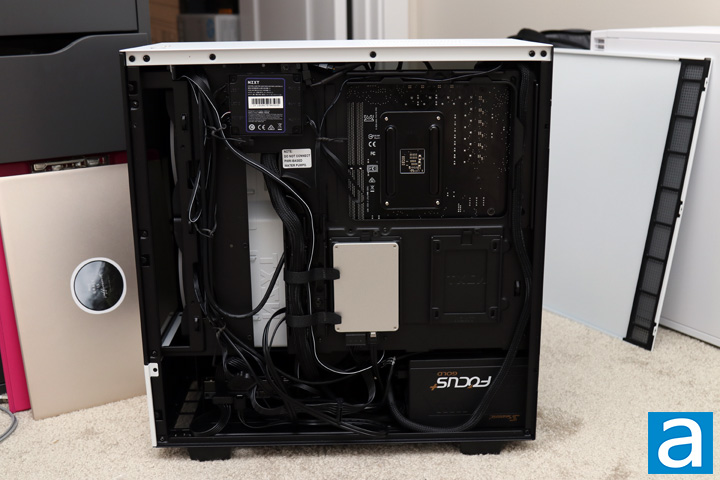
At the back, you can see all of the power cables routed through the valleys and strapped down. I really think NZXT has done a great job in making cable routing easy and relatively neat. I still do have a bit of a rat's nest in the basement, but the rest of the cables are easy to route and hold down. There are some cable tie points at the front and the two Velcro straps also do the job in holding the excess cables in place. As I have mentioned previously, I would have liked the vertical opening to have a bit clearance between the white covering bar and the opening since my motherboard power cable is bunched and does not offer a lot of flexibility. While this is more at the fault of the power supply manufacturer, I still think this would at least allow for an easier routing situation. Otherwise, the rest of the installation was straightforward.
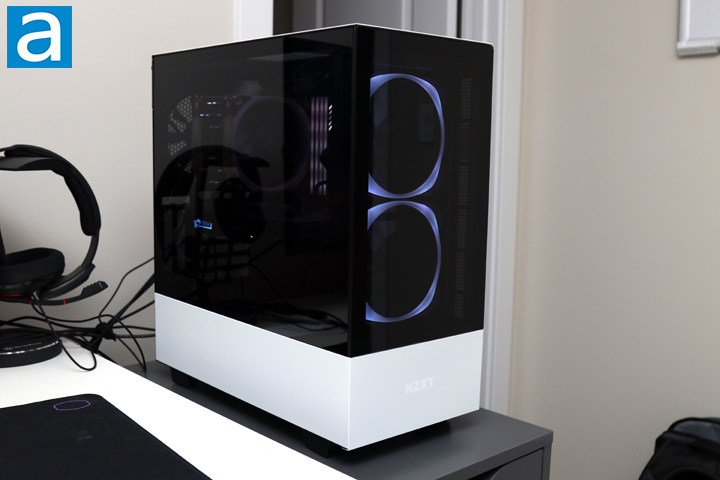
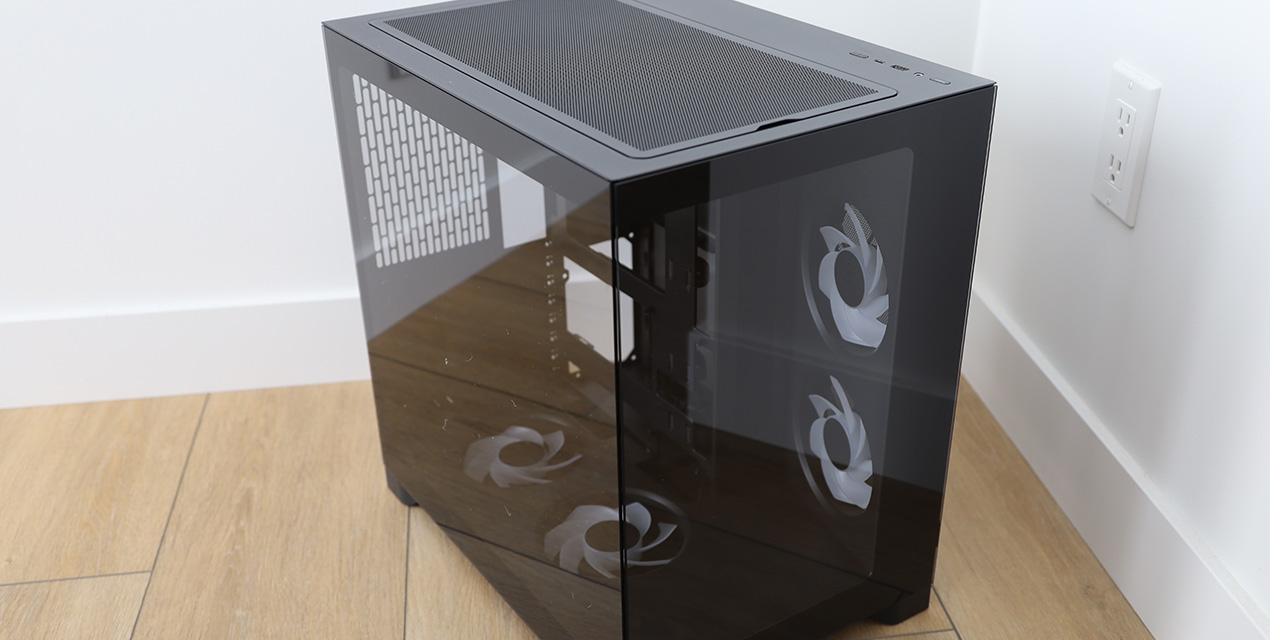
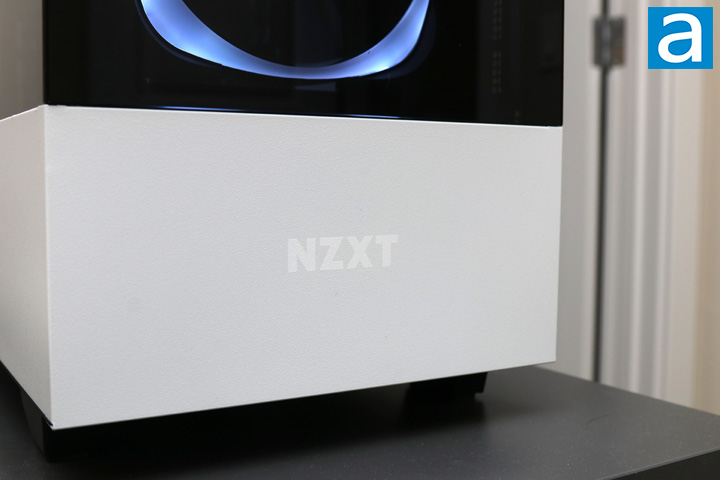
After getting everything setup and installing my own programs, I was up and running on SpaceH 2.0. As you can see, the whole white and black theme is up and running, but the tinted tempered glass keeps quite a few things hidden. According to the standard APH Networks sound scale, where 0 is silence and 10 is loud, the NZXT H510 is a 5.0/10 under full load and a 3.5/10 in more typical workloads. While we are talking about three stock fans included, I may have taken for granted the quieter cases I have used in the past. These fans are alright on a day-to-day use, but are also noticeable under load.

NZXT actually released their latest CAM software, CAM 4.0, which offers some welcomed changes as well as a revamped layout. It is available from NZXT's website, and at press time, I was testing with CAM 4.0.7. The installer is about 1.6MB in size, but after downloading and installing, CAM is closer to 267MB in disk usage. This still is in beta testing, but I personally found the software to behave pretty well.
The above output only shows the main page of the CAM software, but I will quickly go over each page. As you can see here, CAM shows you the current information for your computer at the time with more information like specifications or played game times on other pages. The next tab is used for lighting controls, featuring similar lighting effects as the previous versions of CAM. One thing NZXT has made more prominent are lighting profiles, which lets you save full lighting setup for all of the channels. NZXT also provides some of their own lighting profiles for you to use. Finally, the last tab lets you change the fan curves as well as help you overclock your GPU should you so desire. Overall, NZXT has worked on the small bugs like remembering your login information and general UI improvements. In addition, they now have a switch where you can turn off information collection and reporting. In this day and age of information privacy, users of the older CAM software were not happy when this was first implemented, so it is good to see we can now turn it off you so desire.
-----------------------------------------
If we were to look at the original case the NZXT H510 Elite was inspired by, you would know that we thought it was a pretty good compact ATX option, with a smart but budget friendly design, without compromising on premium elements either. However, the H510 Elite is not targeted for wallet-watchers at an MSRP of $150 USD ($170 USD with tariffs), which is a chunky increase over the H500. The differences between the two cases are noticed immediately with the front glass addition. Internally, we have the second-generation Smart Hub, two extra fans with RGB lighting, and interior lighting all pre-installed. Furthermore, NZXT answered my one request from the previous review with an updated front panel USB 3.1 Type-C Gen. 2 port for fast transfers on the newest connection. Other positive elements found on the H510 Elite include its great build quality, sufficient storage options, and excellent cable management; all of which were kept from the H500. On the other hand, at this price point, I also may have liked to see some better functional aspects. I think the easiest would be first to add some vibration dampening on the glass panel and the power supply mounting area. I also would have liked to see them keep two full-sized USB ports in addition to adding the newer Type-C ones. Unfortunately, my gripe from the last case is still present as they did not address my desire for a drive cage with caddies. Even so, while you will pay a price for these updated features, the NZXT H510 Elite is a very solid case now made stunning in its appearance.
NZXT provided this product to APH Networks for the purposes of evaluation.
APH Review Focus Summary:
8/10 means Definitely a very good product with drawbacks that are not likely going to matter to the end user.
7/10 means Great product with many advantages and certain insignificant drawbacks; but should be considered before purchasing.
-- Final APH Numeric Rating is 7.5/10
Please note that the APH Numeric Rating system is based off our proprietary guidelines in the Review Focus, and should not be compared to other sites.
The NZXT H510 Elite builds off the H500 with updated features and appearance, albeit at a much higher price point.
Do you have any comments or questions about the NZXT H510 Elite? Drop by our Forums. Registration is free, and it only takes a minute!
Page Index
1. Introduction, Packaging, Specifications
2. Physical Look - Outside
3. Physical Look - Inside
4. Installation and Conclusion