Page 4 - Installation and Conclusion

As always, I started my build with the power supply, which included plugging in the necessary cables, mounting the power supply in place, and routing said cables to the correct location. The power supply in question is the Thermaltake Toughpower GF1 Snow 750W, which measures 16cm in length. I definitely could have left the drive cage in the basement here, but as I had no use for it in my build, I removed it for a bit of extra cabling space. Thermaltake mentions a maximum length of 18cm or 22cm for the power supply, depending if you keep the cage in or out. I also routed all my cables through the case. Due to the white cables from the power supply, all of the cables really blended in nicely, which is probably the intention of the "Snow" editions seen across multiple Thermaltake products. I also routed the front I/O cables into the right spot at this point.

As for my own storage, I had two drives, the Patriot P200 512GB and OCZ ARC 100 240GB, mounted into the sleds inside the case. It was a pretty easy experience using the thumbscrews and putting them in place. I should note that you should be aware of where you end up putting these sleds. I originally had them in the bottom slots, until I realized they interfered with my graphics card. I then moved them to the top slot as shown in the photo above, until I later moved them down to make space for the tubing on my all-in-one liquid cooler, the Thermaltake TOUGHLIQUID Ultra 360. As such, you should be aware of these potential clearances when you are building in this system.

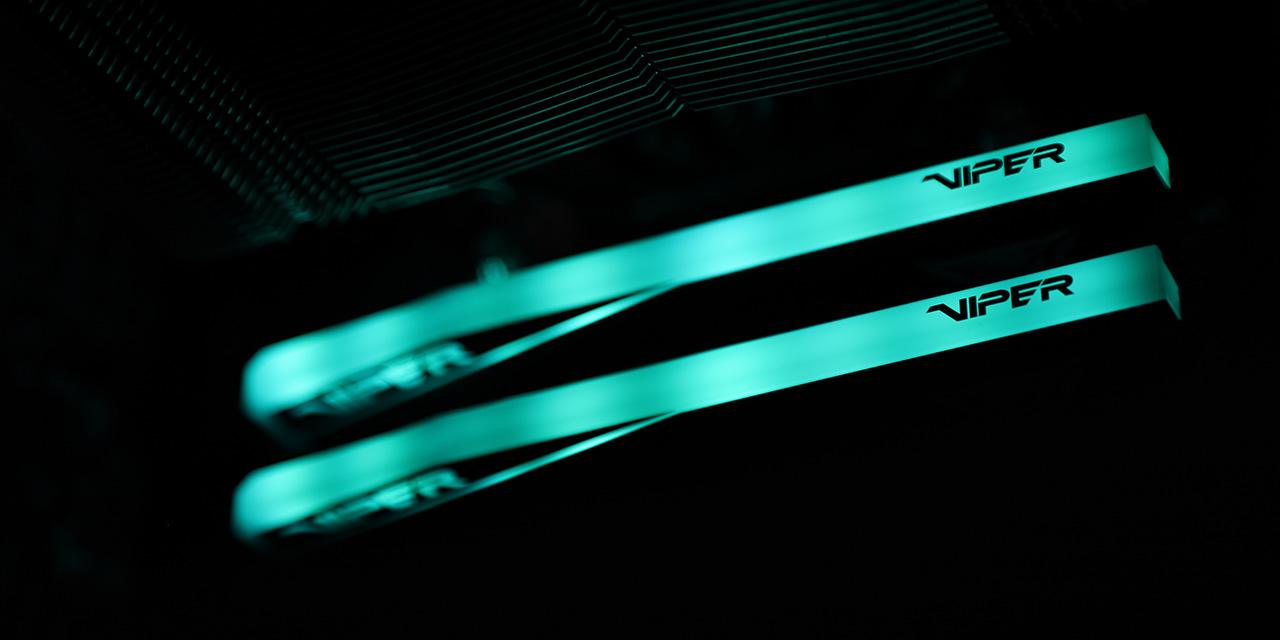
Next, I mounted my motherboard in place. My standard ATX ASUS Prime X470-Pro motherboard was mounted here with an AMD Ryzen 7 3700X and a set of Patriot Viper RGB DDR4-3600 2x16GB sticks onboard. I also installed the Noctua NH-D12L here. As I mentioned previously, I did end up also installing the 360mm AIO from Thermaltake later on and mounted that radiator at the top. Thankfully, clearance in both situations is excellent, as there is a 180mm height limitation for CPU coolers, and more than enough space for a radiator at the top. Furthermore, due to the extra space at the top, the radiator does not hover over the motherboard as we sometimes see in shorter cases, leaving more than enough clearance there. With the EVGA GeForce RTX 3070 FTW3 ULTRA GAMING installed, I was able to make use of the video card bracket to ensure it stays level and reduces any strain on the motherboard, while also looking good. Thermaltake has a maximum length of 395mm for expansion cards, but this is only if you do not have a front radiator installed. With everything in place, I plugged all of the loose cables into their sockets.

At the back, you can see how much room we have for thicker cables, while also having room in the basement to hide extra cables. There are a sufficient number of cabling hooks around the back and the three Velcro straps help collect even the bulkiest of cables. It also helps that the swinging door provides a bit of extra give to push cables into place when closed. Overall, I was quite happy with the build experience of the Thermaltake H700 TG Snow. There are a few things to keep in mind, especially with the drive sled placement and the video card bracket, but I found the case very easy to work in, while also easy to keep the finished product looking organized.

With everything plugged in, I powered the build on and it came to life. The tinted tempered glass does still reveal everything inside, albeit with a darker look. Illuminated elements inside easily shone through, while hard to hide cables felt a bit more discreet behind this glass. I also really like the front addressable RGB LED light strip in the mesh, as it maintains the clean aesthetic, while adding a tasteful amount of color both outside and inside the case. In terms of noise output, our standard APH Networks sound scale ranges from 0 to 10, where 0 is silence and 10 is loud. I would rate the Thermaltake H700 TG Snow, at stock configuration, at a 3.0/10 under full load. The fans are pretty quiet and the case has a bit of foam dampening in areas to suppress noise from physical movement, but it does not do much to reduce noise from escaping out. Even so, this is pretty reasonable for a case in this price range.
-----------------------------------------
After our full look at the Thermaltake H700 TG Snow, I think this case truly does "fulfill basic but important needs" for any user with this case. This starts with a basic but clean look with its boxy exterior and white finish. There are some subtle niceties found in the ARGB LED-backlit front mesh stripe and black accents. The door panels on both sides are also a premium look that is not too common. Its thick tempered glass is tinted but still easily displays all of the interior components. All of the necessary ventilation areas are filtered with mesh to reduce dust from entering inside. On the interior, there is more than enough clearance to hold a sufficient number of cooling, storage, graphics, and power components. Building in the H700 TG Snow was an enjoyable experience, with ample cable space and flexibility throughout. Furthermore, features like an included video card bracket really show an understanding of current thicker and heavier graphics cards. However, while there were some updated features, there were also some that felt outdated. For one, the front I/O has two USB 2.0 ports, only a single USB 3.0 port, and no USB Type-C connections, which is a head-scratching selection for a case in 2022. I also think PWM-controlled fans should be the standard for case fans. Finally, I think Thermaltake missed a few places to polish up their cases, such as deburring some holes at the back, which should just be cleaned up. At the time of the review, the Thermaltake H700 TG Snow can be had for around $110, which puts it in a price point where a lot of competition exists. All in all, the Thermaltake H700 TG Snow may not wow people for any particular reason, but it is a generally well-built case featuring simple looks and excellent compatibility.

Thermaltake provided this product to APH Networks for the purposes of evaluation.
APH Networks Review Focus Summary:
8/10 means Definitely a very good product with drawbacks that are not likely going to matter to the end user.
7/10 means Great product with many advantages and certain insignificant drawbacks, but should be considered before purchasing.
-- Final APH Networks Numeric Rating is 7.3/10
Please note that the APH Networks Numeric Rating system is based off our proprietary guidelines in the Review Focus, and should not be compared to other publications.
The Thermaltake H700 TG Snow embodies the clean and simple design while providing for all your essential needs as an ATX mid-tower case.
Page Index
1. Introduction, Packaging, Specifications
2. Physical Look - Outside
3. Physical Look - Inside
4. Installation and Conclusion


